Chocolate Chip Scones + Blood Orange Glaze
This post might have affiliate links. For full details please see my disclosure policy.
Buttery, delicate chocolate chip scones infused with blood orange zest and drizzled with a beautiful blood orange glaze. These scones are the best combo of rich, sweet, and citrusy.
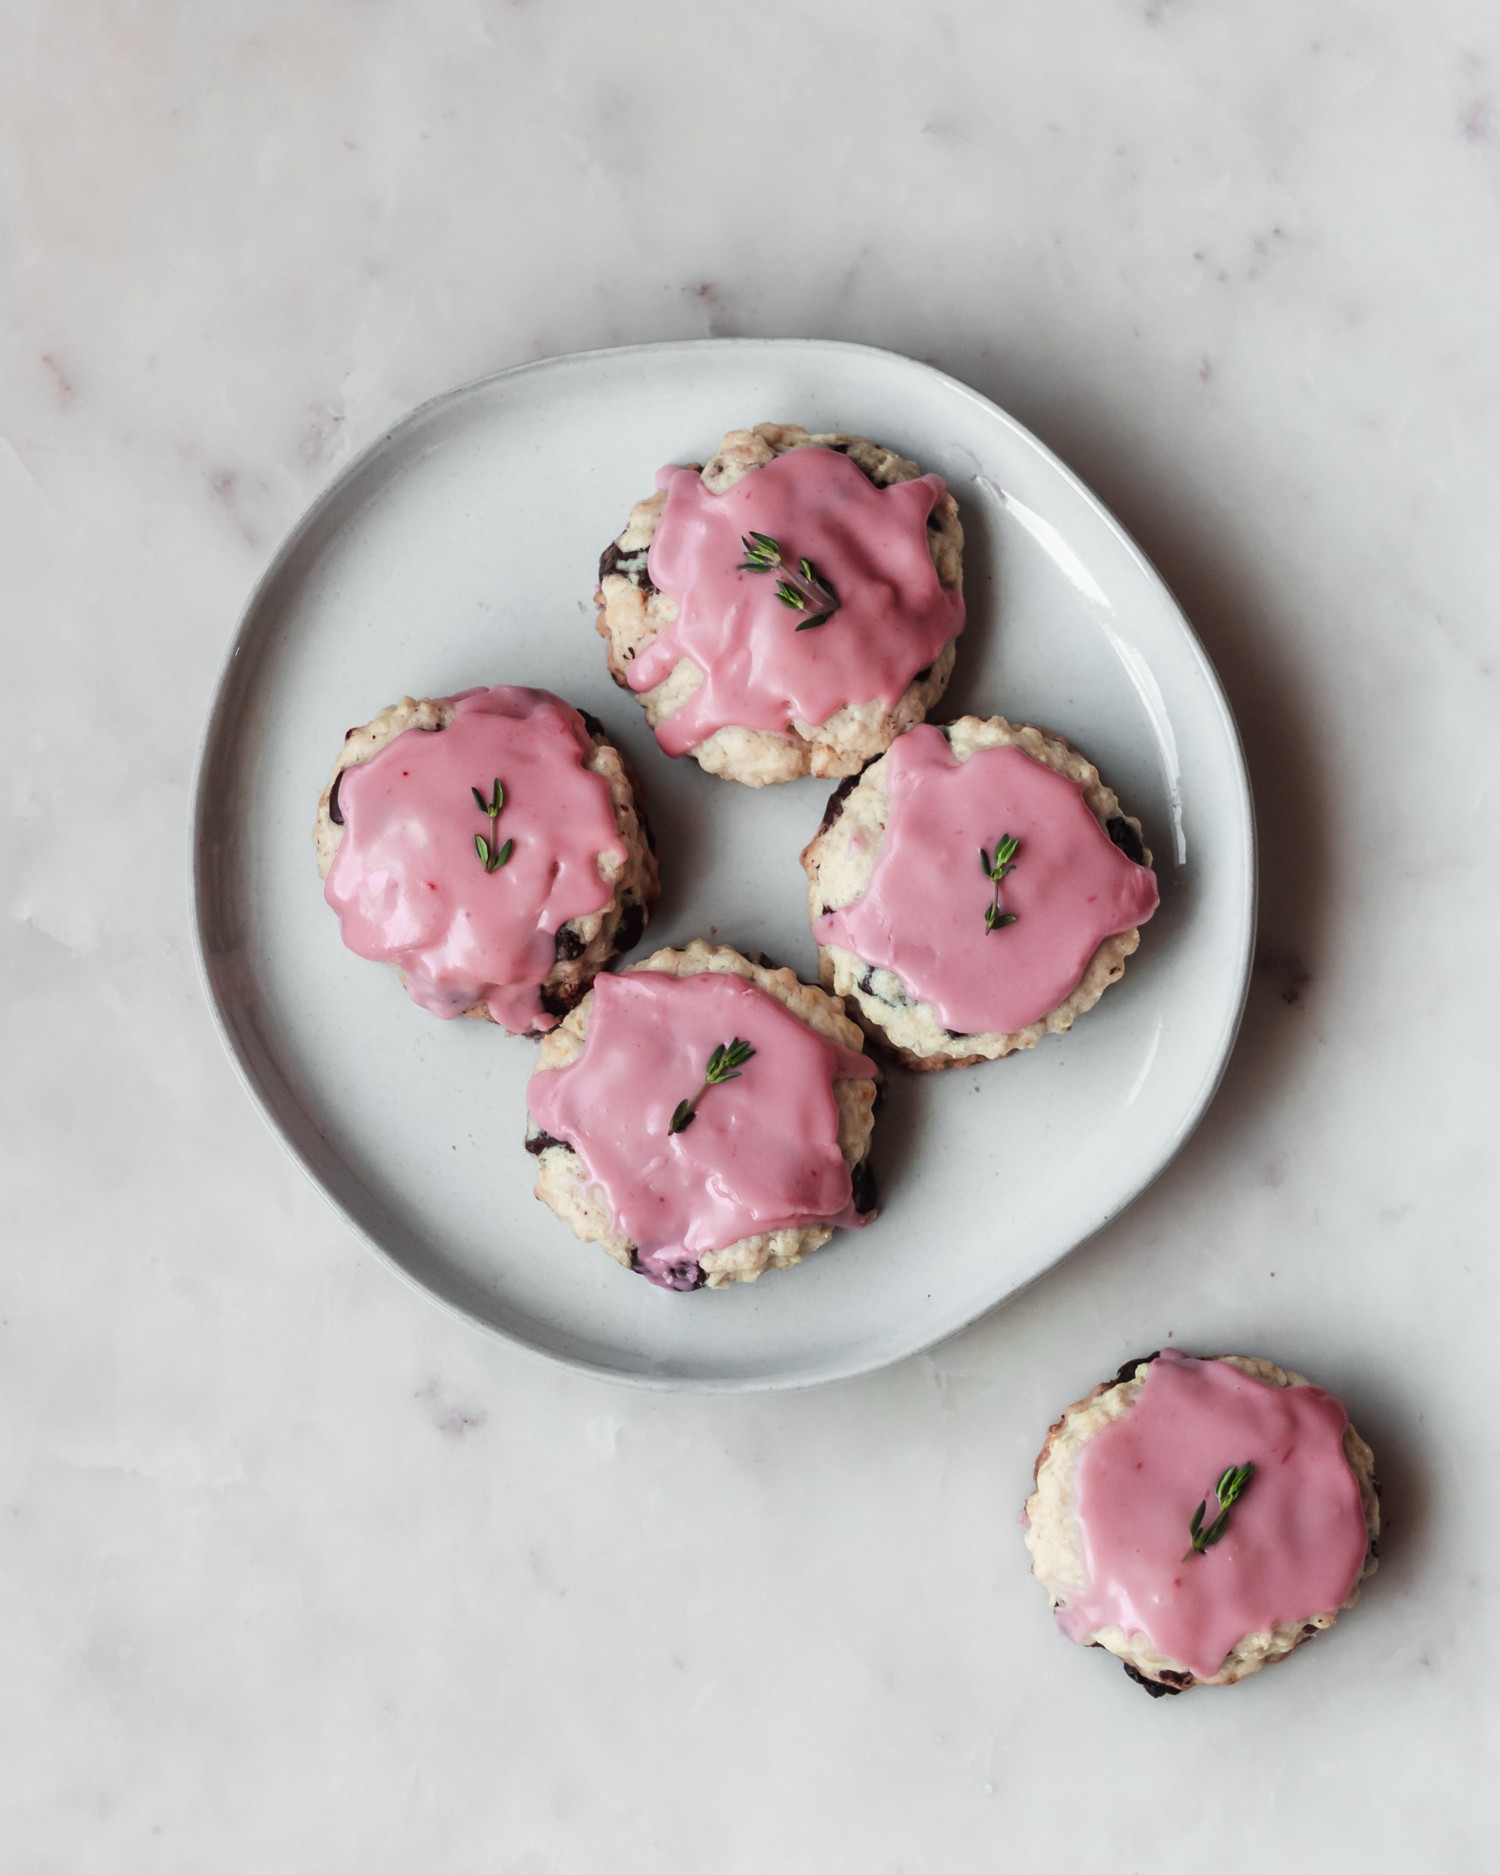
Did January and February even happen, I’m so confused? One day, I was decorating my Christmas tree, and next thing I know, it’s February and my Christmas tree is still up. Oops. At least I got that taken care of, it was getting embarrassing. Anyways, it’s starting to become that weather where I need a sweater and my heater when I’m on my way to work in the morning but by the time I leave, I’m blasting the air conditioner in my face. This means that blood orange season is almost over, so let’s take advantage while we still can, starting with these blood orange chocolate chip scones!
On a side note, I feel like I’ve been so busy, I’ve been neglecting my little blog over here. I’M SORRY!!! I really feel like I’m back even though I’m planning a wedding and trying to buy a house and organizing a trip to Japan. All fun stuff, but yikes. Maybe we need to mix this blood orange juice with some vodka instead of powdered sugar. Anyways!
Let’s discuss blood orange chocolate chip scones
Ok, so I know scones are controversial. We’ve all had a really bad scone at a coffee shop that not even black coffee could un-cement from the roof of a mouth. But listen team, I would never encourage you to make sad scones. These are the real deal.
When I first tried out these chocolate chip scones, my eyes basically rolled into the back of my skull, because they are so damn buttery. I have never had a scone make me feel this way, so I was pretty excited. They also have a slight crispness on the outside, with a lovely, crumby texture. And there’s big hunks of melty dark chocolate studded throughout, so how can you be mad?
Also, I am very aware that the orange + chocolate combo has polarized our nation. If you don’t like this combo, I don’t get you. Just kidding, kind of. But in all seriousness, don’t worry. The orange is not a totally necessary part of these scones. We will talk about this later.
Ingredients you’ll need for chocolate chip scones
The accoutrements for chocolate chip scones are pretty basic! You’ll need:
- Sugar: Regular, white, and bad for you.
- Baking Powder: Go for aluminum-free, or your scones will taste metallic-y.
- Table Salt: To offset the sweetness of the chocolate!
- All-Purpose Flour: I like King Arthur or Montana Wheat!
- Blood Oranges: For some juicin’ and zestin’. Just use regular oranges if blood oranges are no longer in season or you just can’t find them.
- Unsalted Butter: I know I said this in the last blog post, but I would really recommend buying good butter for these chocolate chip scones. It’s an important ingredient, and it makes a big difference in the flavor. Also, it needs to be as cold as possible!
- Egg: One large, straight from the fridge.
- Heavy Cream: Adds more buttery flavor! P.S. make sure it’s cold (notice a theme here?)
- Vanilla Extract: Go for 100% pure.
- Dark Chocolate Chunks: Semi-sweet chocolate chips would also work!
- Powdered Sugar: Makes for a delicious, smooth glaze.
How to make blood orange chocolate chip scones
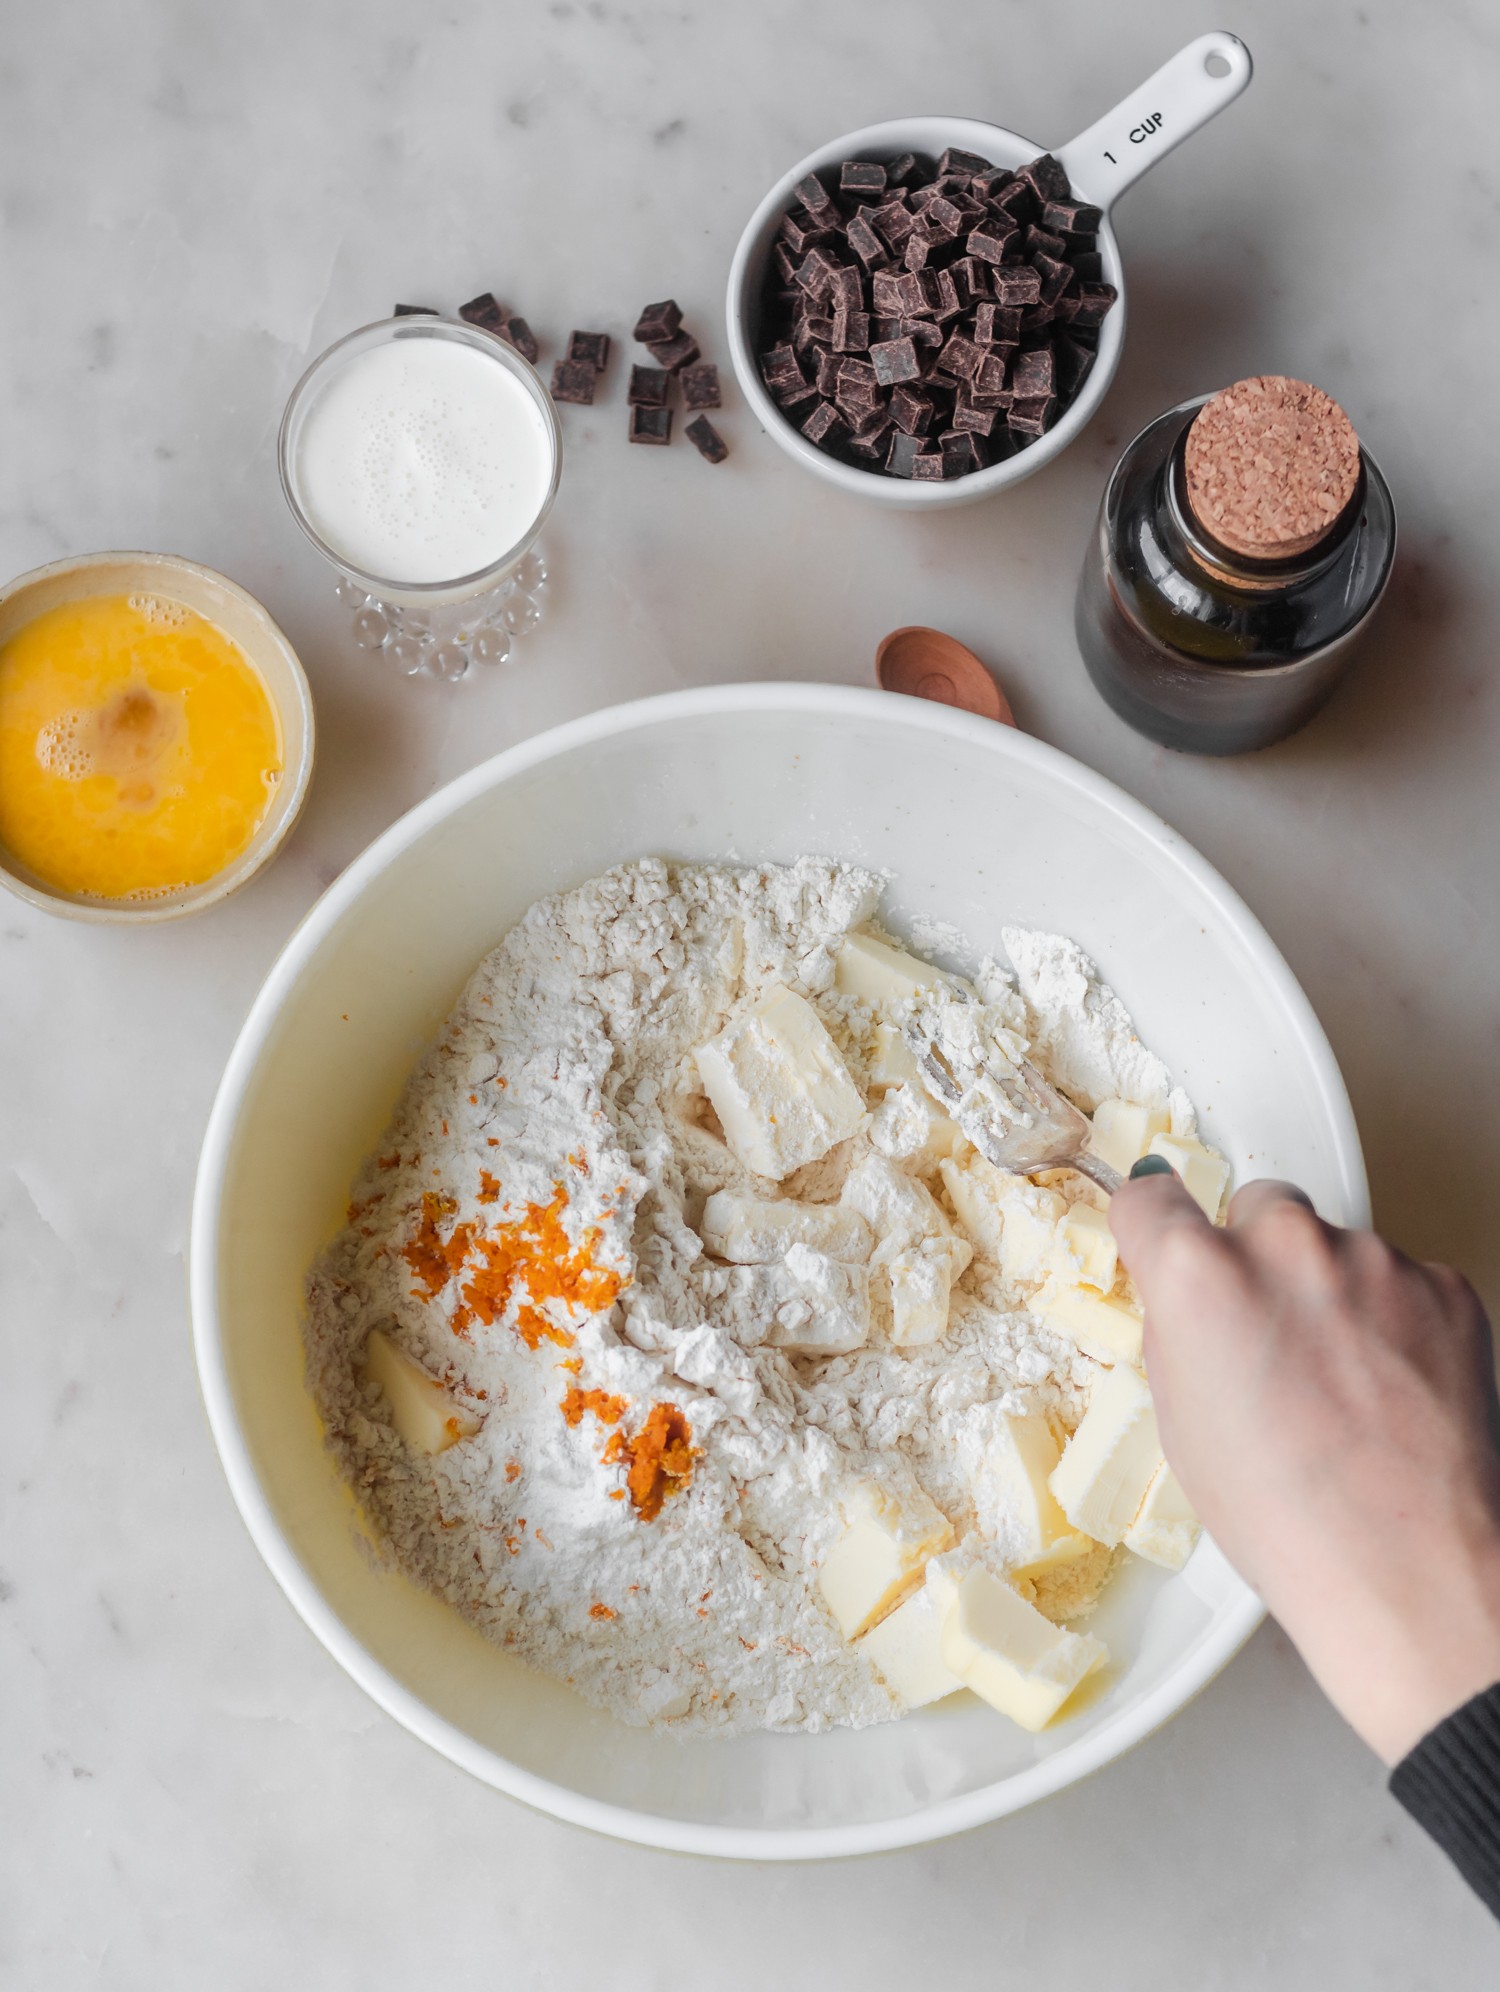
First, you’ll whisk together your sugar, baking powder, salt, flour, and blood orange zest. Then, you’ll cut two sticks of very cold butter into chunks, and toss them with the flour. At this point, you have two options:
One, you can mix the flour/butter in a food processor, and pulse until you have pea-sized pieces of butter. Even though it requires cleaning a food processor, this is my favorite method.
Or, you can do it by hand using the tines of a fork! This requires a bit more labor, but it works every time. Using a fork, just mash the butter into the flour until you have pea-sized pieces. For the sake of photos, and since not everyone has a food processor, I went with this method.
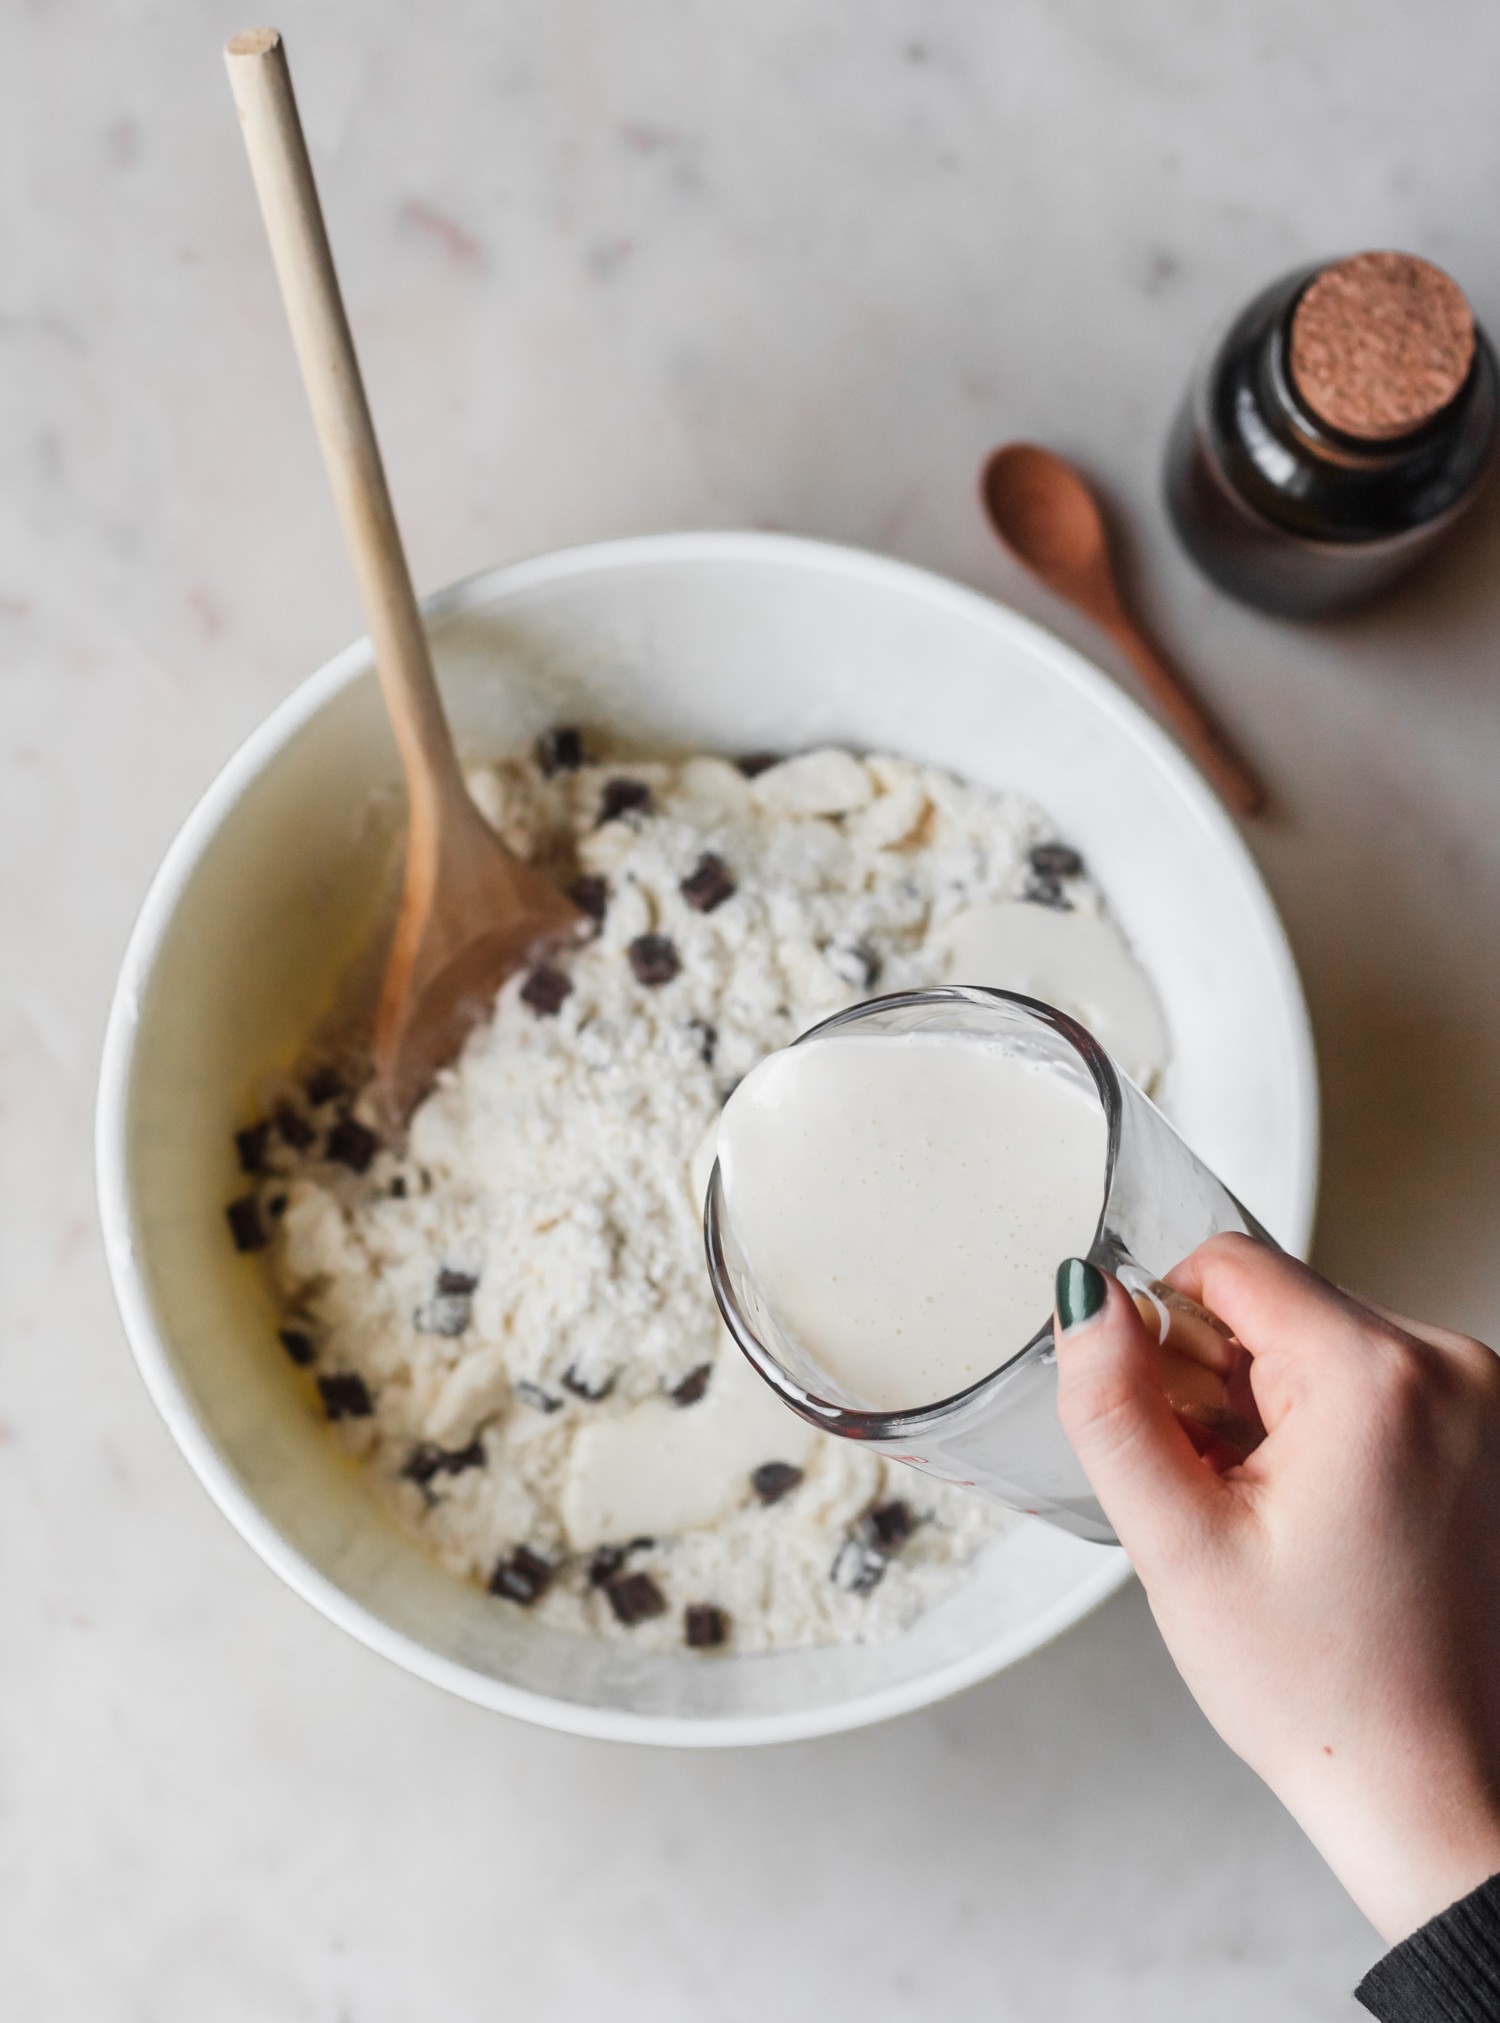
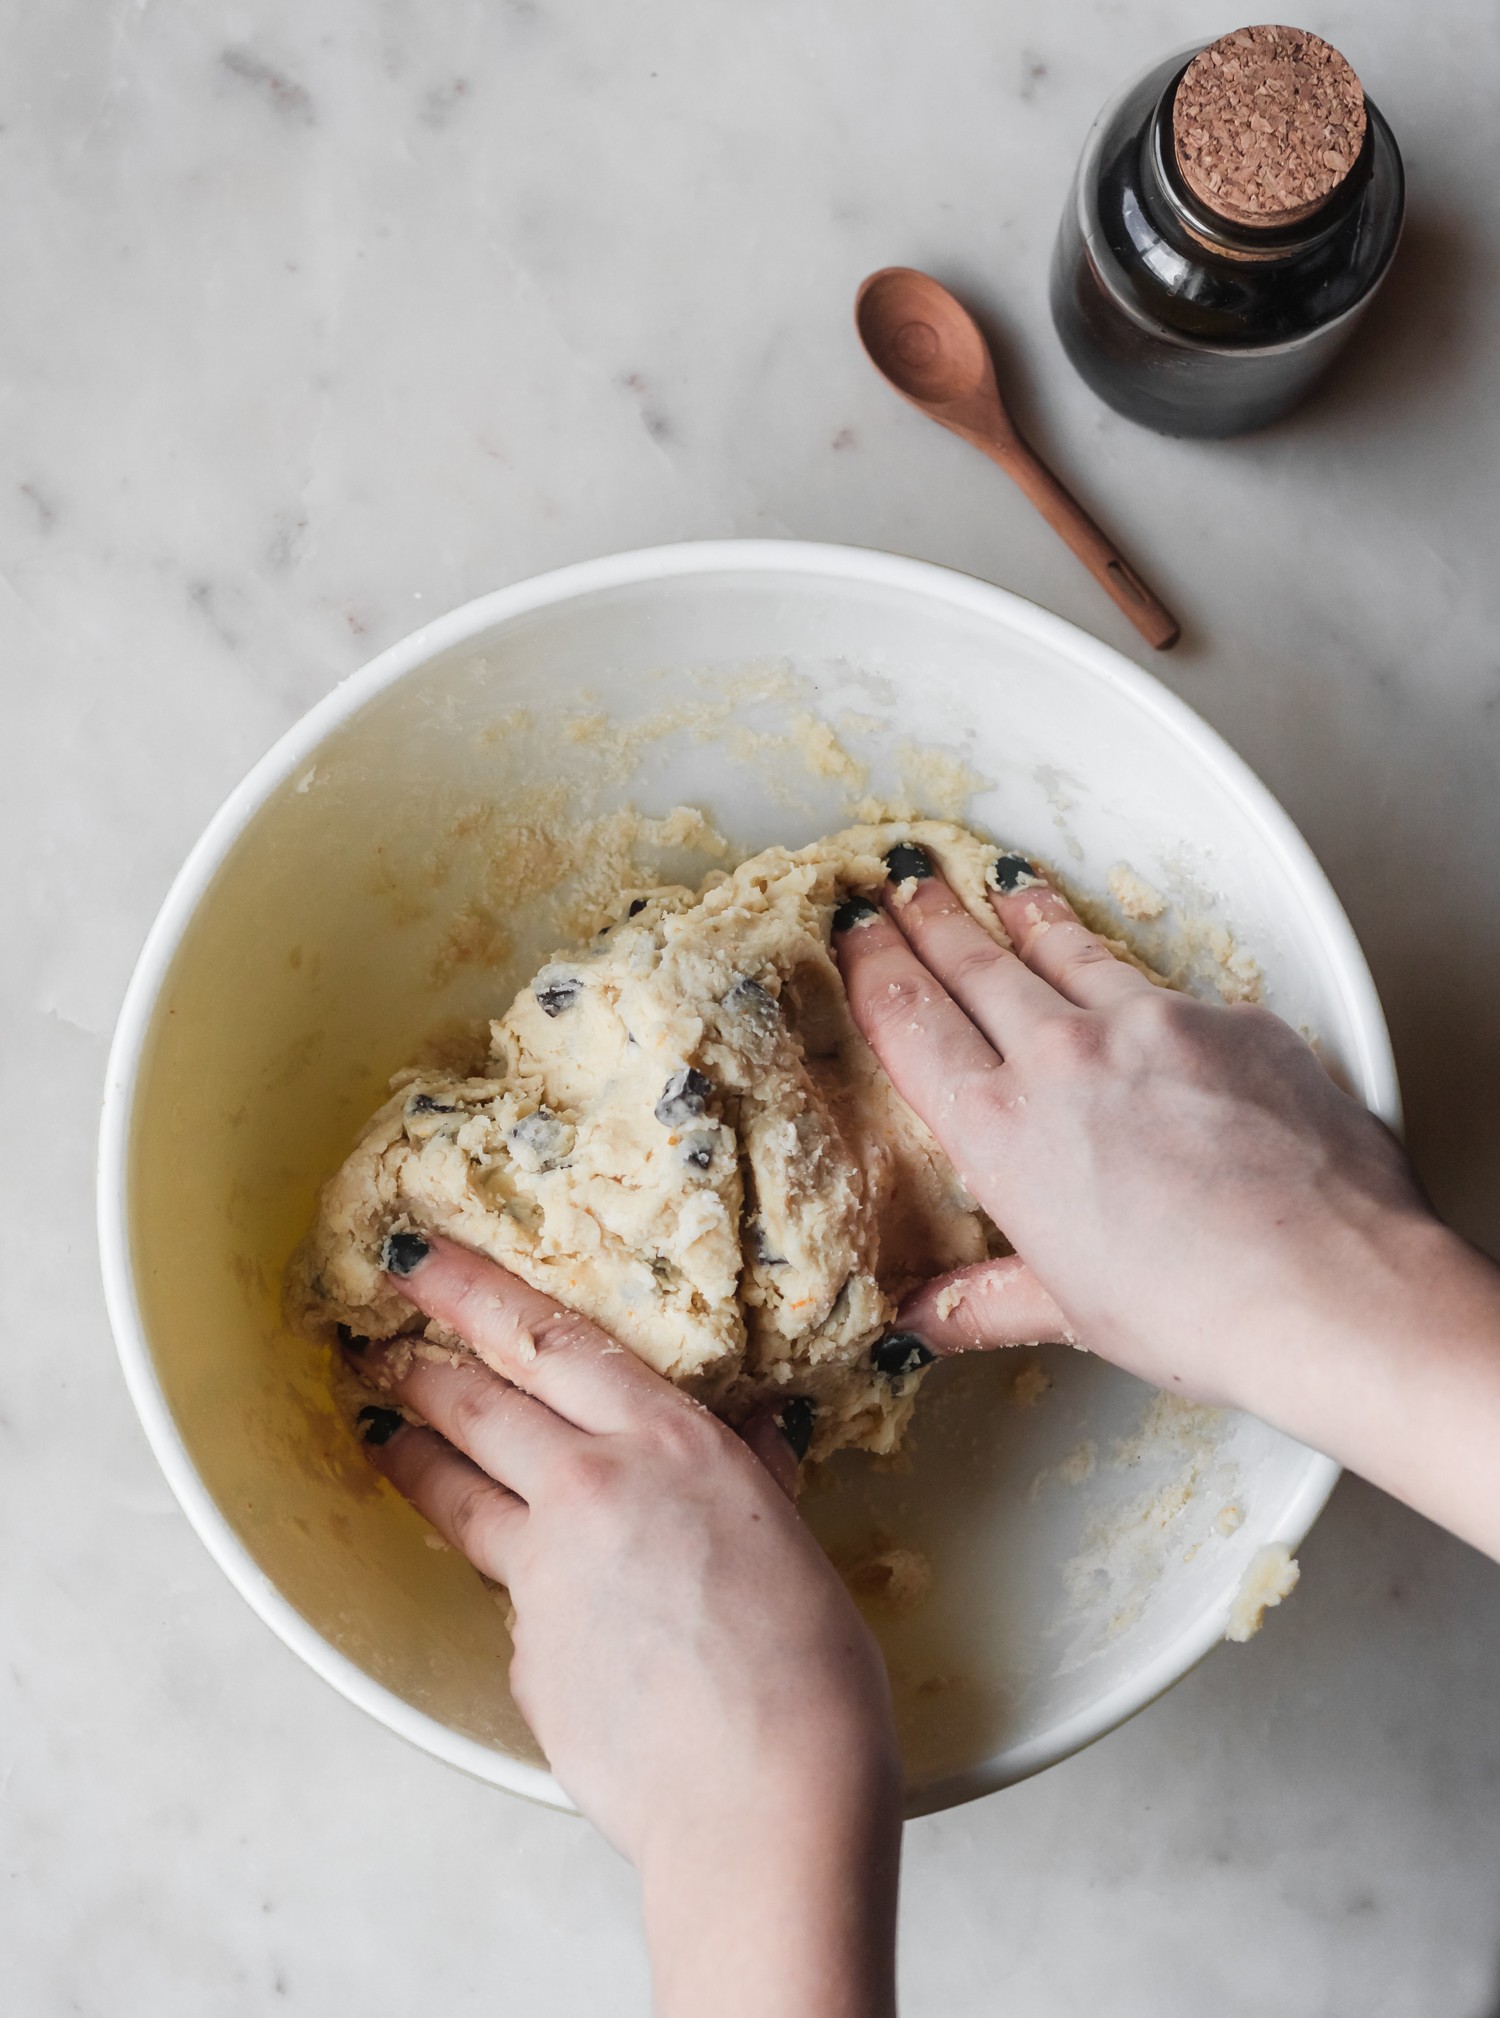
Next, you’ll whisk together the egg, cream, vanilla. Add the wet ingredients and chocolate chips to the flour-butter mix, and stir with a wooden spoon until it starts to come together. Use your hands, if you need to, but work quickly and don’t over-mix!
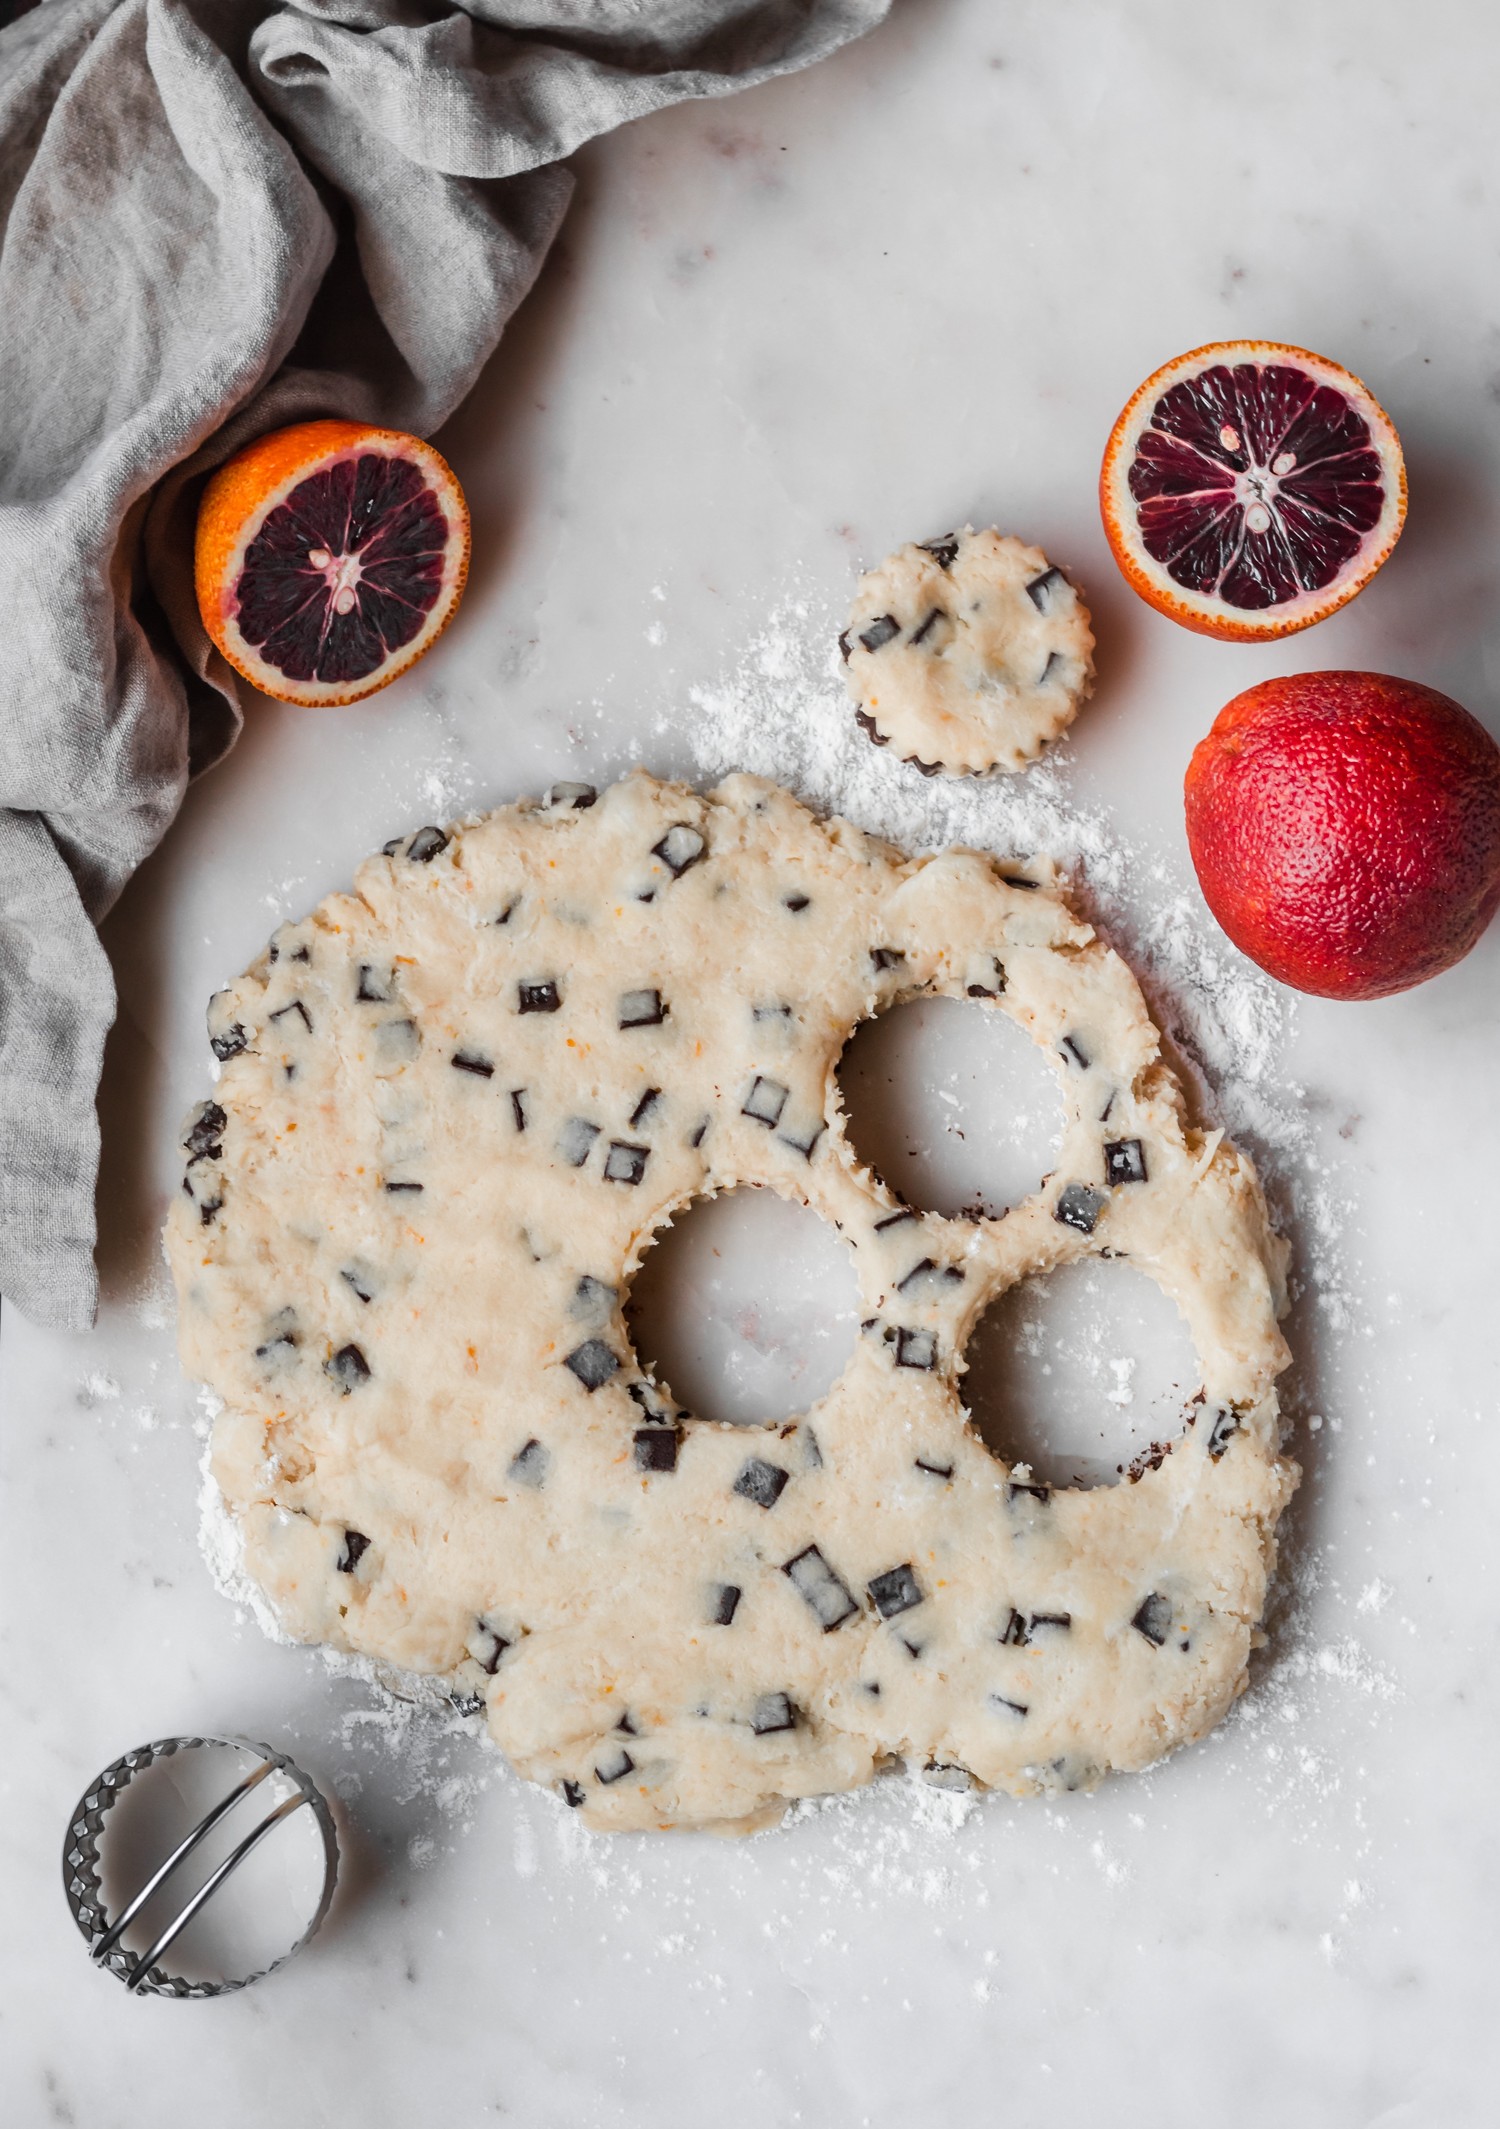
Turn the dough onto a lightly-floured surface, and roll the dough until it is about 1” thick. Cut out 2 1/2” scones with a biscuit cutter or mason jar lid. Alternatively, you can pat the dough into a large, 1” thick circle and cut the scones into 8 triangles with a sharp knife.
Bake the scones at 400°F for 10-12 minutes, until the bottoms are golden-brown and the tops are dry. Let the scones cool on the sheet pan for about five minutes. Then, transfer them to a wire rack to cool completely.
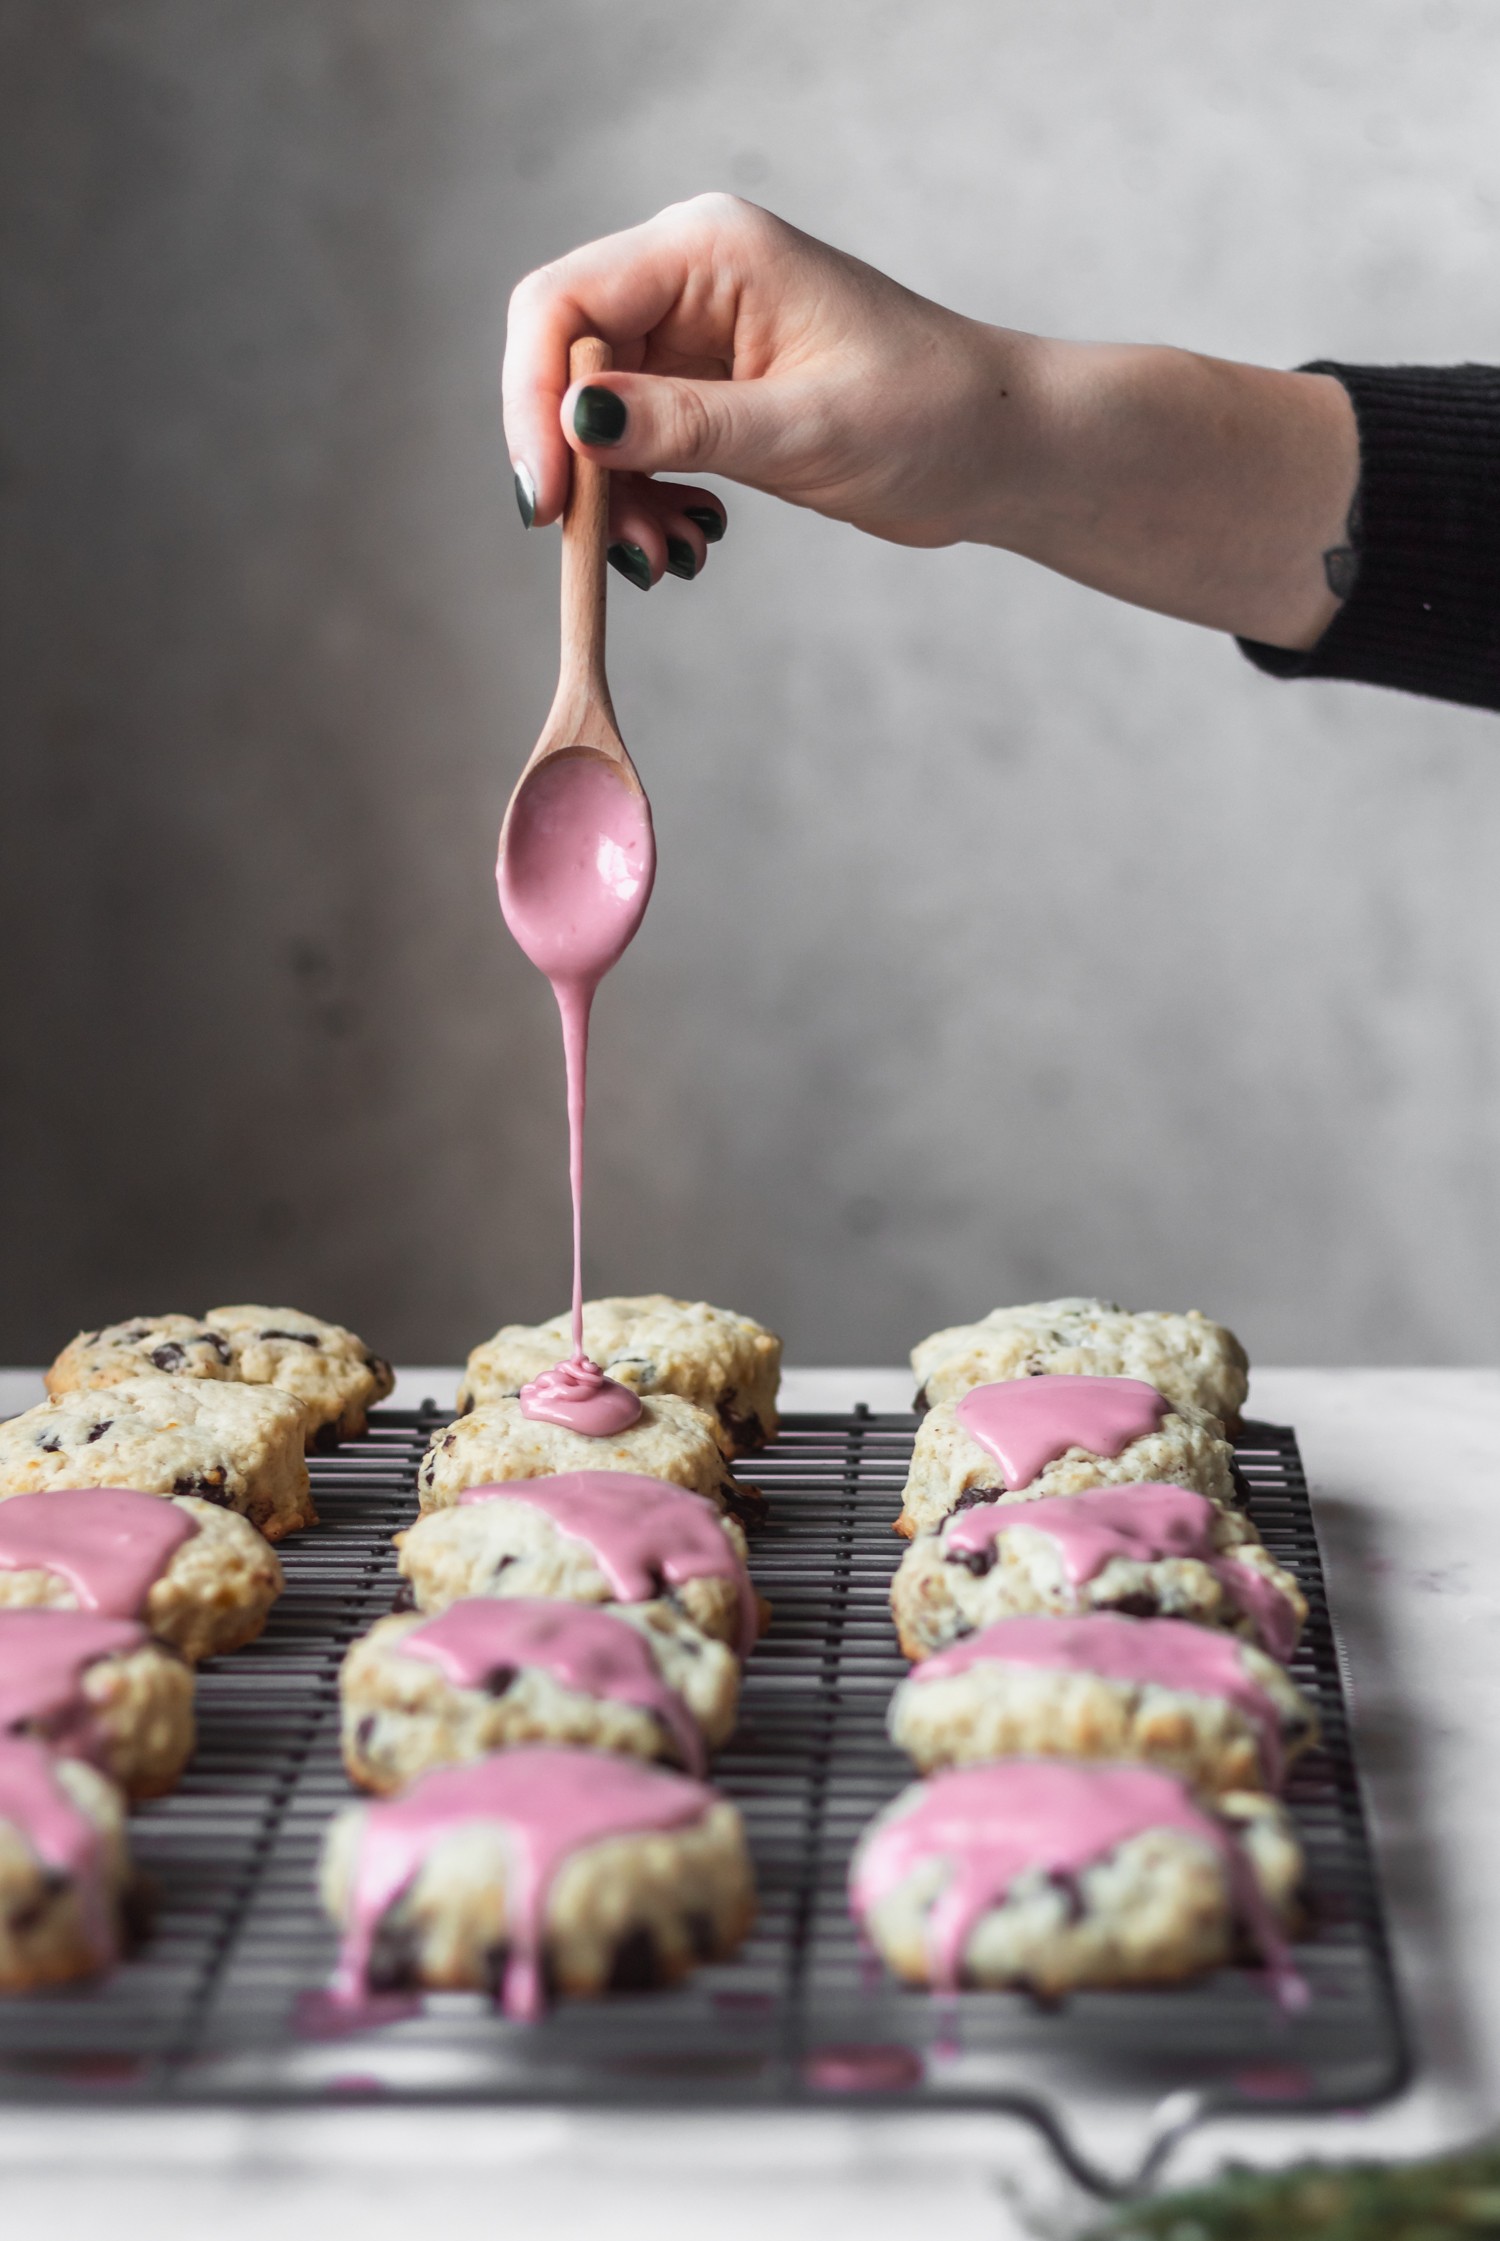
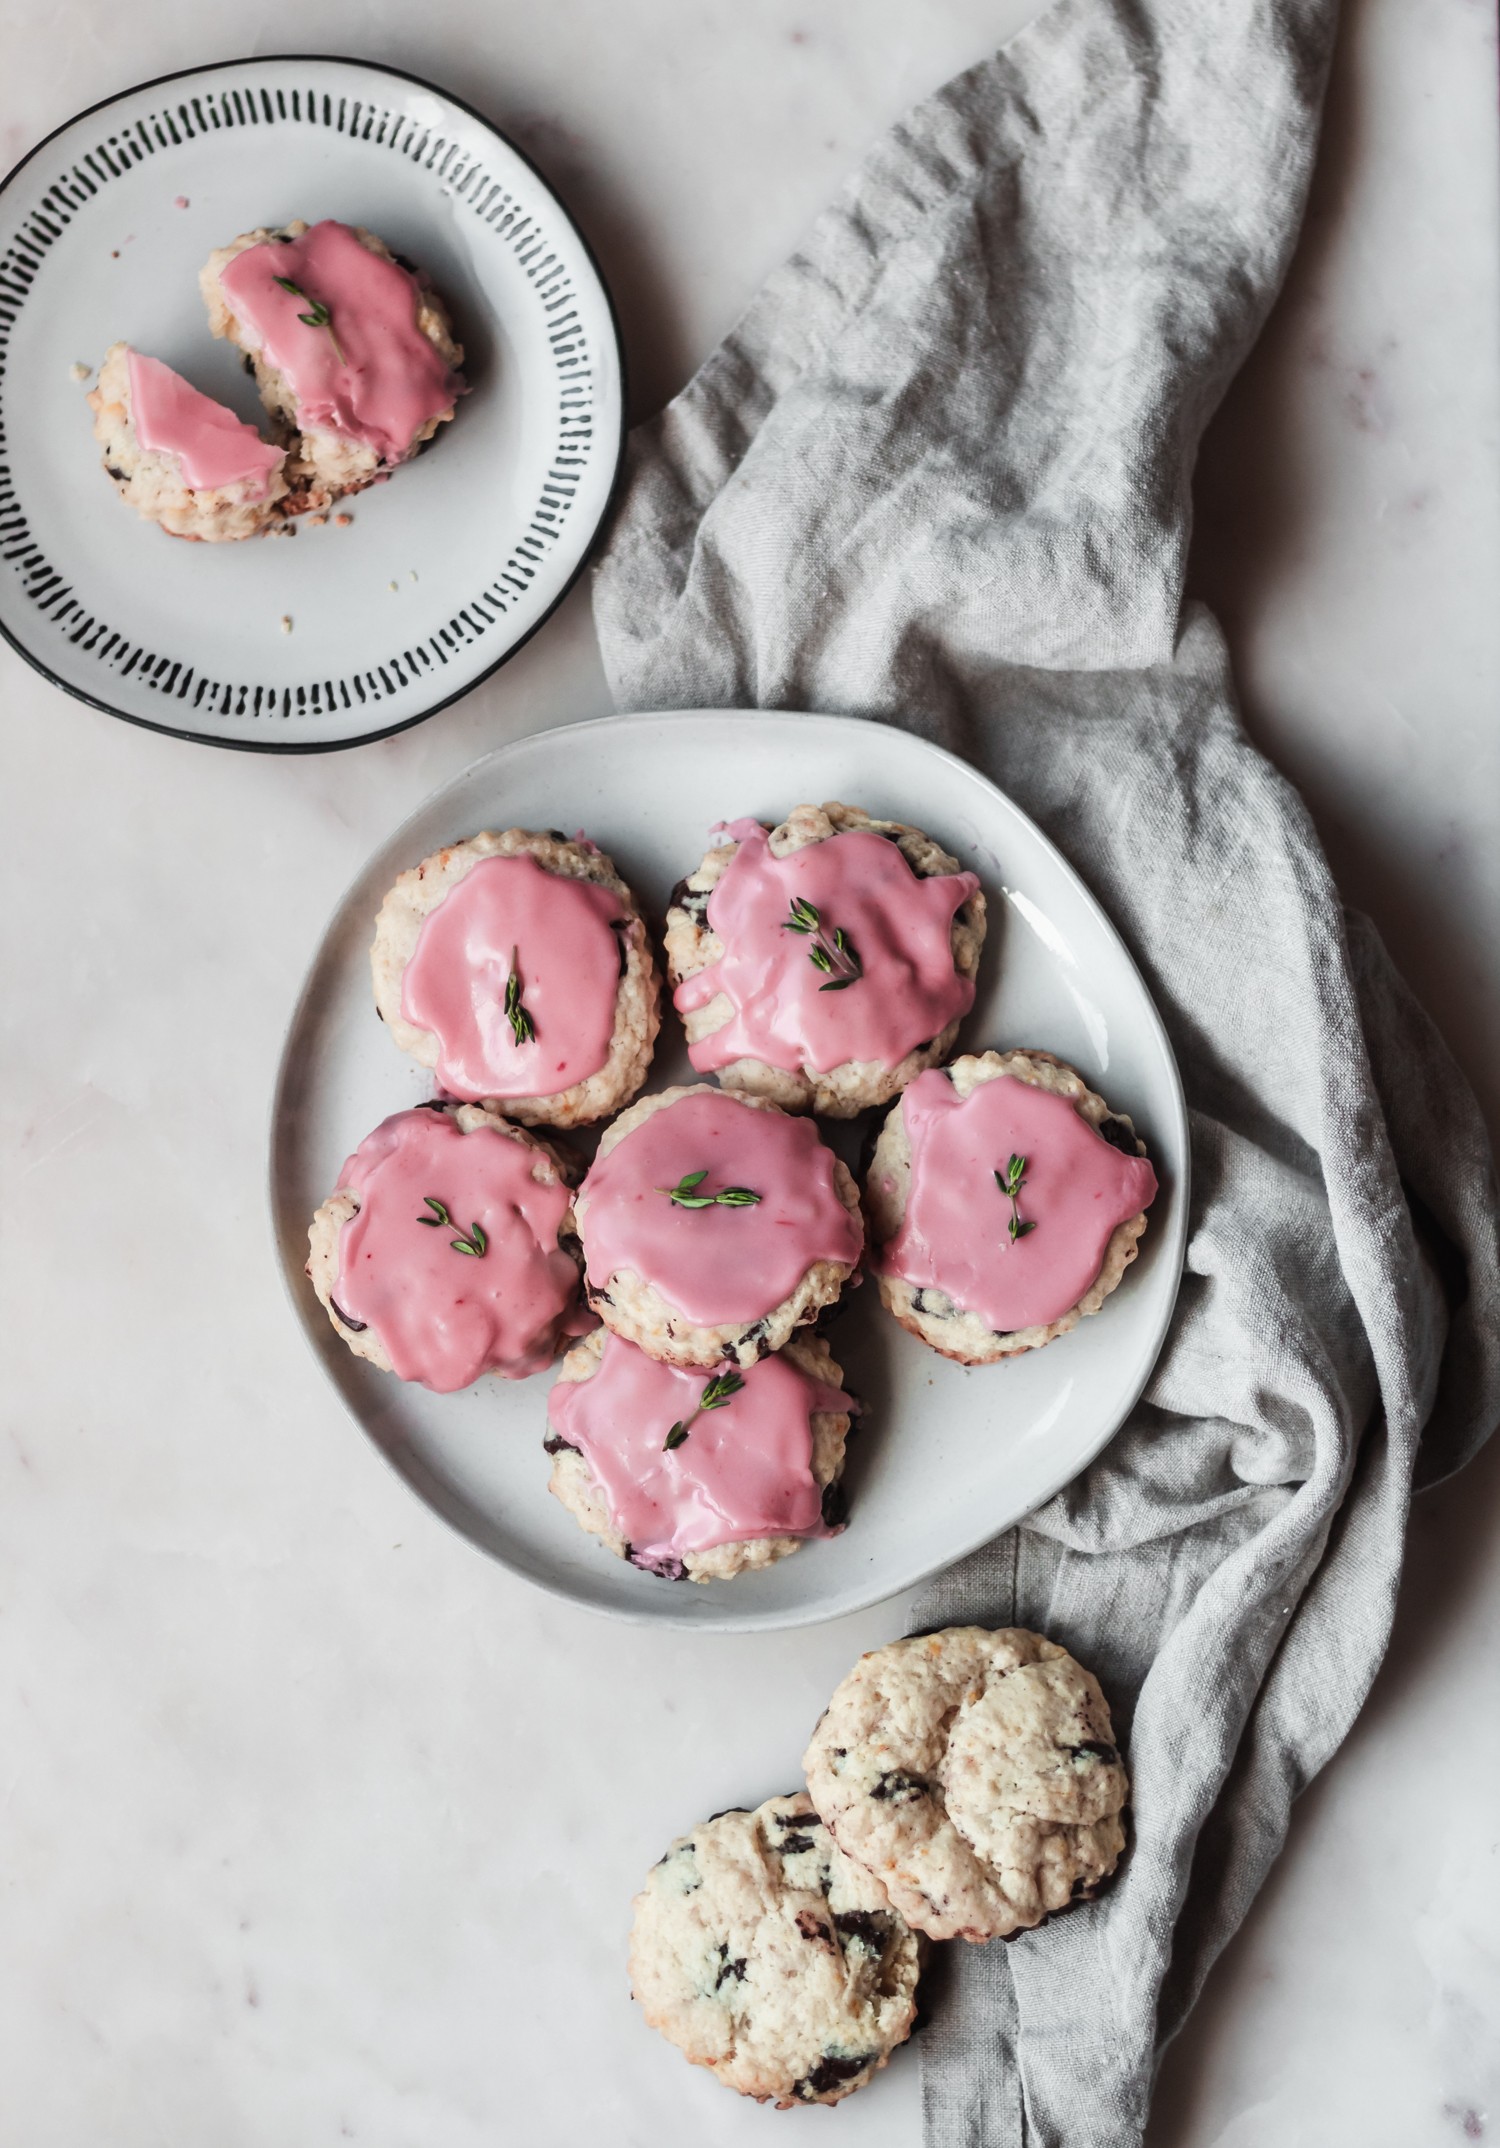
While the scones cool, make the glaze! Whisk together some powdered sugar, blood orange juice, and vanilla extract. Drizzle the glaze over the scones, and let the glaze harden.
Storing blood orange chocolate chip scones
Once the glaze has completely hardened, you can store these scones in an airtight container for up to three days. I wouldn’t go any longer, because they will eventually get a bit soggy!
Why does the butter need to be cold when I make scones?
Not just your butter, but all perishable ingredients, need to be straight from the fridge when you’re making scones! This includes your eggs and cream. Scones get their perfect tender, buttery-ness from the coldness of the butter. When you bake scones (or any quick bread) with pea-sized chunks of butter, it melts throughout the dough, releases steam, and creates those delicious, flaky layers that you want and deserve.
Additionally, we keep other perishable ingredients as cold as possible, because they are interacting with the butter. The warmer the ingredients, the more likely the butter will melt!
Can I make chocolate chip scones by hand?
Yep! I would recommend the food-processor method if you have one laying around. 1. It speeds up the process, ensuring that your butter won’t melt. And 2. It’s just all-around less labor. I really think it’s worth cleaning an entire food processor!
However, if you do not have a food processor, these are totally easy to make by hand! They just require a little extra muscle. To make scones by hand, use a pastry cutter or the tines of a fork to cut the butter into pea-sized pieces. Easy peasy!
What if the butter starts to melt when I’m making scones?
Just pop the dough in the refrigerator or freezer for about 10-15 minutes, and then proceed with the recipe as normal!
For a gluten-free chocolate chip scone…
Just replace the all-purpose flour with a one-on-one gluten-free flour substitute. I’ve had success with Cup4Cup. I think it tastes the best of all the GF flours!
If blood oranges aren’t in season…
Use regular, navel oranges. They’re a tad less sweet, but it won’t make a huge difference in the flavor profile of these scones! Or, just leave out the orange zest altogether, and use cream in the glaze instead of juice. Vanilla chocolate chip scones are delicious, too!
Tips for making the best chocolate chip scones ever
- I swear, this is the last time I will say this: make sure your butter is cold if you want delicious, flaky scones! The cream and egg should also be straight out of the fridge.
- Use a good, high-quality butter, because it makes a big difference in the flavor.
- When mixing the dough with your hands, don’t over-mix. Work fast, and mix only until the dough comes together. A few small dry spots are ok!
- If the butter gets a little melty, stick the dough in the fridge or freezer for 10-15 minutes.
- Wait until the scones are completely cool before you glaze them, or the glaze will drip right off.
- This isn’t totally necessary, but I like freezing the scones for about 10 minutes before I bake them to make sure they’re perfect!
- To make these orange-free, leave out the orange zest, and replace the juice with heavy cream.
Other blood orange recipes you’ll ❤️
Poppy Seed Pancakes + Blood Orange Curd
Blood Orange Margaritas
Roasted Citrus Compote
Black Sesame + Blood Orange Pound Cake
Chocolate Chip Scones with Blood Orange Glaze

Chocolate Chip Scones with Blood Orange Glaze
Ingredients
- 1/3 cup sugar
- 2 1/2 tsp baking powder
- 1/2 tsp salt
- 2 1/2 cup all-purpose flour
- Zest of 1/2 a blood orange (or regular)
- 1/2 cup cold unsalted butter, cut into chunks
- 1 egg, beaten
- 3/4 cup heavy cream
- 1 tsp vanilla extract
- 1 cup dark chocolate chunks (or semi-sweet chips)
Blood Orange Glaze
- 3 tsp blood orange juice
- 1 cup powdered sugar
- 1/2 tsp vanilla extract
Instructions
Chocolate Chip Scones
- Preheat the oven to 400°F. Line two cookie sheets with parchment paper and set aside.
- In the bowl of a food processor, add the sugar, baking powder, salt, flour, and blood orange zest. Pulse a few times to combine. Add the cold butter chunks, and pulse until you have pea-sized amounts. Alternatively, combine all of the dry ingredients in a large mixing bowl, and then cut the butter into pea-sized pieces using a pastry cutter or the tines of a fork.
- In a small mixing bowl, whisk together the egg, heavy cream, and vanilla extract. Add the cream mixture and the chocolate chunks to the flour-butter mixture, and stir with a spoon until the dough starts to come together. Use your hands if necessary, but work quickly and do not overmix! A few dry spots are ok.
- Turn the dough onto a lightly floured surface, and roll until it’s about 1” thick. Use a 2 1/2” biscuit cutter or mason jar lid to cut out the scones. Re-roll as necessary. Place the scones on the cookie sheets about 2” apart from each other. Alternatively, quickly press the dough into a large 1” thick circle. Cut into 1/8ths with a sharp knife. *Optional: Place the scones in the fridge or freezer for about 10 minutes to ensure the butter is cold before baking!
- Bake the scones for 10-12 minutes, until the bottoms are a light golden brown and the tops are dry. Let the scones cool on the pan for about 5 minutes, and then transfer the scones to a wire rack to cool completely.
Blood Orange Glaze
- Combine the blood orange juice, powdered sugar, and vanilla extract until smooth. Drizzle the glaze over the chocolate chip scones, and garnish if desired (I like adding a sprig of thyme!) Once the glaze has hardened, store the scones in an airtight container for up to three days.
xo Sara Lynn
*Song of the day: White Winter Hymnal by Fleet Foxes


Pingback: Brown Butter Rice Krispie Treats with Dark Chocolate & Pretzels • Serendipity by Sara Lynn
Pingback: Cranberry Orange Scones with Candied Ginger • Serendipity by Sara Lynn
Can these be made the day before?
Yes, these ca be made the day before! Once the scones are completely cooled and the glaze is hardened, store them in a single layer in an airtight container or zipper bag. They can sit at room temp on the counter for 2-3 days. 🙂