The Ultimate Guide on Making Cold Brew Coffee Concentrate
This post might have affiliate links. For full details please see my disclosure policy.
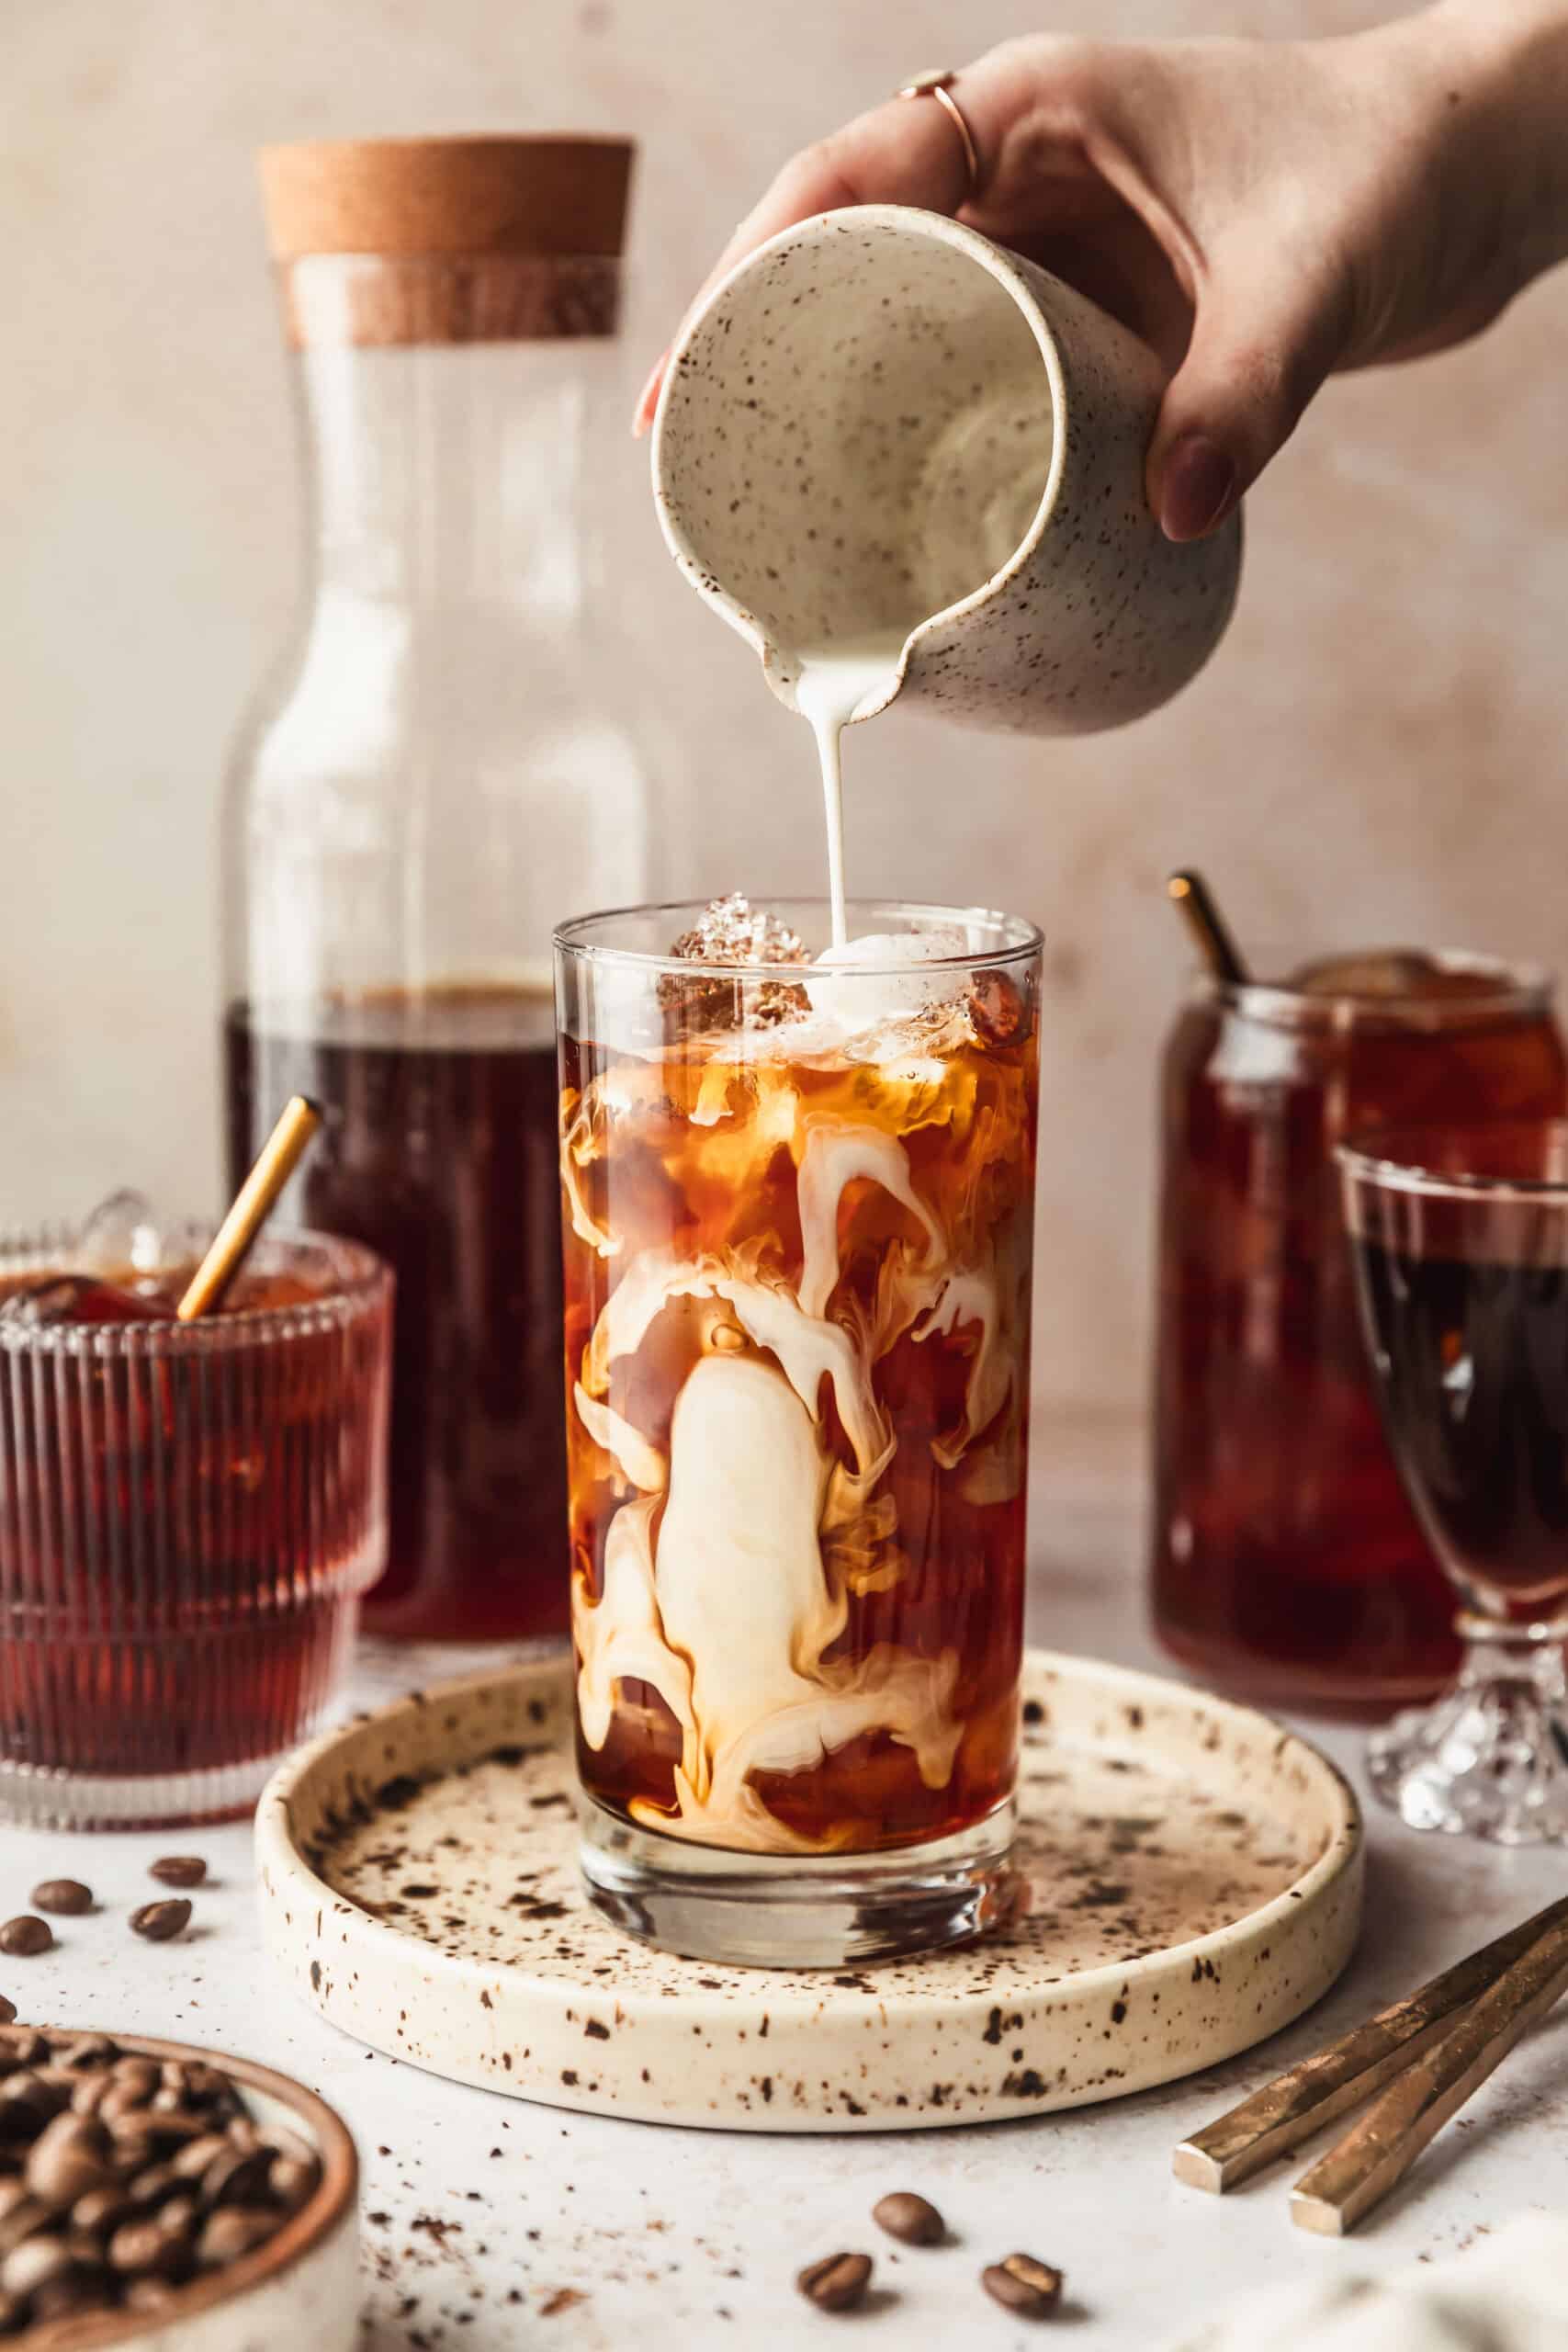
Making cold brew coffee concentrate at home is so much easier than you think. As a retired barista, these are all of my tips and tricks for making the best cold brew with just a few simple kitchen tools (or even a French press!). This concentrate is my go-to way to make batched iced coffee for brunch parties, holidays, or casual weekday sipping!
Back when I was trying to be a 6 a.m. gym girlie, I would sit on the rowing machine having an existential crisis and daydreaming about my first sip of coffee. In a very real way, I have no idea how I used to wake up before dawn to pour latte after latte for the pre-caffeinated public.
So needless to say, I now go to the gym after work and enjoy my coffee merely minutes after rolling out of bed. From drip coffee and Chemex brews to coffee hot toddies and these frosty cold brew martinis, I like it morning, noon, and night. But cold brew is my afternoon drink of choice!
Back in college, I worked as a barista for a specialty coffee shop. And after graduation, I went on to become the marketing manager for a company that built coffee roasters. At the time, I honestly wasn’t a huge fan of cold brew because I thought it tasted a bit sour and flavorless. But thanks to some coffee friends I made along the way, I learned all the tricks for making the best cold brew at home!
This particular recipe is one I’ve been making since my barista days. We used to make gallons of the stuff. But now, it’s my little treat when I need a pick-me-up after a long photoshoot or client meeting. Let’s make it together!
The 2 ingredients you’ll need
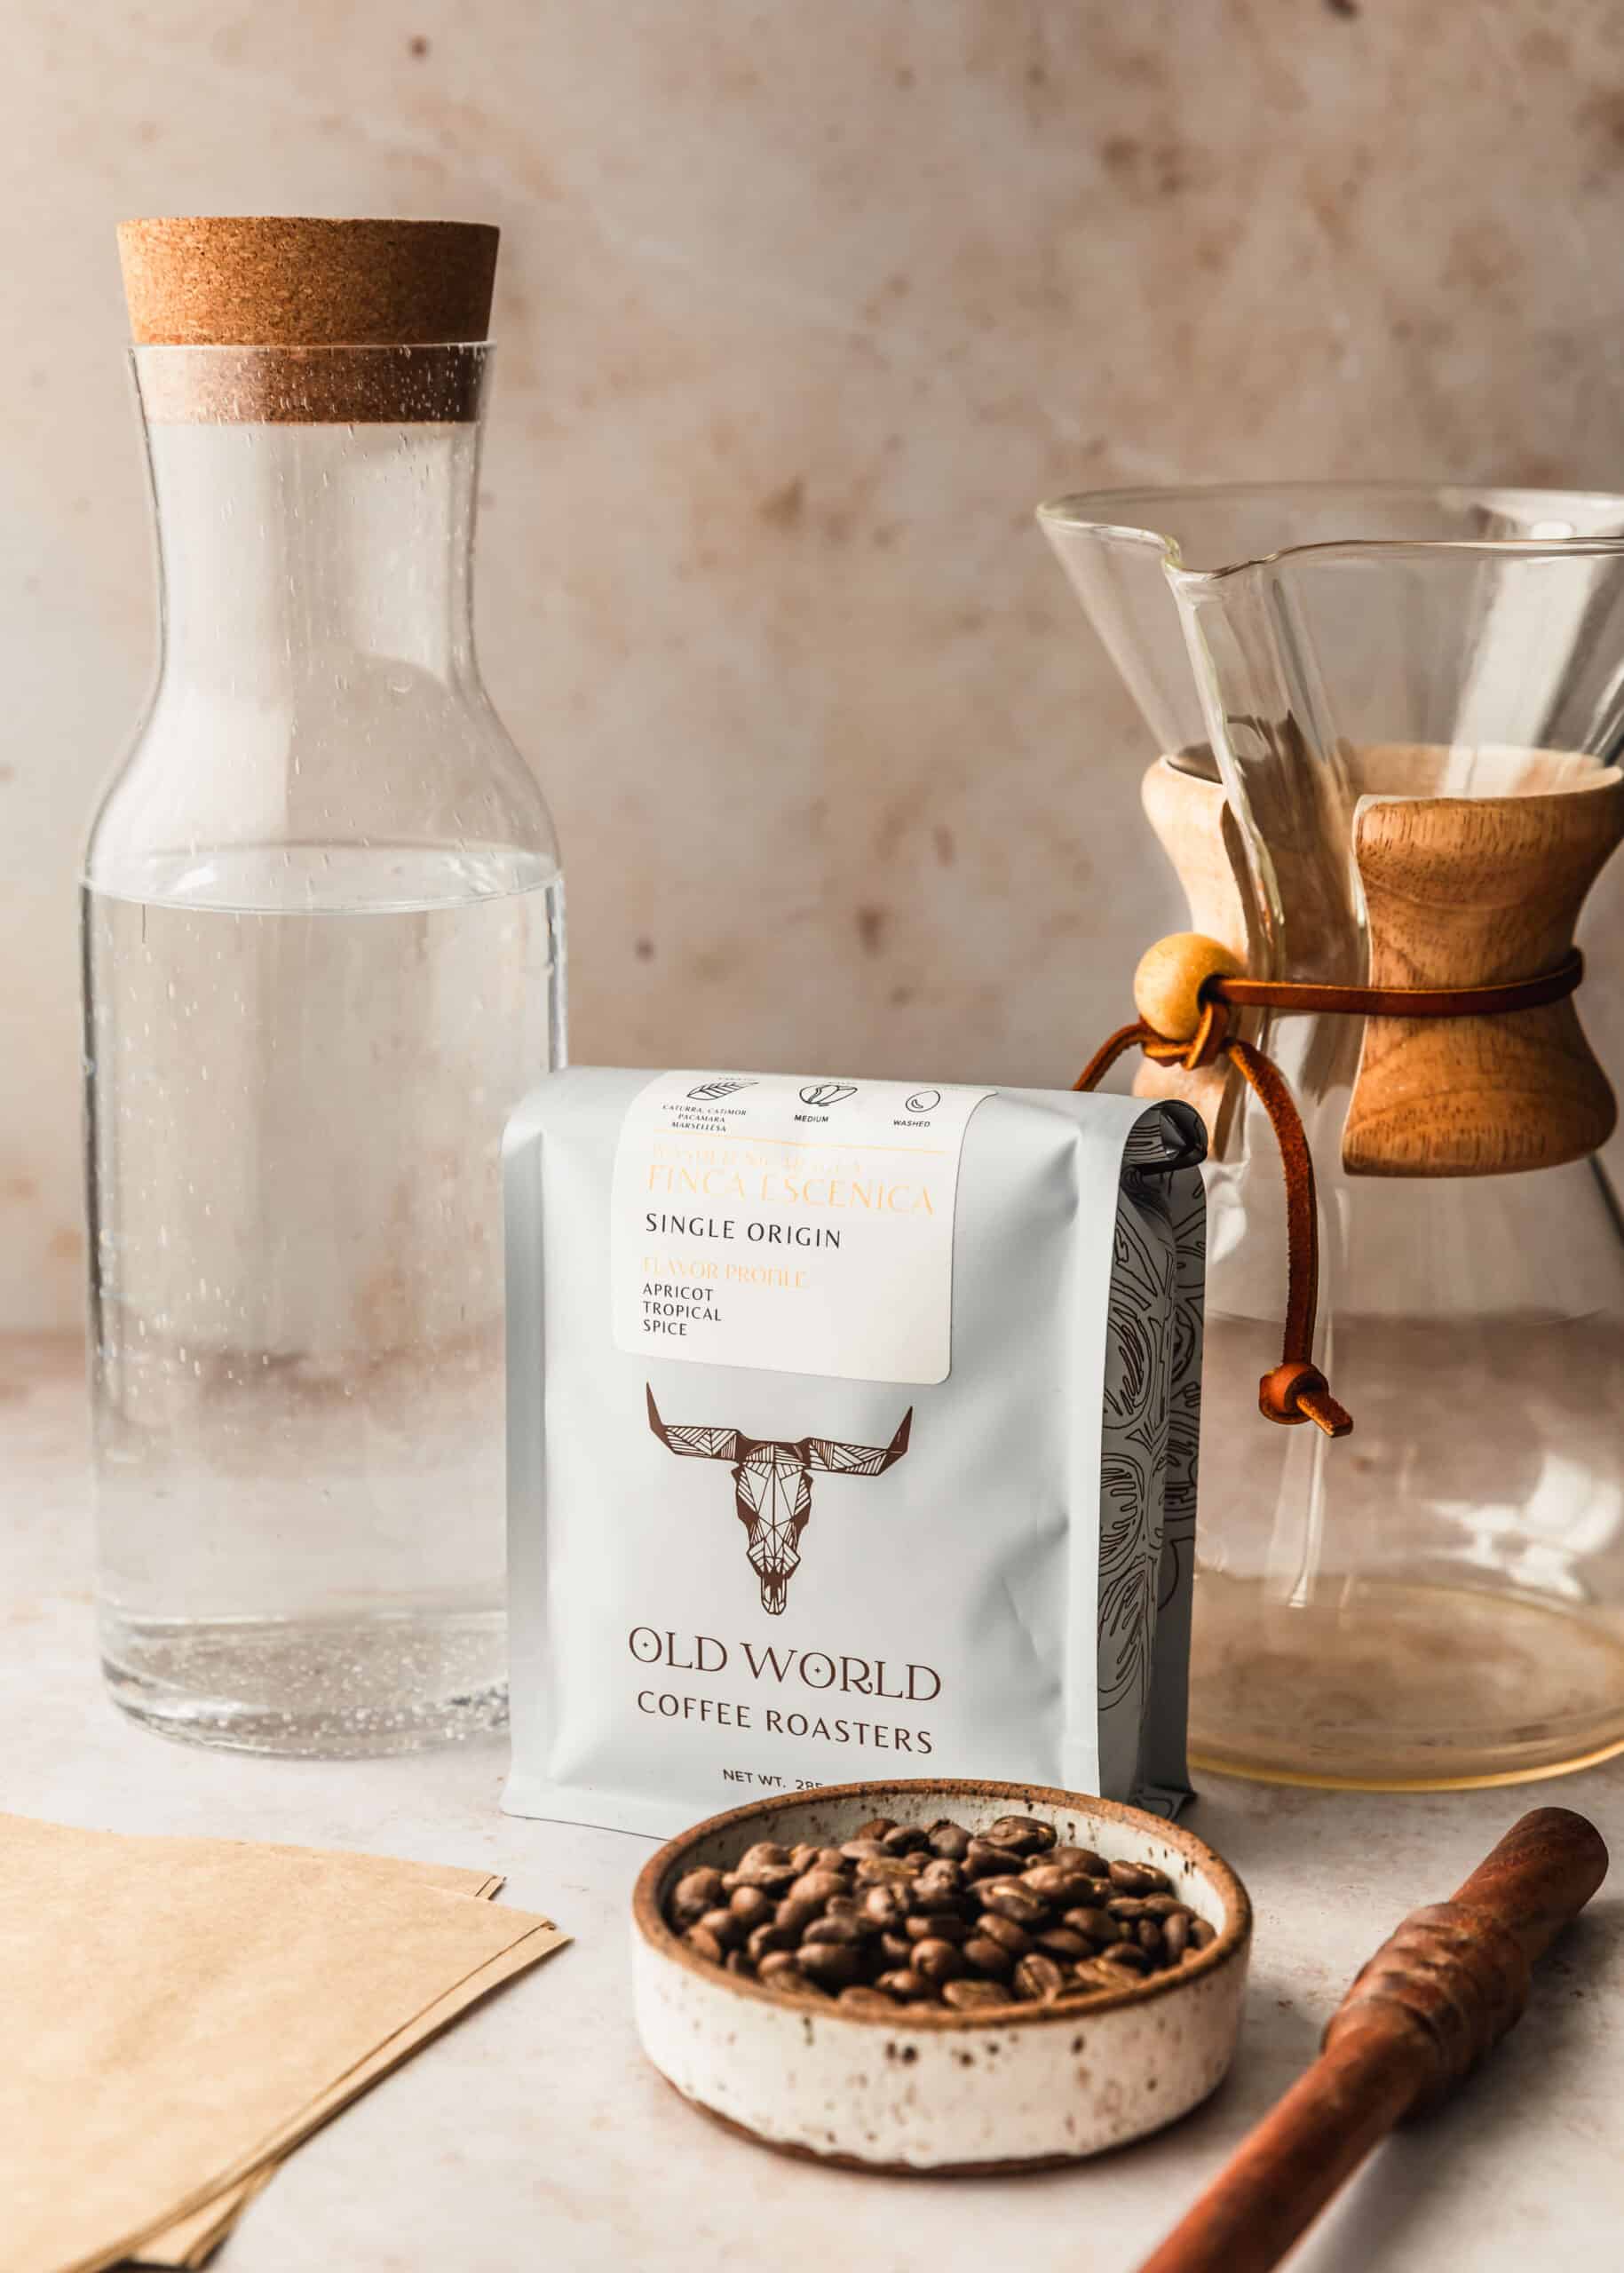
You literally need just 2 ingredients to make this recipe: coffee beans and filtered water. When it comes to the coffee, you need a specific grind size. (More on this later.) That means you will want to buy whole beans and grind them yourself.
If you buy coffee from the grocery store, they usually have a coffee grinder for you to use. But for the best flavor, I would recommend buying beans from a local shop. Just ask the barista to grind the beans for cold brewing. They’re happy to help! (Feel free to use decaf too if you’d like.)
Tools needed
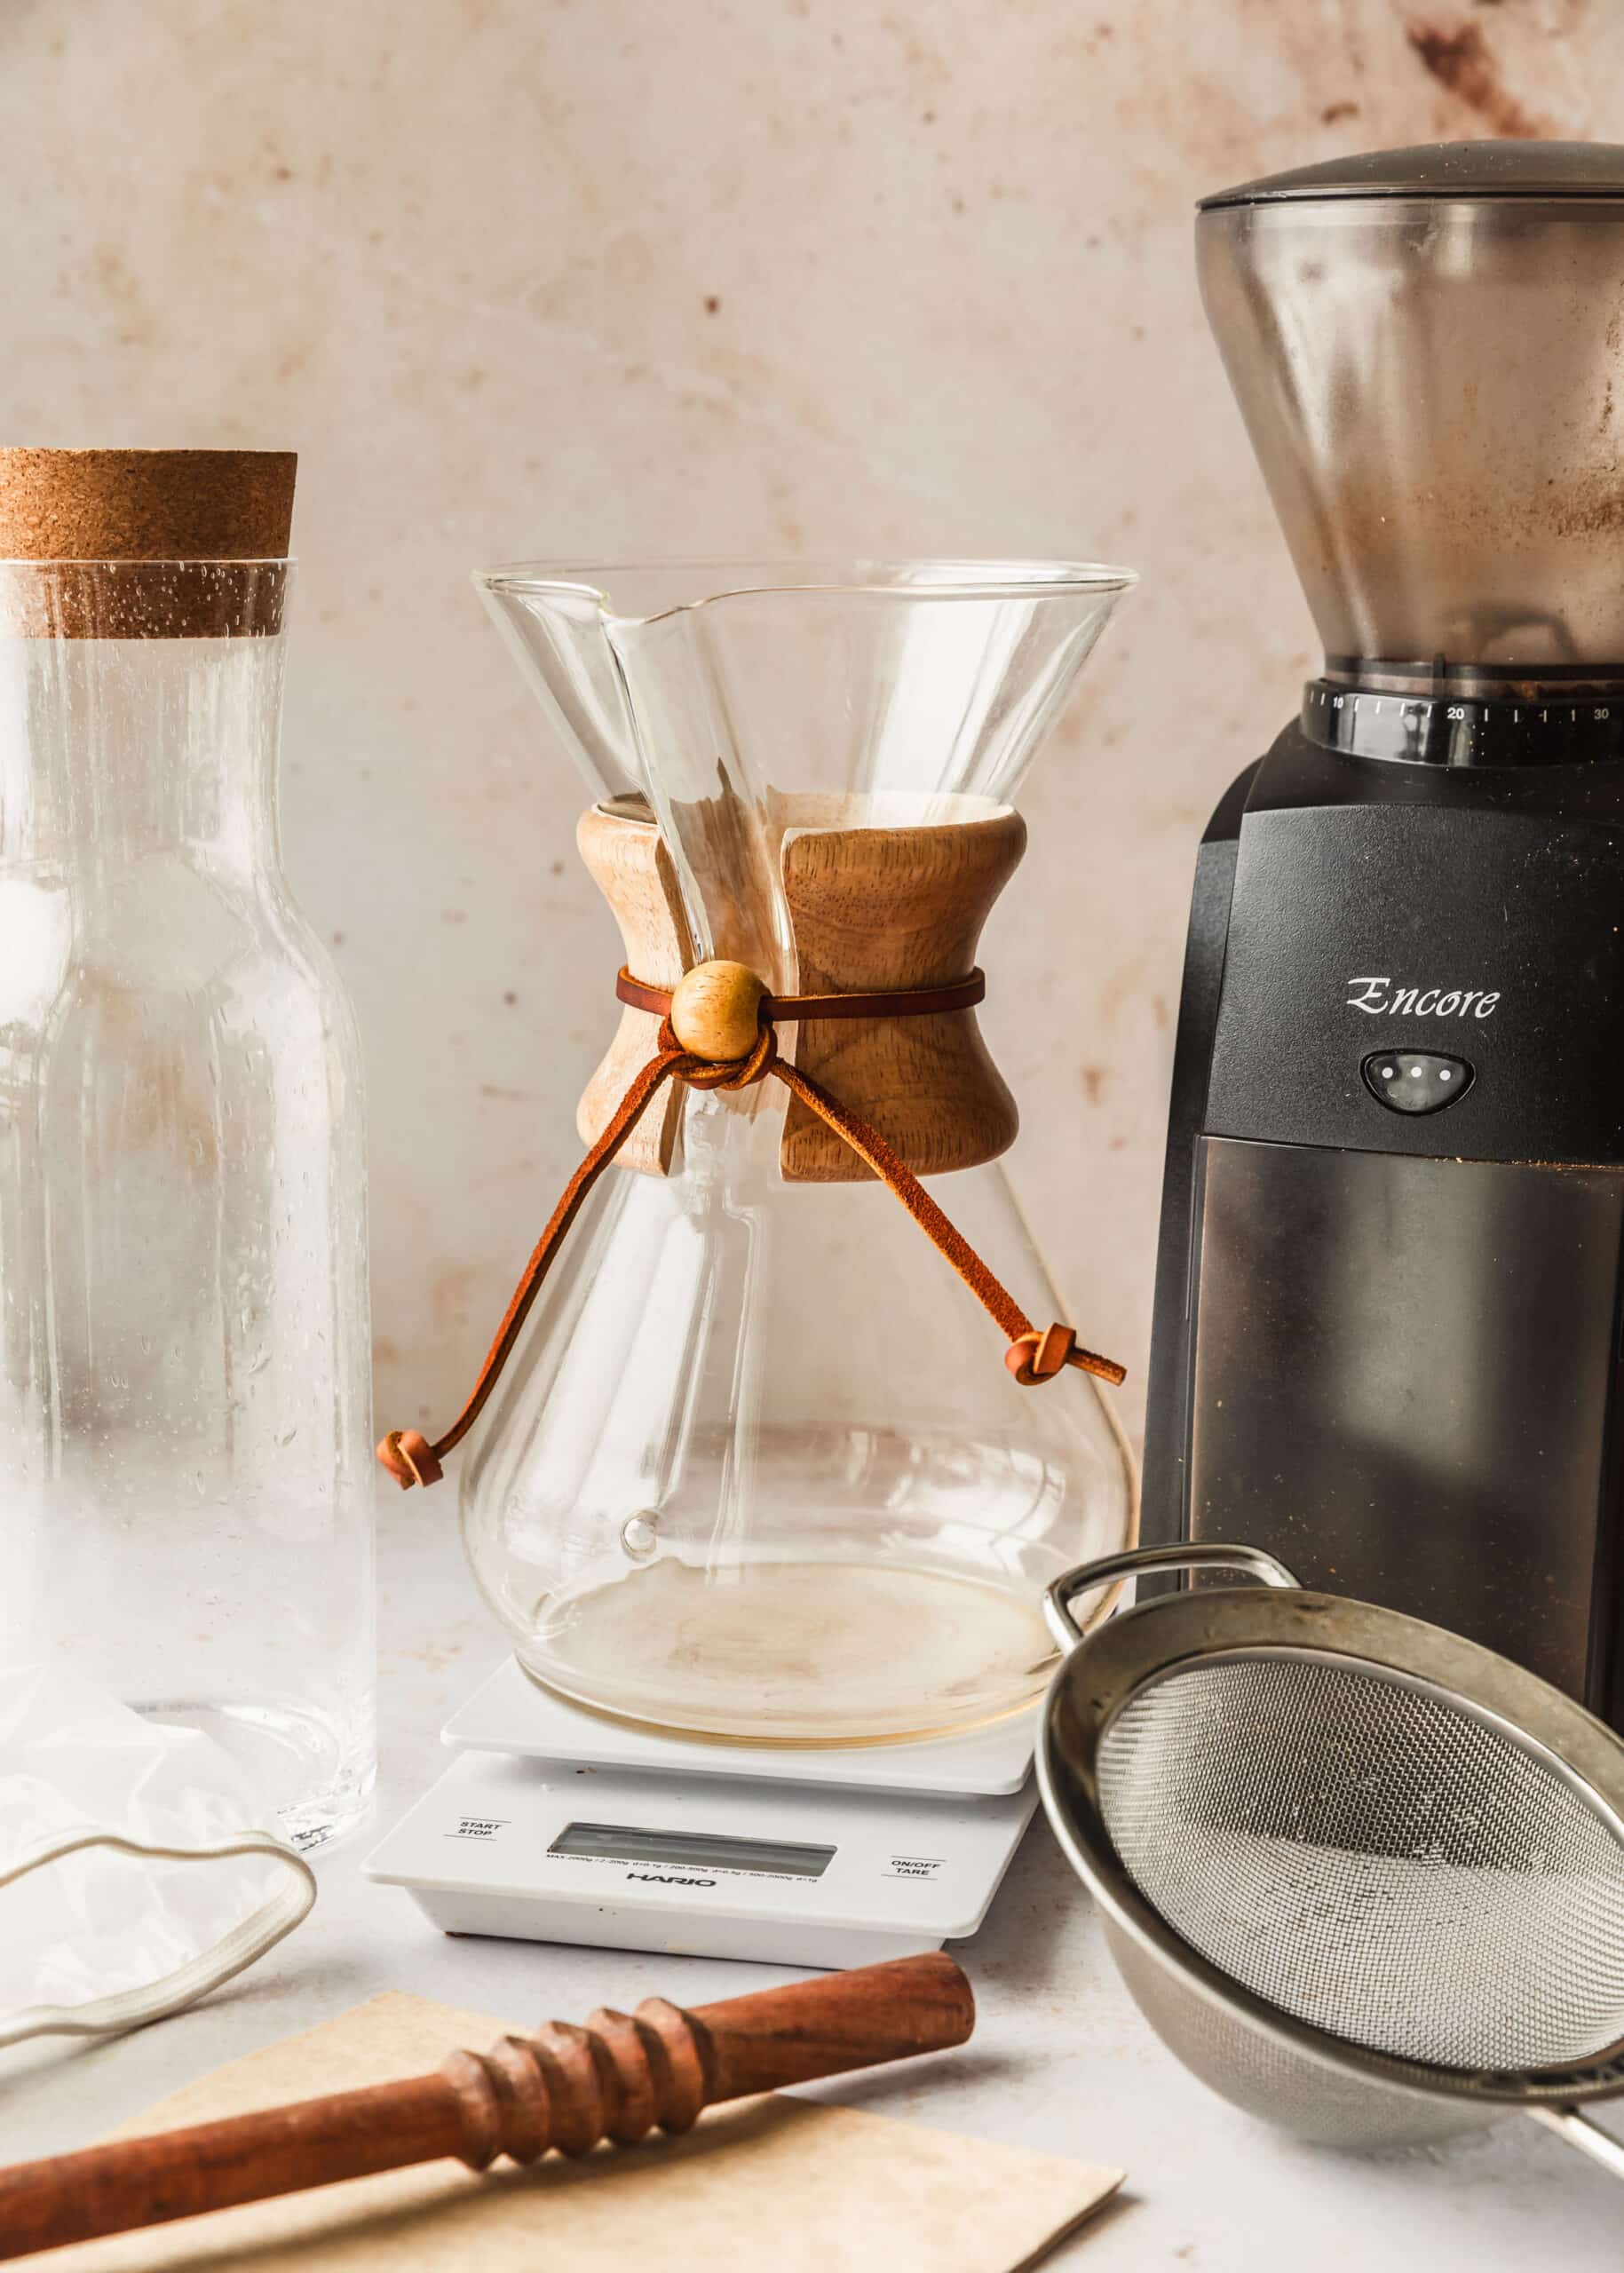
The tools here are basic, but I like to gather them beforehand to make things easier. First off, a coffee grinder. My burr coffee grinder is my best friend and I use it every day. But if you only grind beans once in a while, try a more affordable manual coffee grinder instead!
You will also need a kitchen scale or coffee scale to measure out the beans and water. Then, grab a brewing container like a Chemex coffeemaker, a big jar, or a pitcher. Lastly, you’ll need a large fine mesh sieve and a coffee filter or cheesecloth.
Make sure you wash your tools very well before brewing! Bacteria loves sugary food (like coffee) and you don’t want to ruin a perfectly good brew. Give everything a good wash and let the tools air dry before you get started.
Coffee-to-water ratio
When it comes to the cold brew concentrate ratio, things can get…opinionated. What can I say? Coffee people have feelings. But ultimately, the ratios below are merely a good starting point. Feel free to play around with this to make cold brew to your tastes!
- 1:8 ratio – meaning 1 gram of coffee for every 8 grams of filtered water, which will later be diluted. This is my personal favorite for concentrate. It’s strong but not too wild!
- 1:4 ratio – if you like really strong coffee, feel free to do a 1:4 ratio. 1 gram of coffee for every 4 grams of water.
- 1:12 ratio – if you want to skip the concentrate altogether, use 1 gram of coffee for every 12 grams of water. Taste and add more water as needed!
Grind size

The first step to making cold brew is to weigh and grind the beans. Many recipes call for coarsely-ground coffee but honestly, I think it’s too coarse for cold brew. Instead, I like a medium-coarse grind which extracts more sugars for a sweeter, smoother cold brew. The grind size should look similar to Kosher salt.
Pre-ground coffee will not work for this recipe. The grind size is too fine for cold brewing and you will end up with bitter coffee. It’s super important that you buy whole coffee beans and grind them until the beans are medium-coarse.
How to make this recipe step-by-step

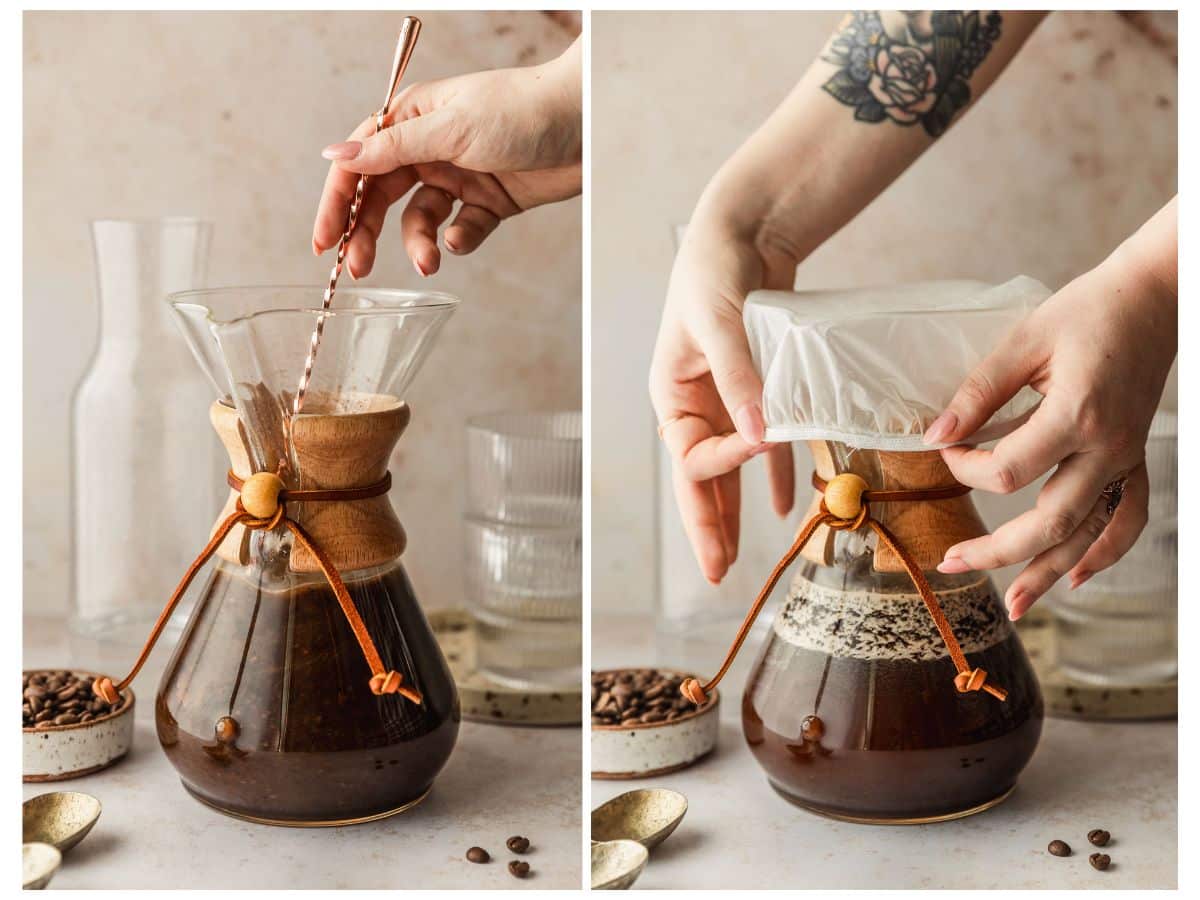


If you like a super smooth brew, use a coffee filter to strain the concentrate. But, if you prefer a brew with texture and body, use cheesecloth which lets more of the solids through.
How to make cold brew in a French press

You can also make concentrate in a French press coffeemaker! Depending on the size of your French press, you may need to adjust the amount of coffee and water you use. Just keep the 1:8 ratio. For example, my French press holds 240 grams of water, so I used 30 grams of coffee.
- Start by pouring the coffee into a French press. Add the filtered water while stirring constantly to make sure there are no dry spots.
- Cover the French press and brew the coffee in the fridge for 14-20 hours.
- Then, push the plunger to filter the concentrate from the grounds. Pour the concentrate into a jar and store it in the fridge for later.
For a smoother cold brew, feel free to double strain it through a coffee filter (like the recipe above). The French press will leave some of the solids behind making concentrate that has a bit more texture and body.
Brew time
The total brew time for this concentrate will depend on your tastes. I recommend starting with 16 hours and going from there. Just don’t go over 24 hours or the coffee will taste over-extracted and bitter! Here’s how you know whether you should brew the coffee for a longer or shorter amount of time:
- Longer Brew Time- if the brew isn’t as smooth and sweet as you’d like, brew it for longer. Start with 1-2 more hours and adjust to taste.
- Shorter Brew Time – if the concentrate is too strong or tastes bitter, brew it for 1-2 hours less next time.
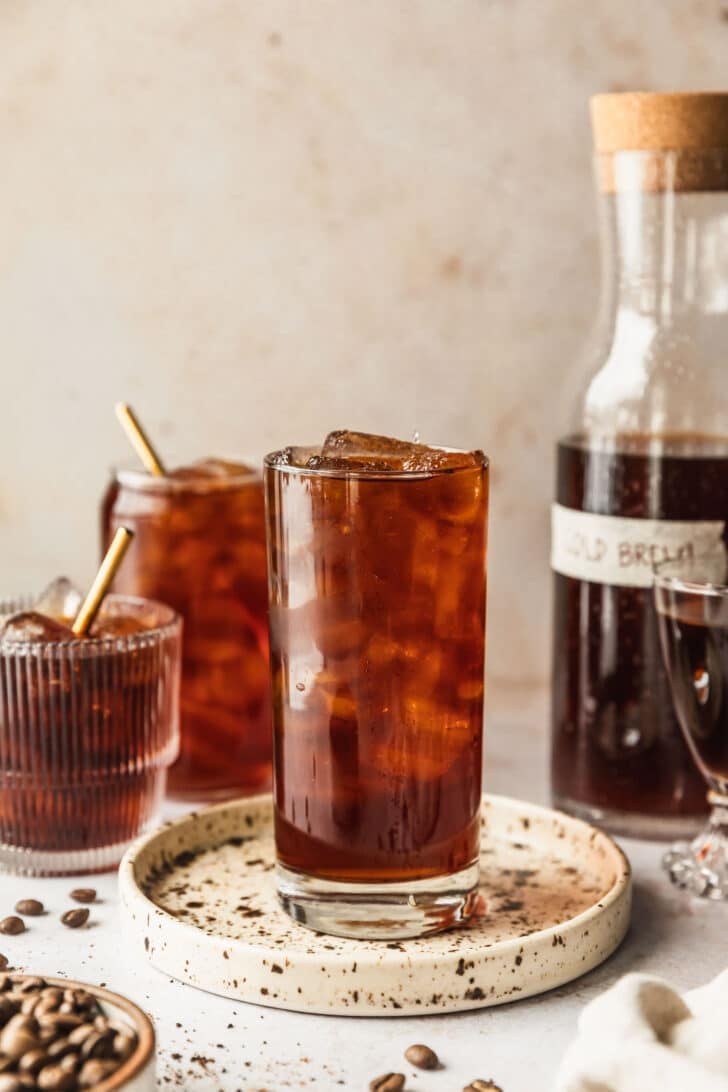
Diluting the concentrate
With a 1:8 ratio, you will end up with a strong coffee concentrate. That means, you’ll want to dilute the concentrate unless you like coffee that tastes like rocket fuel and, incidentally, also makes you feel like you’re being launched into the air like a rocket.
To dilute the concentrate, you can use water, milk, or alt-milk. I use filtered water because I like black cold brew, sometimes with a splash of half-and-half. But, you can also use milk or alt-milk if you want a creamier coffee! Also, the below ratios are purely guides, so feel free to adjust the ratio to your tastes.
- 1:1 ratio – this is my go-to. A 1:1 ratio of concentrate to filtered water will give you a cold brew that is strong, smooth, and sweet.
- 1:2 ratio – if you prefer coffee that is less strong, use a 1:2 ratio of concentrate to filtered water.
- 2:1 ratio – for a super strong cup of brew, use a 2:1 ratio of concentrate to water.

No scale?
Because coffee beans can vary in size and shape, 1 Tablespoon of coffee beans can range anywhere from 4-7 grams. For the most accurate results, I would highly recommend using a scale. But, if you don’t have one, you can use the below estimates. Just keep in mind that you may need to adjust the measurements if the coffee is too strong, too weak, etc.
Here is a (very) general guideline to make 1 liter of concentrate!
- 1 1/2 cups of coffee beans
- 4 1/4 cups of filtered water
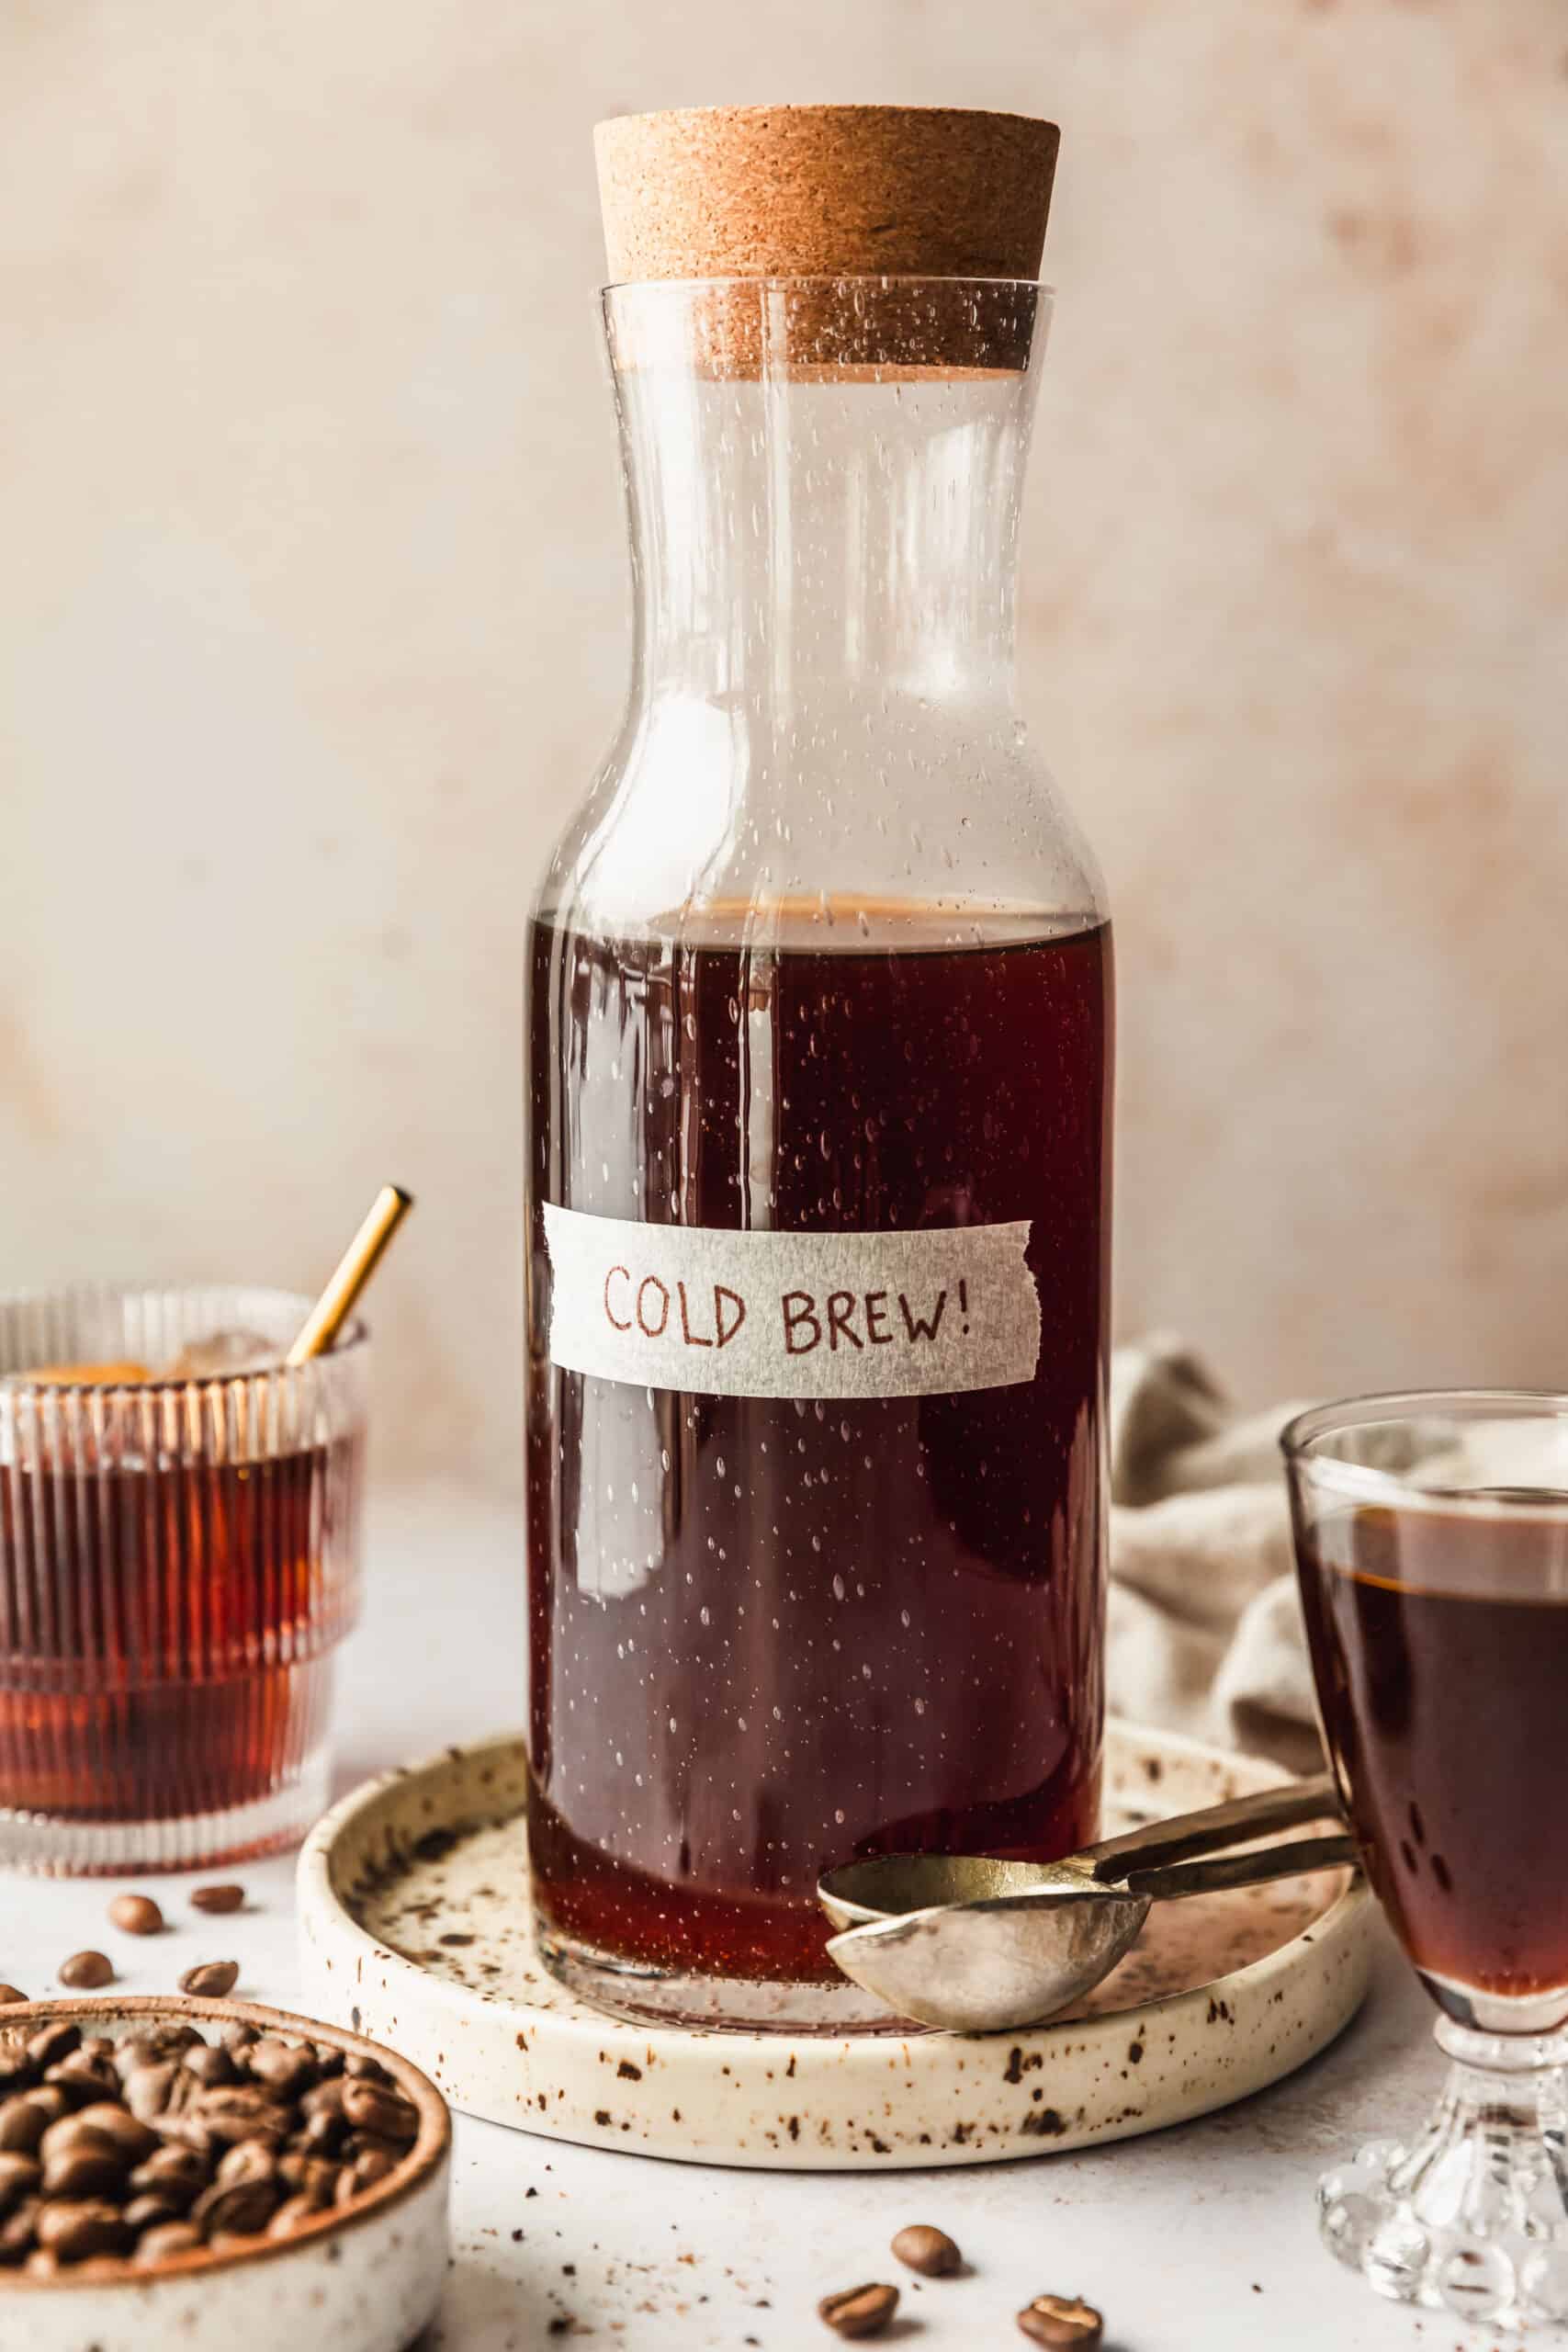
Storing the concentrate
To store the concentrate, pour it in a pitcher or carafe. Cover and refrigerate for up to 1 week. It technically can last longer than 1 week but the cold brew starts to taste a bit ‘off’. I would definitely make it weekly if you can!
This concentrate is also the best make-ahead coffee situation! You can either store the diluted concentrate so it’s ready to go, or you can store the concentrate it and dilute it one serving at a time.

If you make this recipe, I would love it if you left a star rating and review! I read every single comment and love hearing what you think about my recipes. Thank you for supporting Sunday Table!

How to Make Cold Brew Coffee Concentrate
Ingredients
- 125 grams coffee beans
- 1 liter filtered water
Equipment
- Coffee grinder
- Coffee scale (or kitchen scale)
- Large jar, pitcher, carafe, or Chemex
- Fine mesh sieve
- Large coffee filter
Instructions
Brew the cold brew concentrate
- Using a burr coffee grinder or manual coffee grinder, grind the coffee beans until they are medium-coarse. The coffee grounds should be about the size of Kosher salt.
- Pour the ground coffee into a Chemex, large jar, pitcher, or carafe. Gently shake the container to evenly distribute the grounds.
- Place the container on a scale and zero it out. While stirring constantly, pour 1 liter of filtered water over the ground coffee. Stir the mixture very well until there are no more dry spots.
- Cover the container and refrigerate for 14-20 hours. I recommend starting at 16 hours and adjusting as needed.
Filter the coffee concentrate
- Once the concentrate is fully brewed, place a coffee filter into a large sieve. Rinse it with water for about 30 seconds to get rid of any paper taste.
- Place the sieve over a large container like a liquid measuring cup. Strain the concentrate through the filter-lined sieve. Work in batches, if needed. Let the cold brew strain completely – this can take up to 1 hour so be patient! If the cold brew stops dripping through, stir the mixture or use a spoon to remove any big clumps of coffee grounds.
- After the cold brew has mostly filtered through, there might be a small amount of sludgy liquid at the bottom of the filter. Discard the filter and coffee grounds. (Or compost them!)
Dilute the cold brew
- Pour the cold brew coffee concentrate into a pitcher or carafe. (There should be about 1 liter). Add an equal amount of filtered water. Taste and add more water, if desired. If you like a very strong cold brew, you can reduce the water to 500 grams (1/2 liter).
French press instructions
- Add the ground coffee to a French press. Then, add the filtered water while stirring constantly. Stir well until there are no more dry spots. Depending on the size of your French press, you will need to adjust the amount of coffee and water you use. Just keep the 1:8 ratio of 1 gram of coffee for every 8 grams of water. For example, my French press holds 240 grams of water, so I used 30 grams of coffee.
- Cover the French press and brew the coffee in the fridge for 14-20 hours. I recommend starting at 16 hours and adjusting as needed.
- After the coffee has brewed, push the plunger to filter the coffee concentrate from the grounds. The French press will leave some of the solids behind making a concentrate that has a bit more texture and body. For a smoother cold brew, strain the concentrate through a fine-mesh sieve lined with a rinsed coffee filter.
- Pour the coffee concentrate into a carafe and dilute it with an equal amount of filtered water. Taste and add more water, if desired.


You could definitely do a 1:6 or even a 1:4 ratio! The 1:8 ratio is how I learned to make cold brew when I was a barista, and it’s always worked great for me. But you can absolutely play around with ratios & dilution. There’s more info in the “Coffee-to-Water Ratio” and “Diluting the Concentrate” sections of the post if you’re interested!