Mini Red Velvet Cupcakes with Cream Cheese Frosting
This post might have affiliate links. For full details please see my disclosure policy.
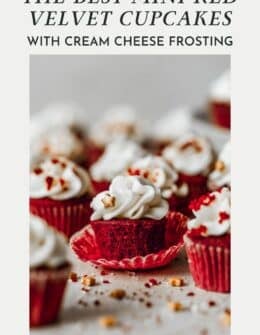
These classic mini red velvet cupcakes are one of my go-to desserts for Christmas, Valentine’s Day, or basically any get-together! I mean, who doesn’t love red velvet? And the whipped cream cheese frosting is rich, tangy, and so fluffy. I dream of these cupcakes!
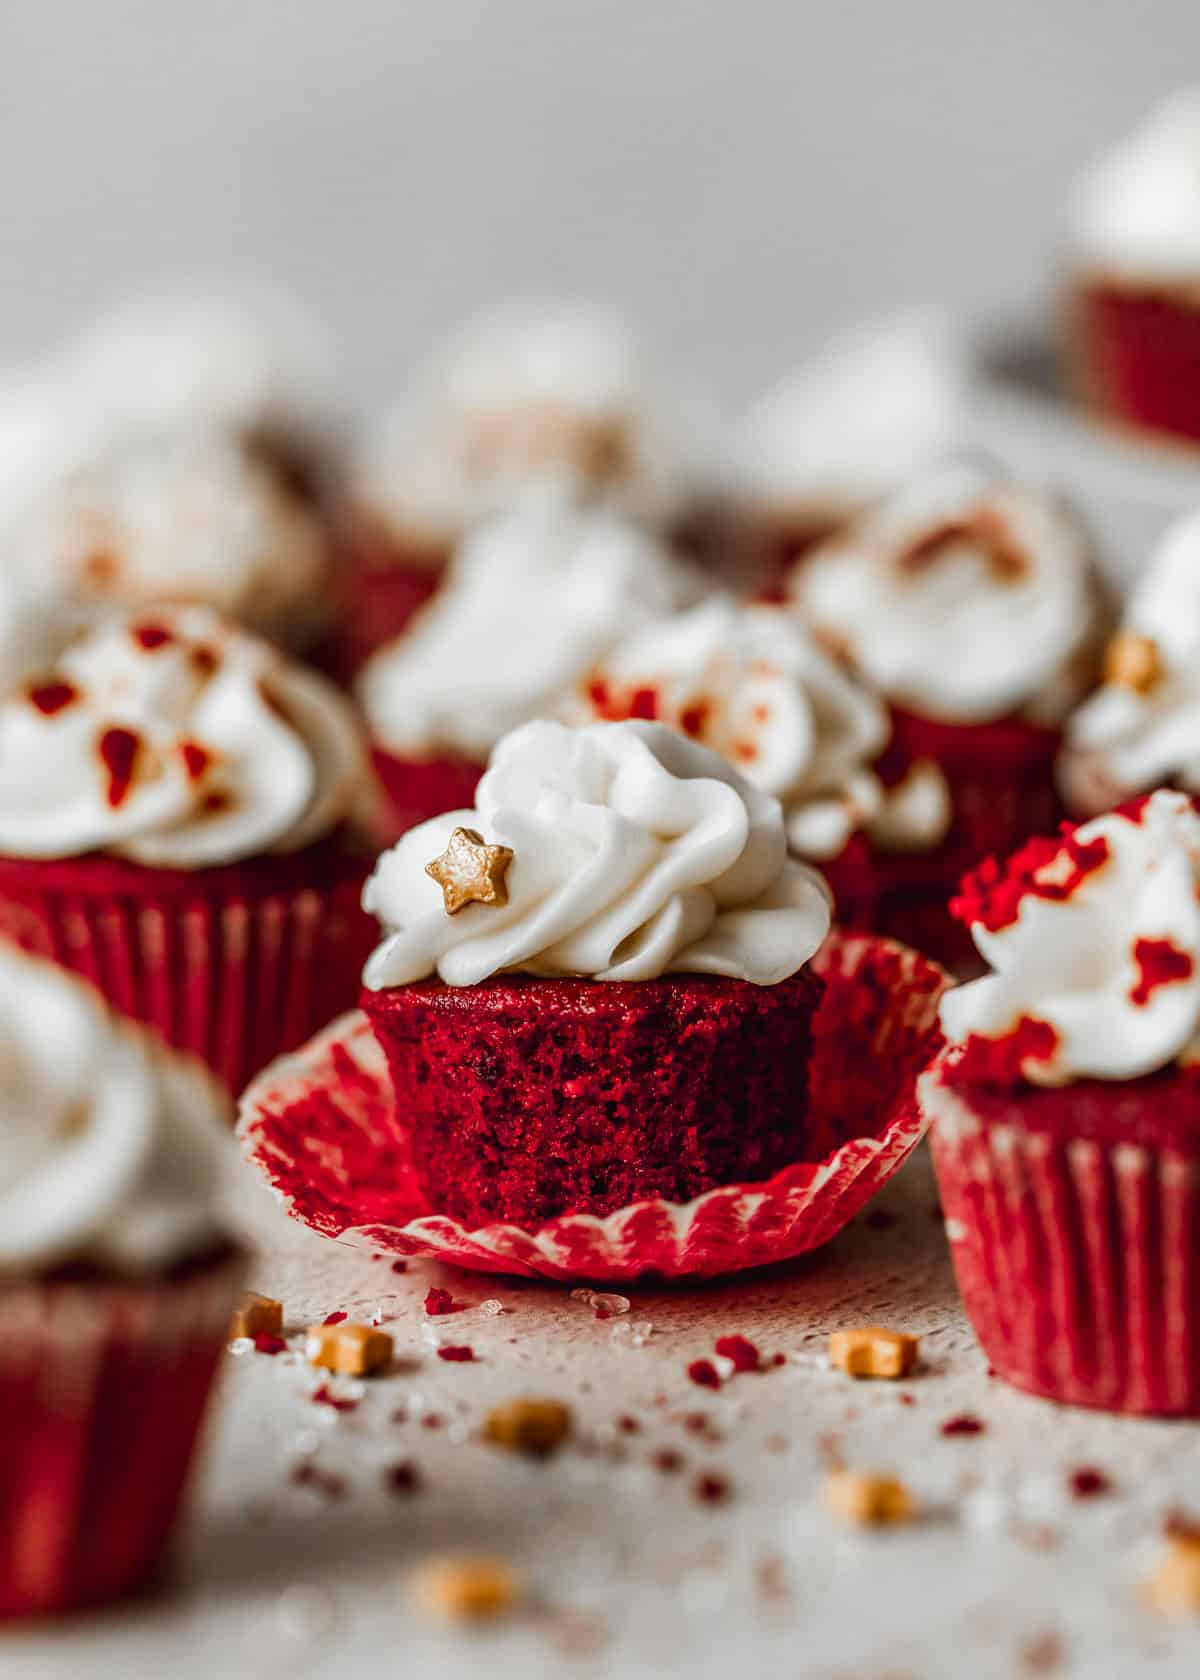
Honestly, I always think of red velvet cake to be a bit overrated. And then I take a bite and I’m immediately humbled. Why is a not-quite-chocolate-not-quite-vanilla cake so damn good?!
And since I’m not ready to hard-launch into Christmas just yet, I thought I would ease into the season with a little fluffy, jewel-toned cupcake situation. It’s kind of holiday-esque without going full on gingerbread and peppermint.
As a trained pastry chef, I’ve made and tasted so many red velvet cakes, some good some bad. But here’s what I think makes a perfect one. 1. There’s cocoa but not too much. I use 2 Tablespoons which is just right. 2. The recipe also needs a good pop of vanilla – 1 full Tablespoon. 3. It has to be deep red, not magenta. 4. The cupcakes need to be topped with cream cheese frosting. I don’t make the rules.
These cupcakes would look so cute in a holiday cookie box with mini gingerbread cookies or these extra mini M&M cookies (just use red & green M&MS!). If you want something less seasonal, try these super easy brownie bites or these mini chocolate chip cookies (my fave!).
Red food coloring
For that bright red color, you’ll need food coloring. I’m not a huge fan of using food coloring, but sometimes you have to do what you have to do! I always recommend red gel food coloring because it’s way more concentrated, so you don’t need as much. Also, look for no-taste if you can find it. Some food colorings give baked goods a chemically, bitter taste.
More ingredients you need
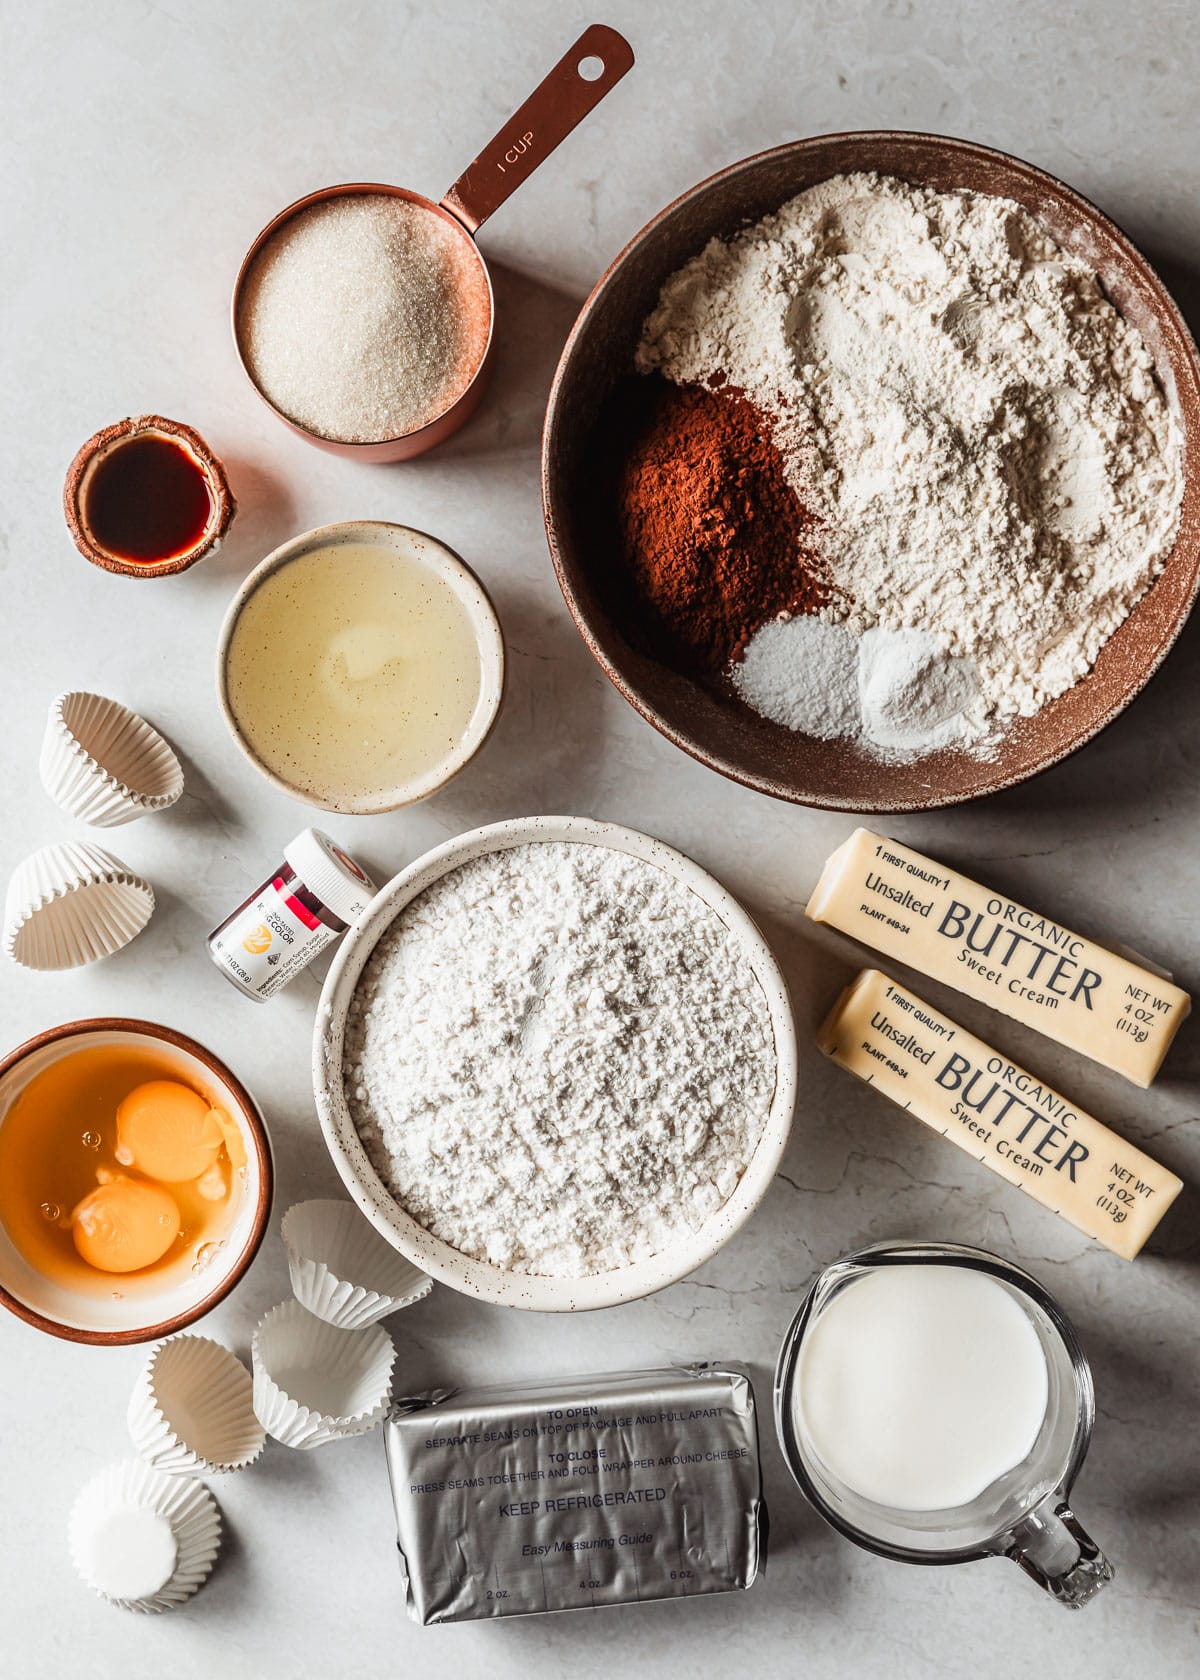
In addition to the red food coloring, you will also need all-purpose flour, Dutch process cocoa powder, baking powder, Morton’s Kosher salt, unsalted butter, granulated sugar, large eggs, neutral oil, vanilla extract, and buttermilk. To make your own buttermilk by adding a splash of white vinegar to whole milk.
For the frosting, grab some full-fat cream cheese and powdered sugar. Make sure to sift the sugar to get rid of any big lumps!
Make the cupcakes
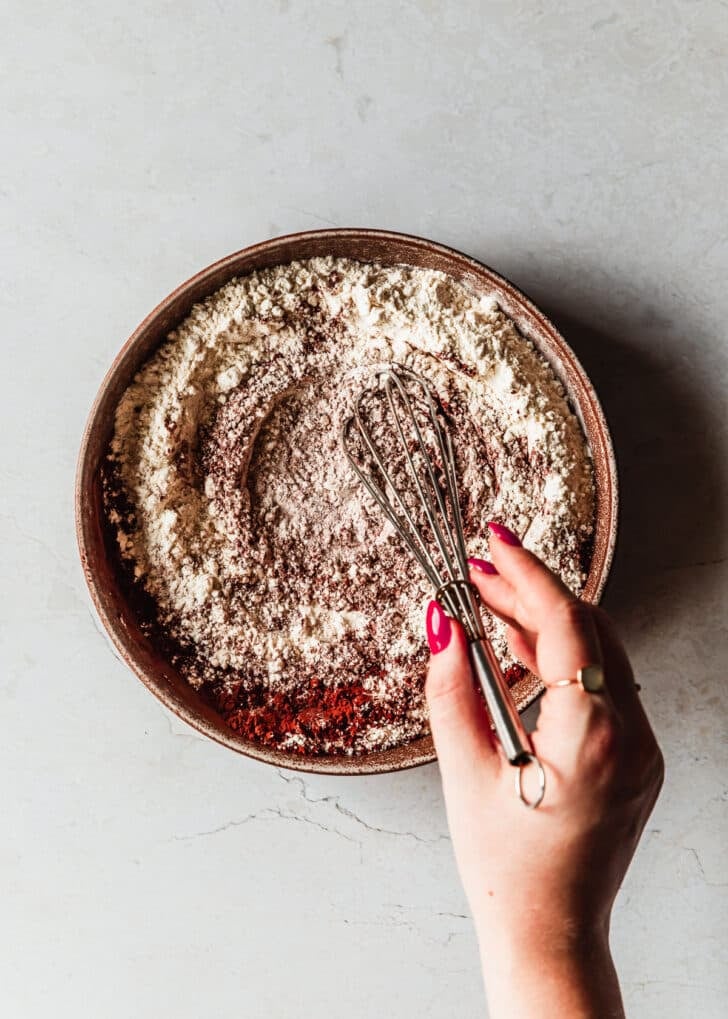
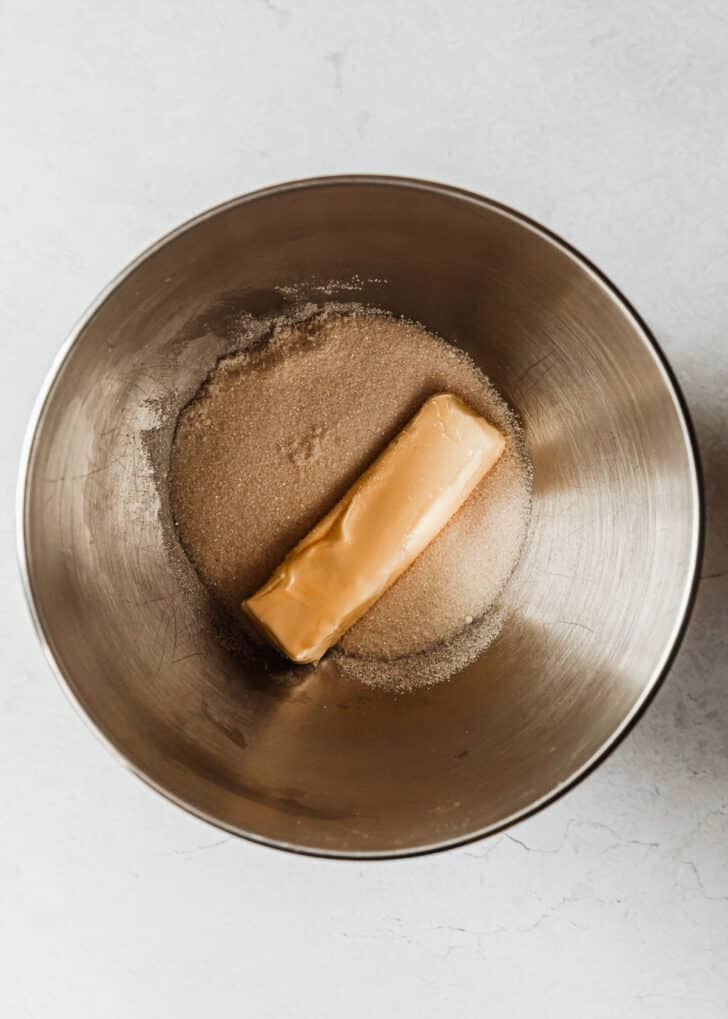
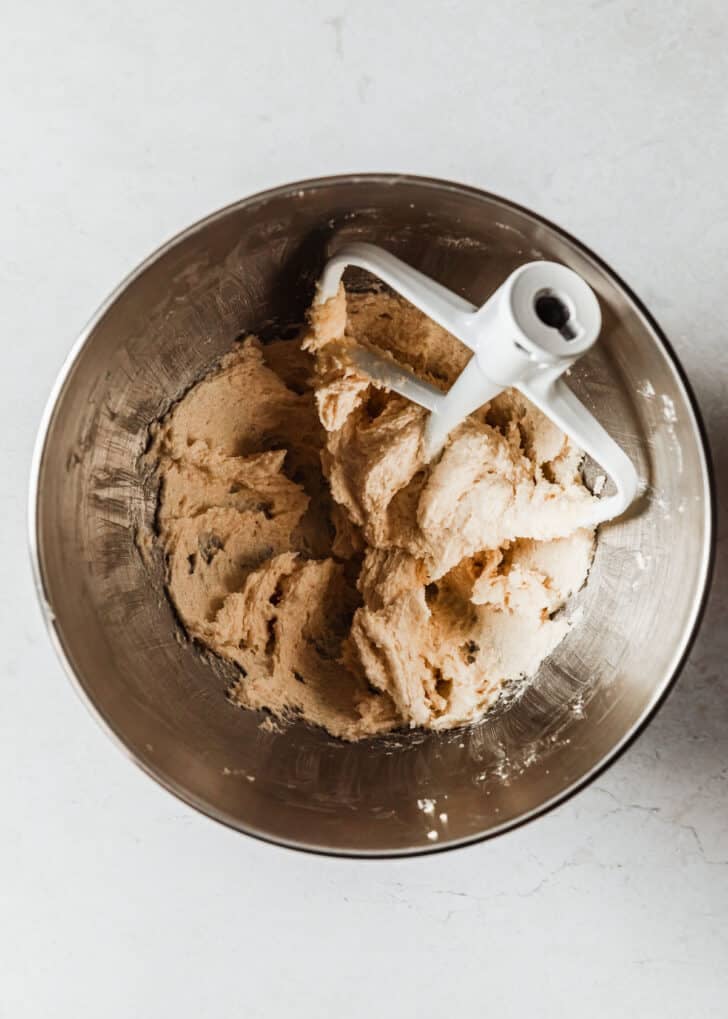
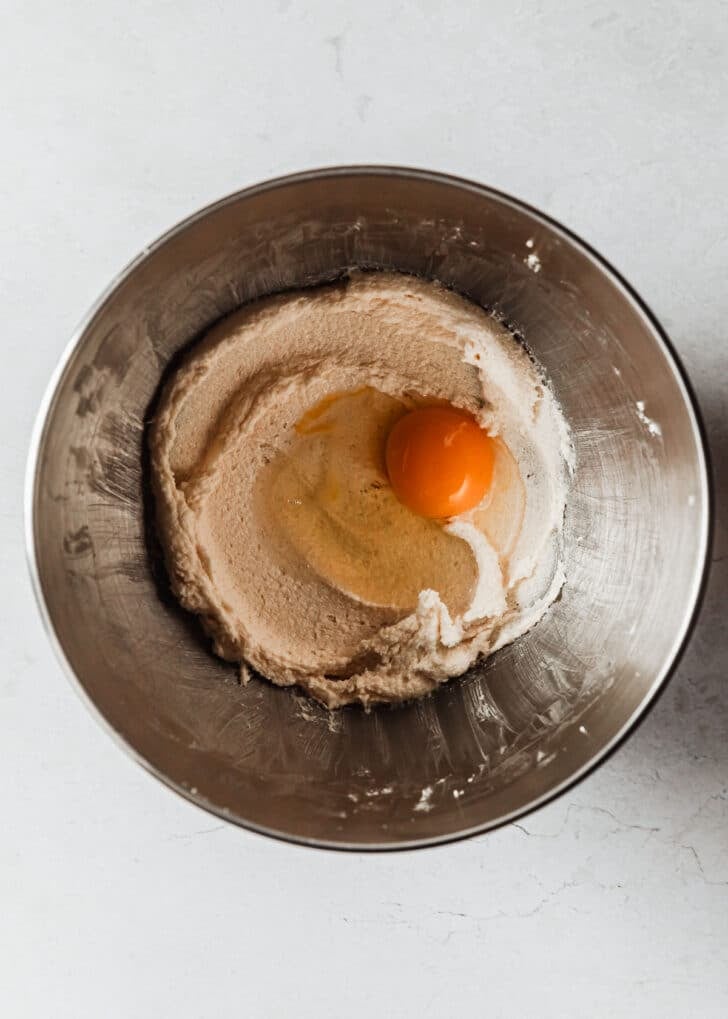
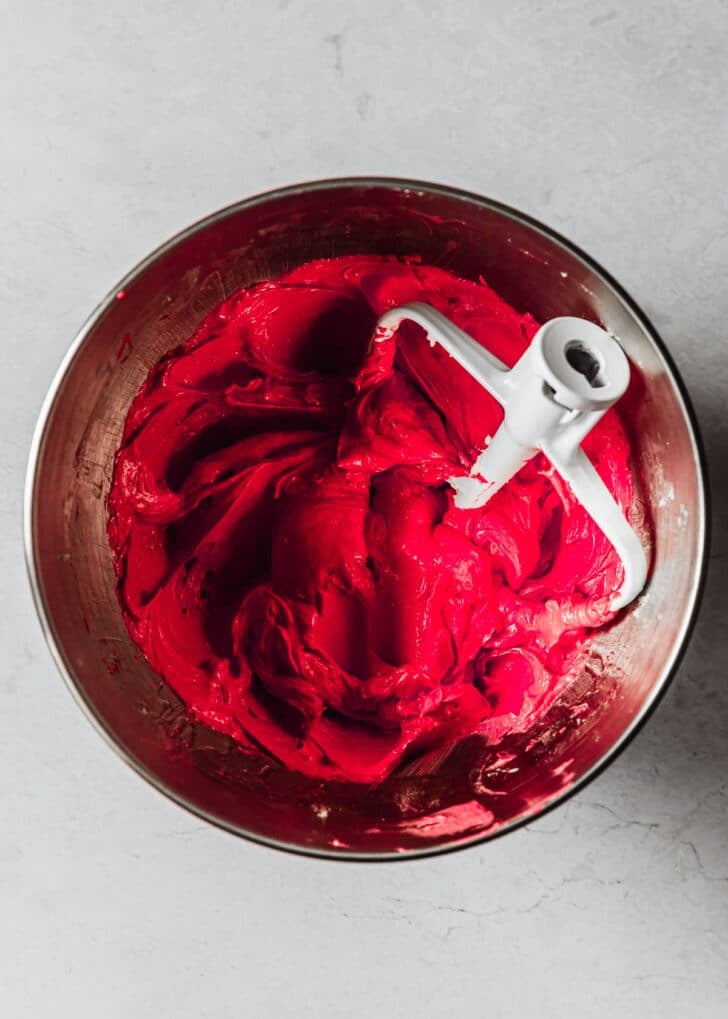

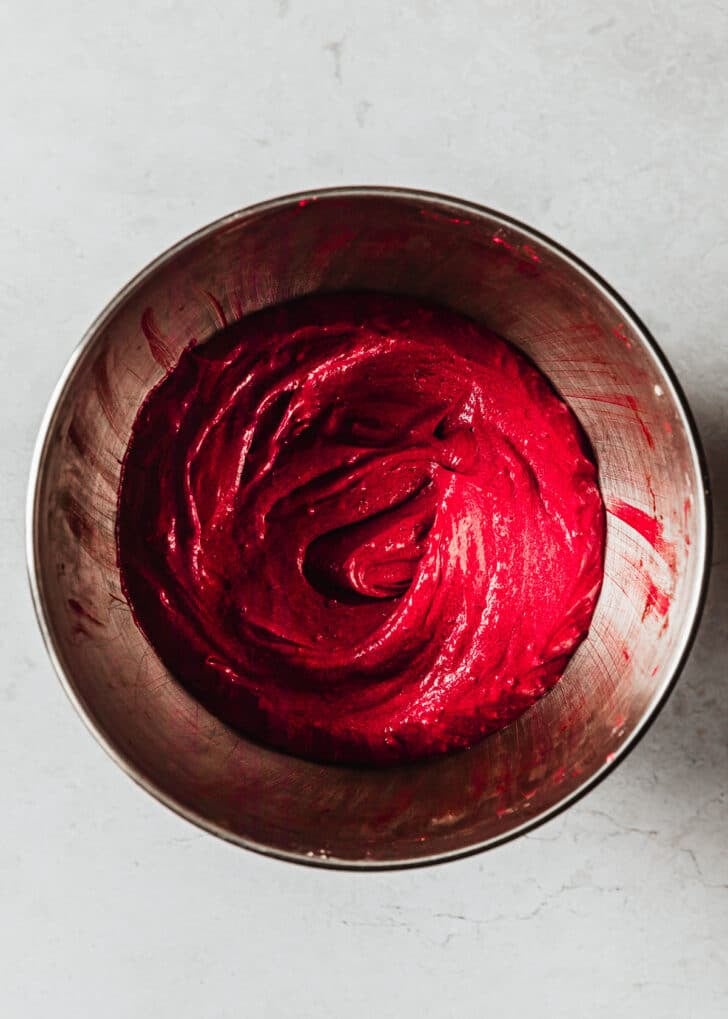
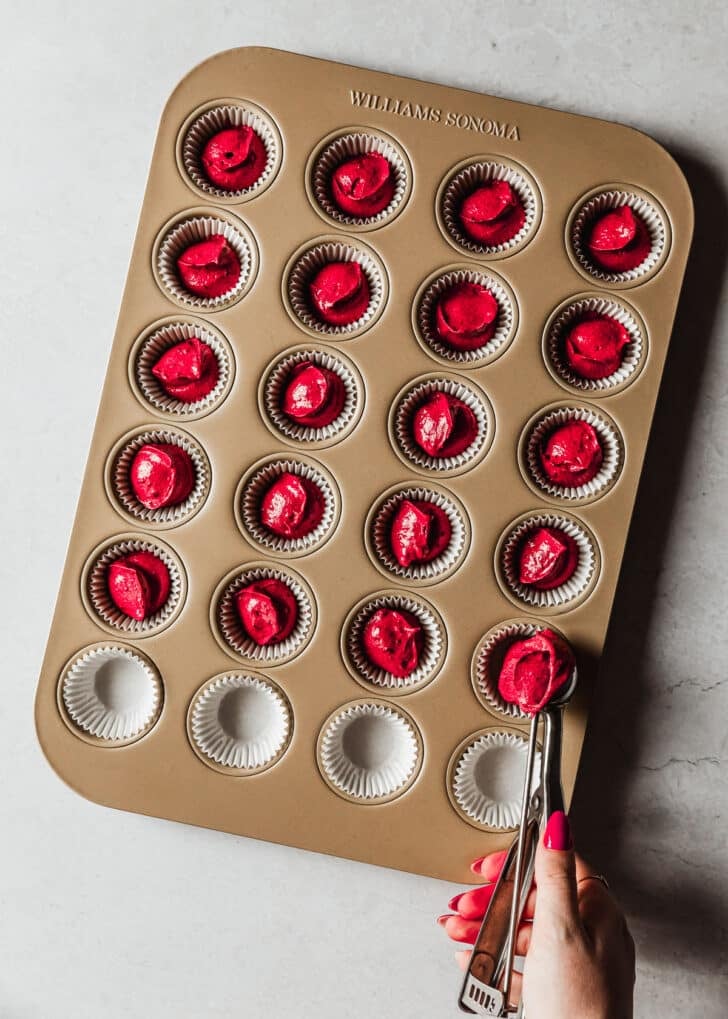
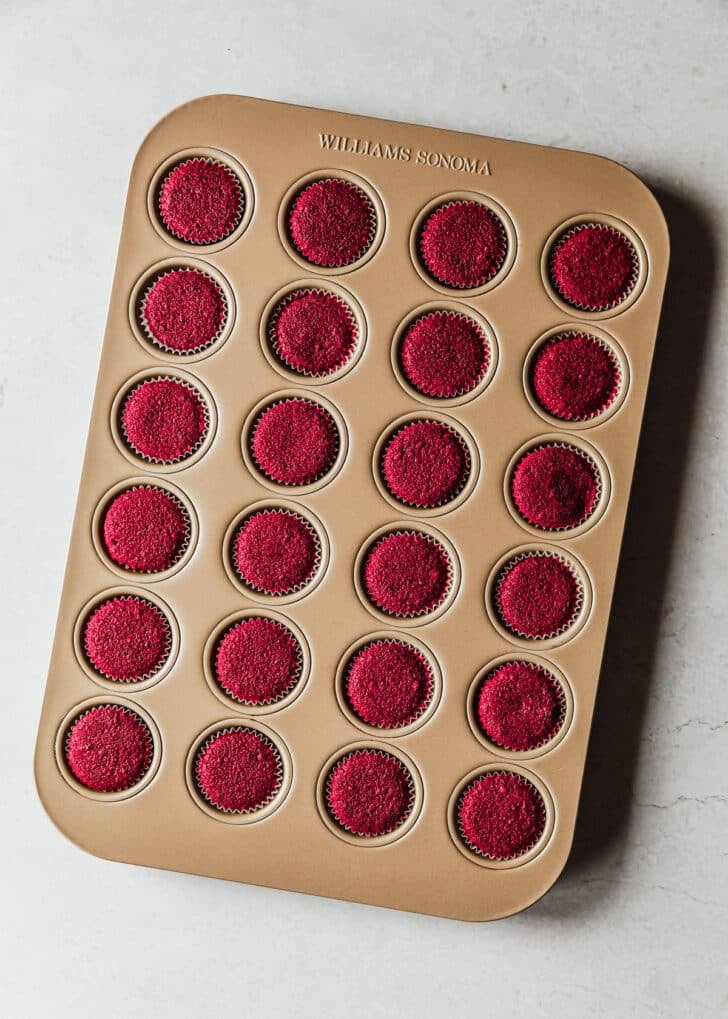
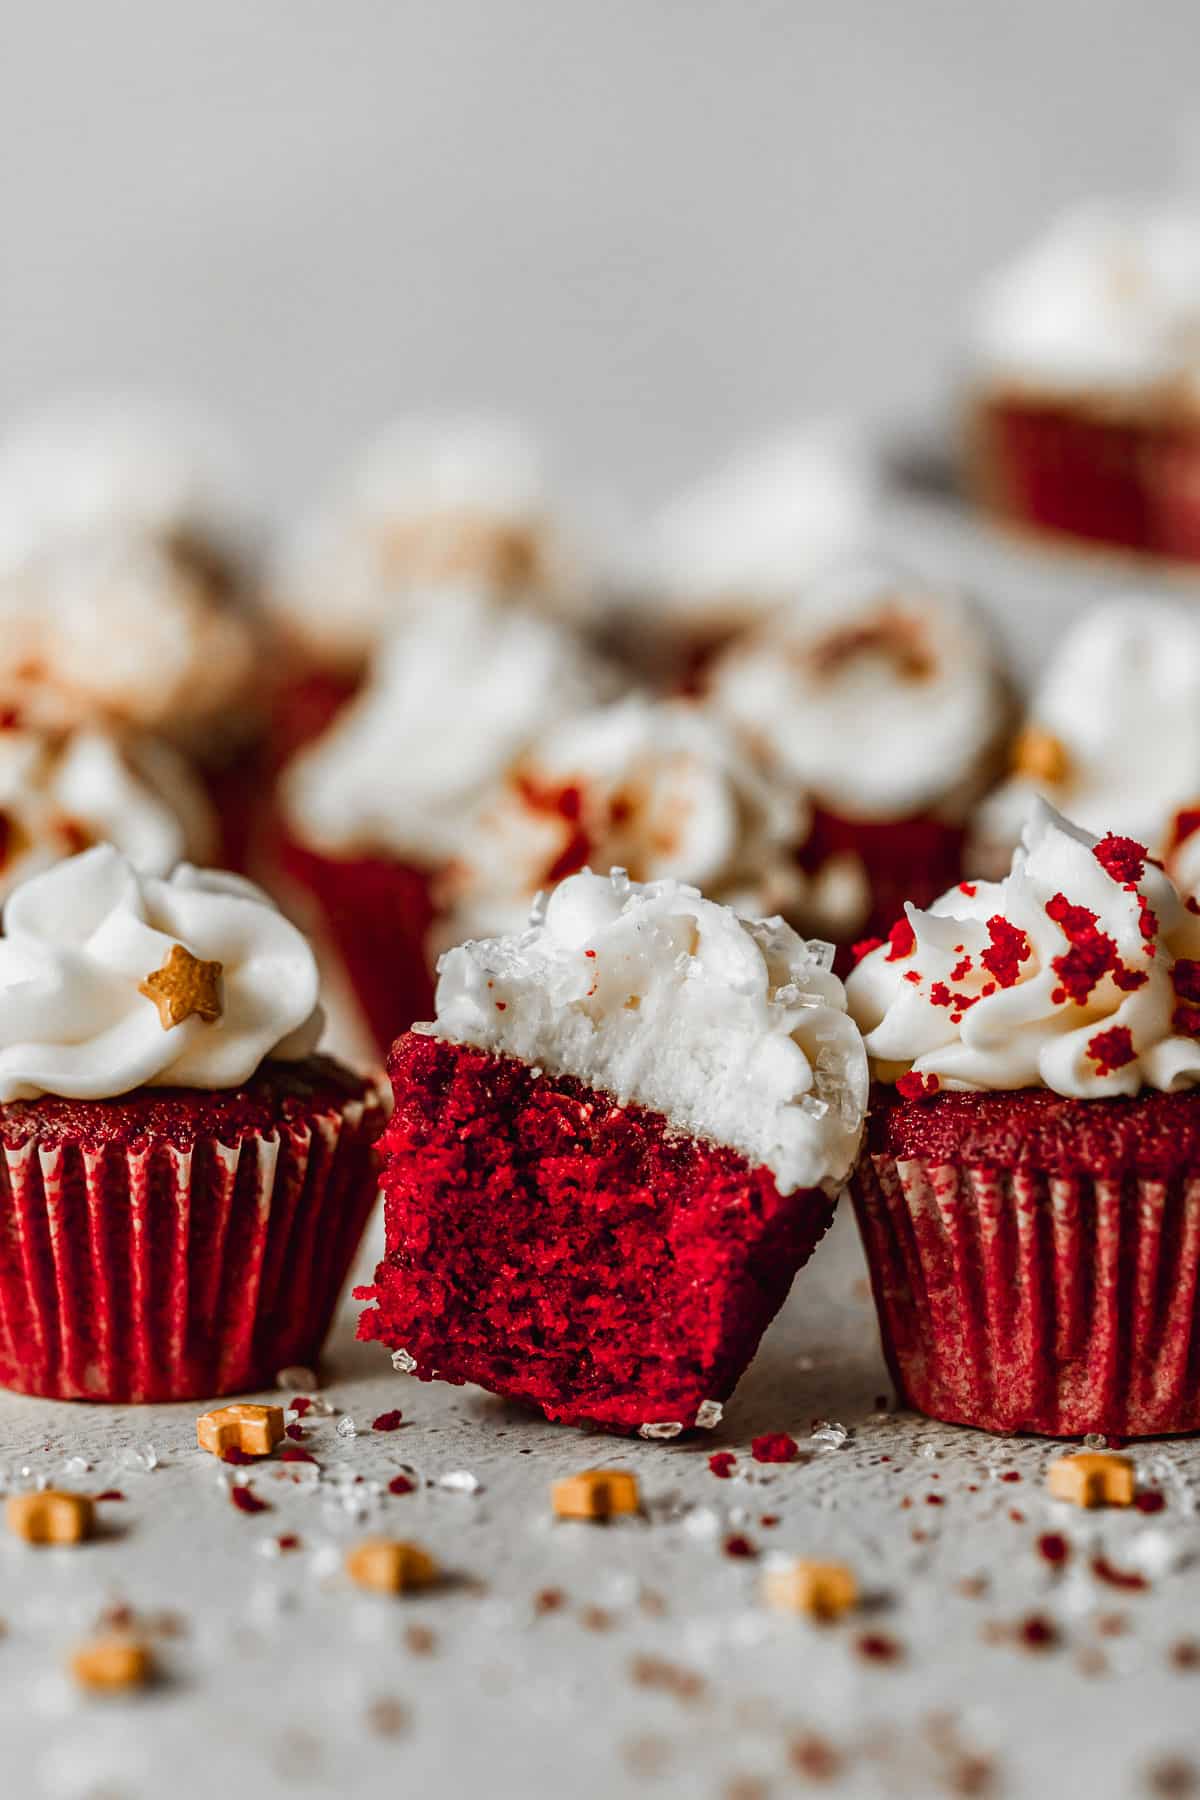
With mini desserts, bake time is a delicate balance. Even 30 seconds can make a difference between underbaked or over-baked cupcakes! Start checking for doneness around 10-11 minutes. The cupcakes are ready when an inserted toothpick has just a few moist crumbs on it.
Cream cheese frosting
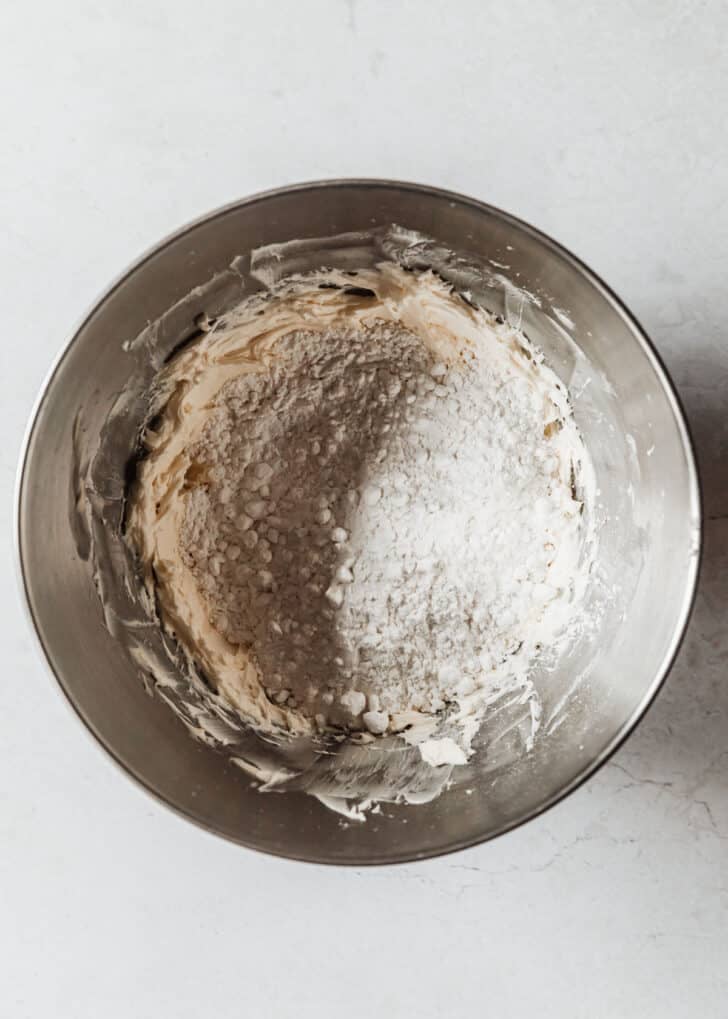
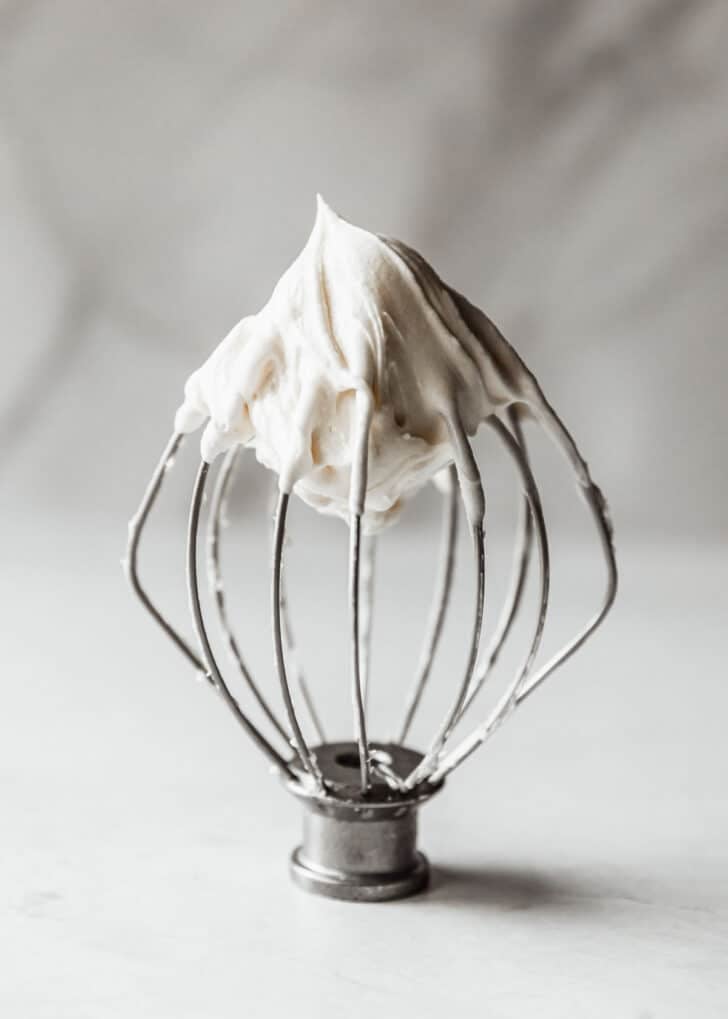
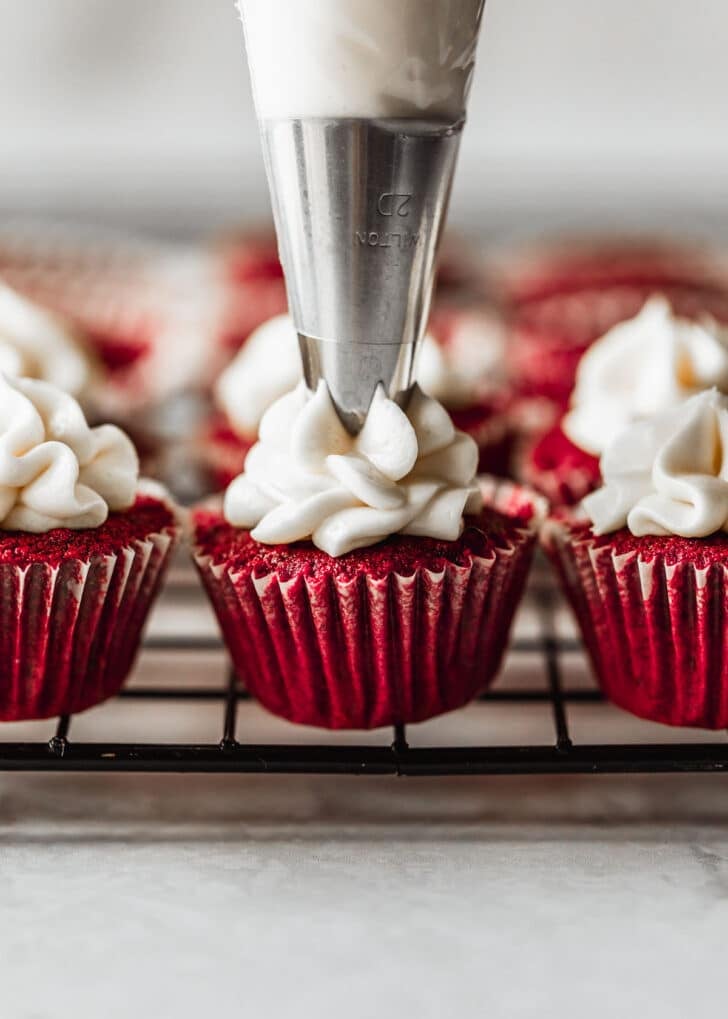
Make sure to let the cream cheese frosting whip for at least 3-4 minutes. You want that fluffy, whipped texture or the frosting will be dense.
Decorating the cupcakes
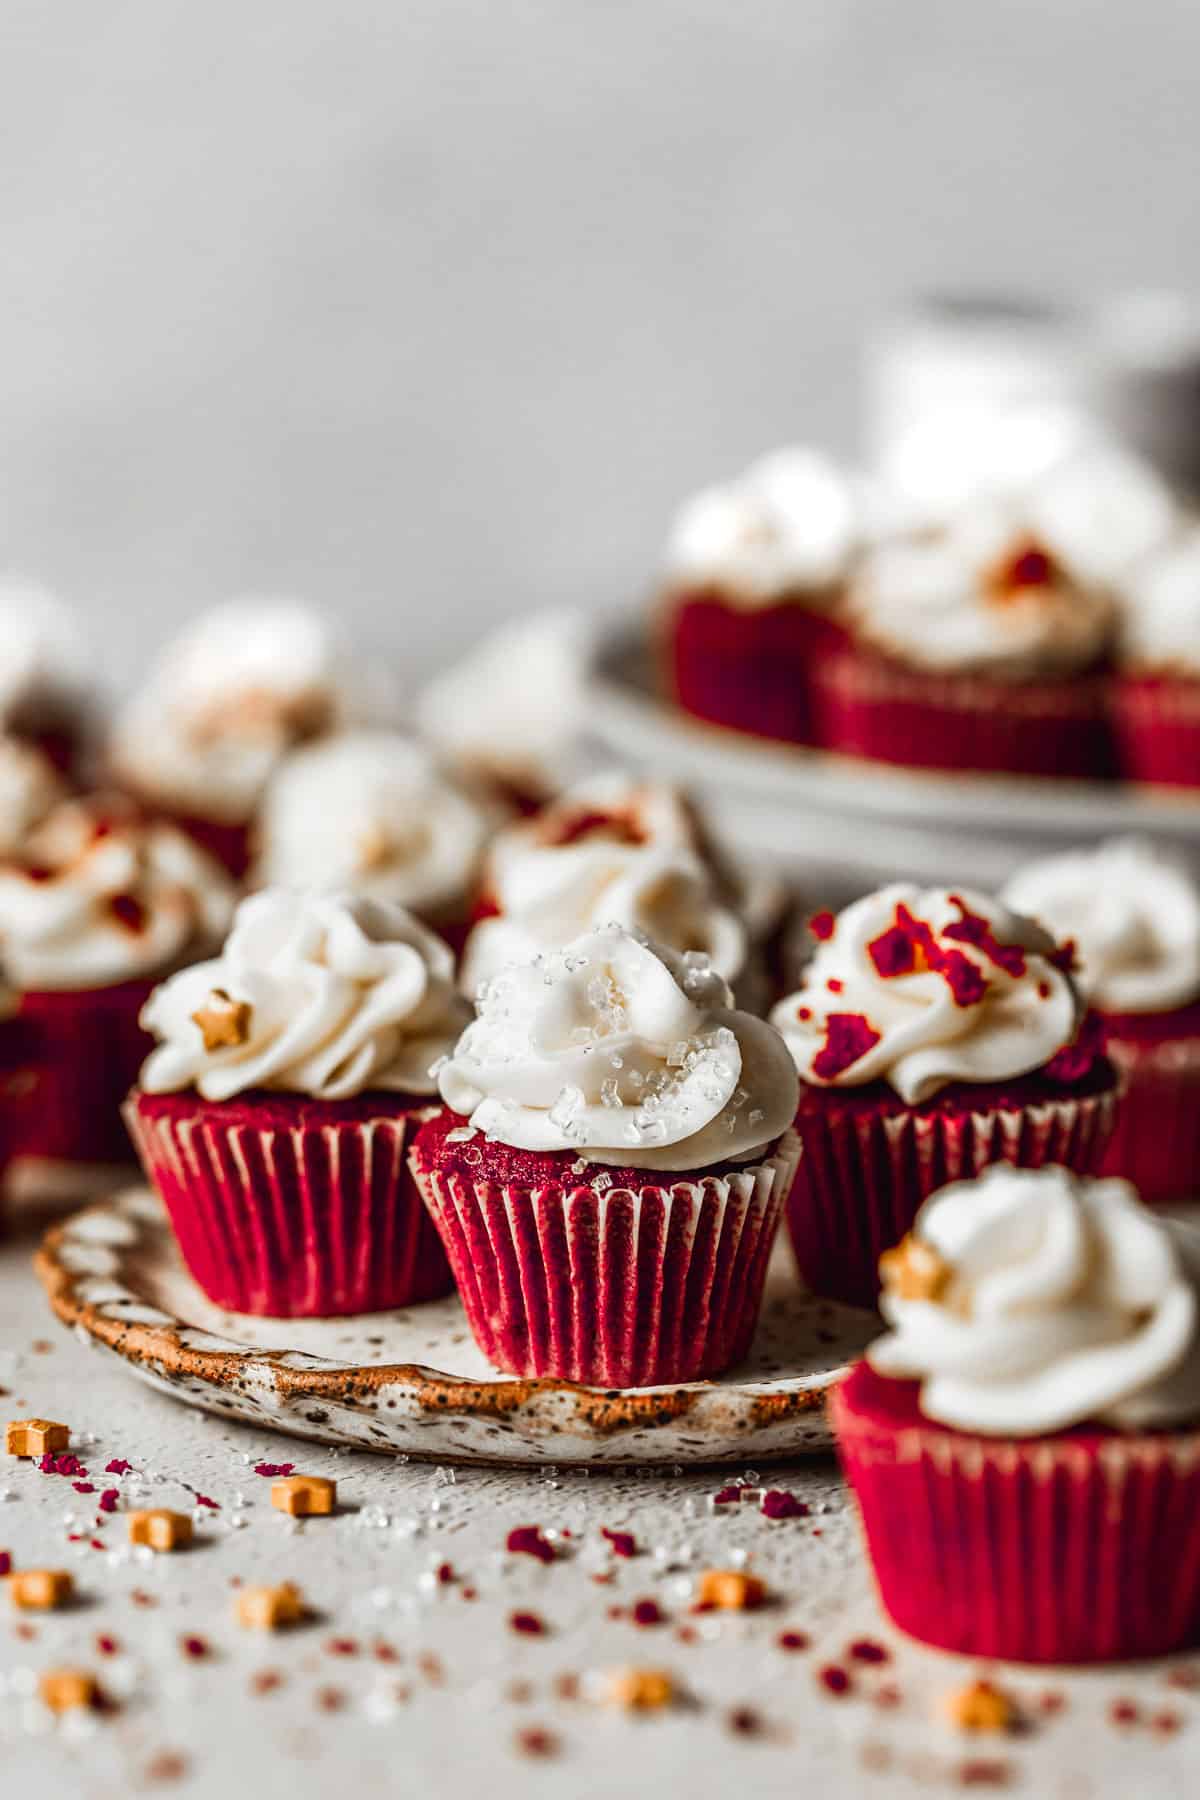
What I really love about these cupcakes is that you can decorate them for pretty much any event or holiday. Around Christmas time, I like to top them with red and green sprinkles. For Valentine’s Day, I’ll use pink and red or heart-shaped sprinkles. But there’s so many fun ways to make these extra cute!
- Top the frosting with coarse sanding sugar or sprinkles.
- Use dark chocolate or white chocolate shavings.
- Top the cupcakes with berries for something fresh.
Refrigerate & freeze
- Refrigerate – usually, I don’t like to refrigerate cake because the moisture in the fridge makes it dry. But, since these cupcakes have cream cheese, you’ll need to keep them chilled. Line the cupcakes in a single layer in an airtight container and refrigerate for up to 3 days.
- Freeze – after a few days, the cupcakes will dry out so I would freeze them for longer-term storage. Line an airtight container with parchment paper and place the cupcakes in a single layer. Freeze until solid, 1-2 hours. Then, cover the cupcakes with another layer of parchment and cover. Freeze for up to 2 months & defrost the cupcakes at room temperature for about 1-2 hours when you’re ready to eat them.
If you make this recipe, I would love it if you left a star rating and review! I read every single comment and love hearing what you think about my recipes. Thank you for supporting Sunday Table!
Mini Red Velvet Cupcakes with Cream Cheese Frosting
Ingredients
Mini Red Velvet Cupcakes
- 200 grams all-purpose flour, sifted (1 2/3 cups)
- 12 grams Dutch process cocoa powder, sifted (2 Tablespoons)
- 1 1/2 teaspoons baking powder
- 1/4 teaspoon Kosher salt
- 114 grams unsalted butter, softened (1/2 cup)
- 200 grams granulated sugar (1 cup)
- 2 large eggs, room temperature
- 60 grams neutral oil (1/4 cup)
- 15 milliliters vanilla extract (1 Tablespoon)
- 1 1/2 teaspoons red gel food coloring
- 180 milliliters whole milk buttermilk (3/4 cup)
Cream Cheese Frosting
- 114 grams unsalted butter, softened (1/2 cup)
- 228 grams full-fat cream cheese, softened (8 ounces)
- 1 teaspoon vanilla extract
- Pinch of Kosher salt
- 480 grams powdered sugar, sifted (4 cups)
- Sprinkles, for decorating (optional)
Equipment
- Stand mixer or hand mixer
- Mini muffin pan (24-cup or 48-cup)
- Mini cupcake liners
Instructions
Mini Red Velvet Cupcakes
- Preheat the oven to 350°F (177°C). Line a 24-cup mini muffin pan with mini cupcake liners. Set aside.
- In a small bowl, whisk together the all-purpose flour, cocoa powder, baking powder, and salt.
- Add the unsalted butter and sugar to a large mixing bowl or the bowl of a stand mixer. Using beaters or a paddle attachment, beat the butter and sugar, scraping down the sides of the bowl every minute or so, until the mixture is light and fluffy, about 3-4 minutes. Add the eggs one at a time, mixing until combined. Stir in the neutral oil followed by the vanilla extract and red gel food coloring.
- Add half of the flour mixture and half of the buttermilk and stir just until the batter starts to come together. Then, add the remaining flour mixture and buttermilk. Mix the batter just until there are no more streaks of flour. Don't over-mix!
- Using a #60 cookie scoop, divide the batter between the mini cupcake liners, filling them about 3/4 of the way full. (If you only have one 24-cup mini muffin pan, you will have to bake the cupcakes in batches.) Bake the cupcakes for 10-11 minutes, just until an inserted toothpick has a few moist crumbs on it.
- Let the cupcakes cool in the pan for about 5 minutes. Then, transfer the cupcakes to a wire rack to cool completely.
Cream Cheese Frosting
- Add the softened unsalted butter and cream cheese to a large mixing bowl or the bowl of a stand mixer. Using a whip attachment, beat the butter and cream cheese until it's well-mixed. Scrape down the sides of the bowl, as needed.
- Mix the vanilla extract and salt into the cream cheese mixture. Then, sift half of the powdered sugar into the cream cheese and mix until combined. Repeat with the remaining powdered sugar. Turn the speed to medium and whip the frosting until it's very light and fluffy, 3-4 minutes.
Frost & Decorate
- Fit a piping bag with a decorative tip. Then, fill the piping bag with the cream cheese frosting. Pipe the frosting on the cooled cupcakes and decorate the tops with sprinkles, if desired. Serve the cupcakes immediately or store them in an airtight container in the fridge for up to 3 days.


These are absolutely delicious!
Ahhh, thank you so much, Katie! I’m so glad you like them. 🙂