Best Ever Mini Oreo Cheesecakes
This post might have affiliate links. For full details please see my disclosure policy.
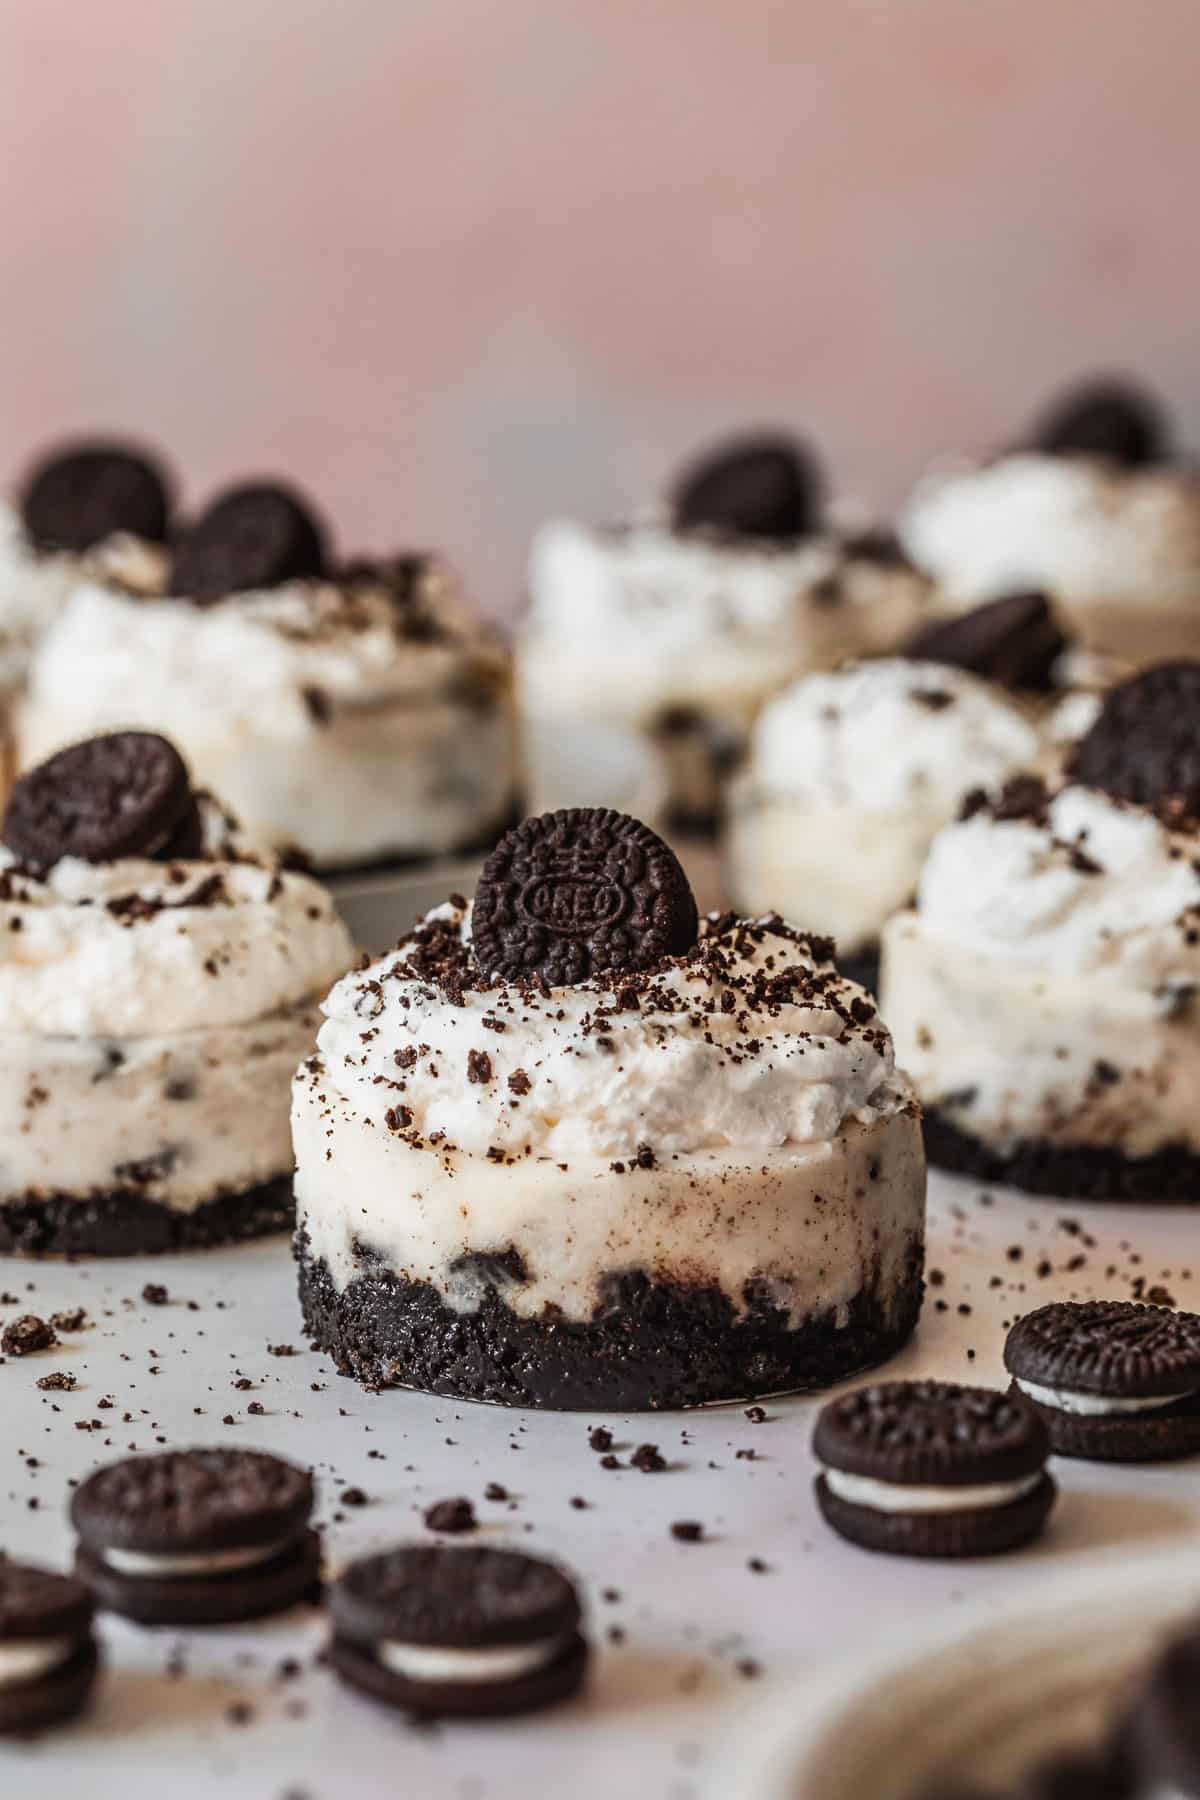
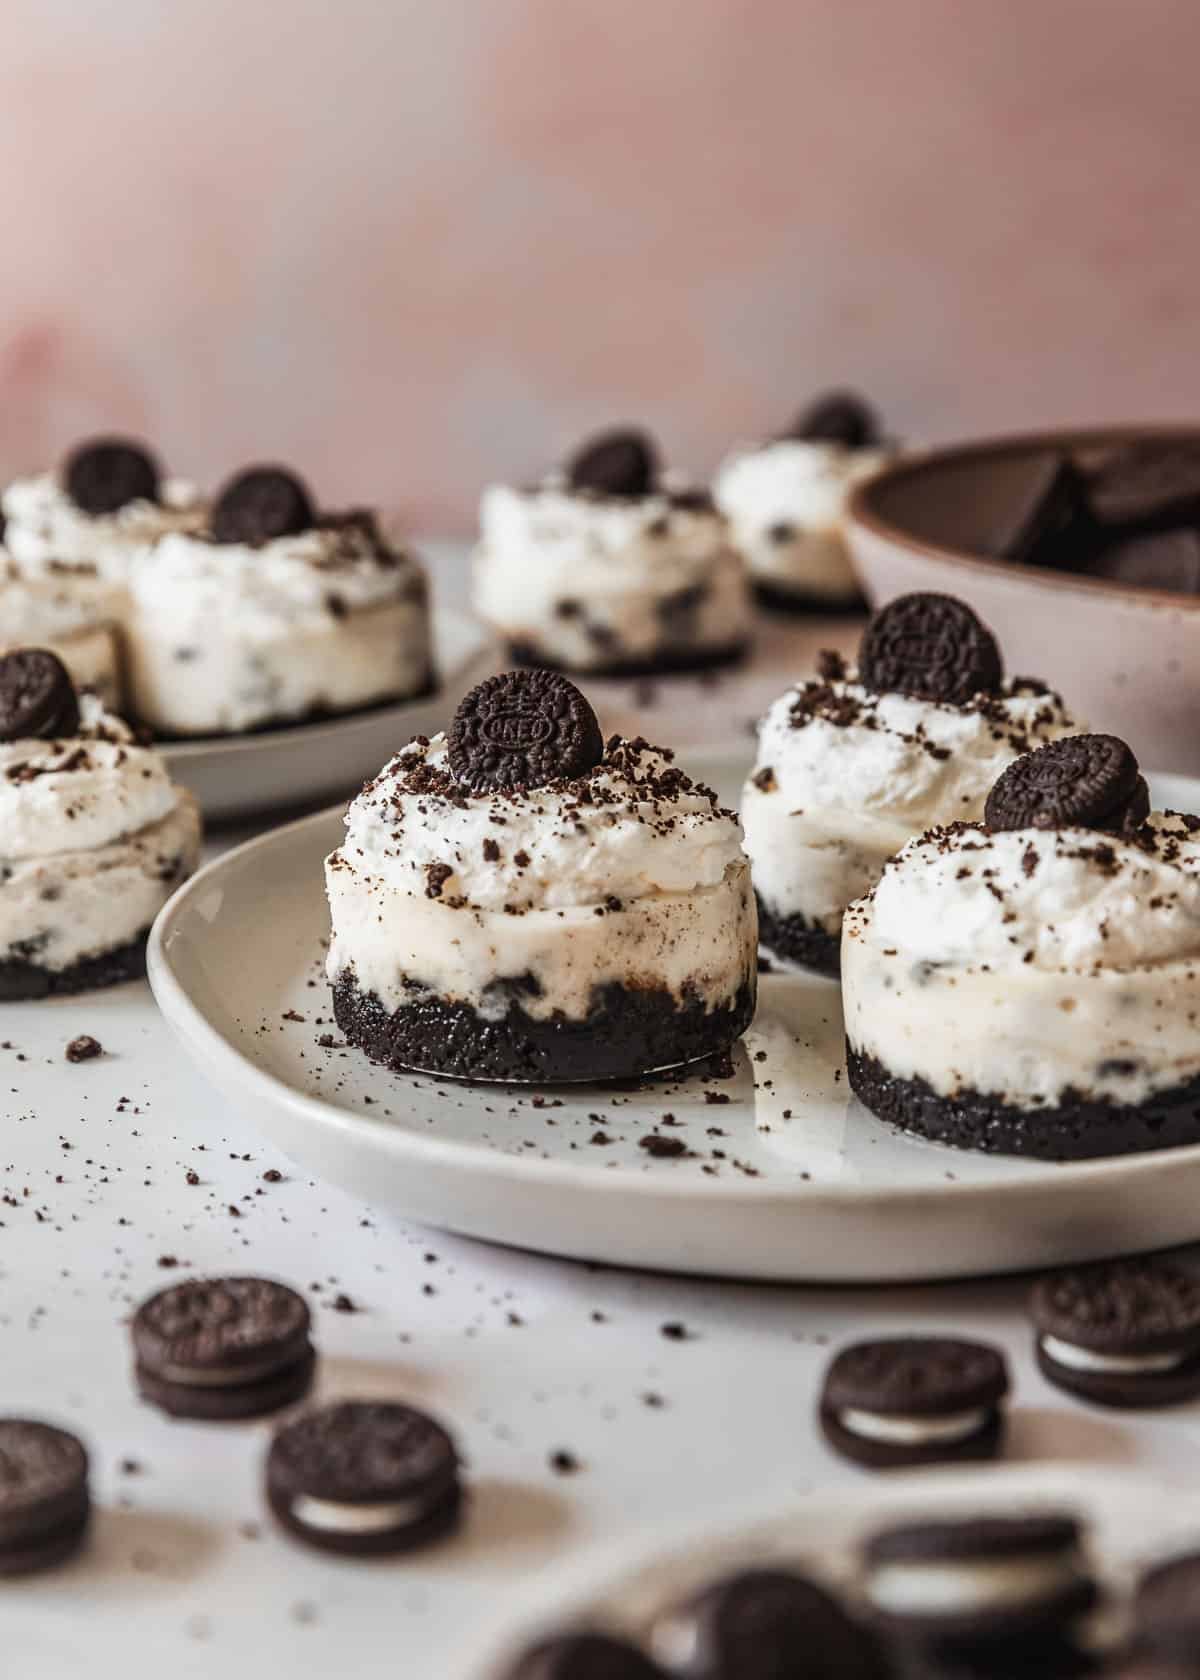
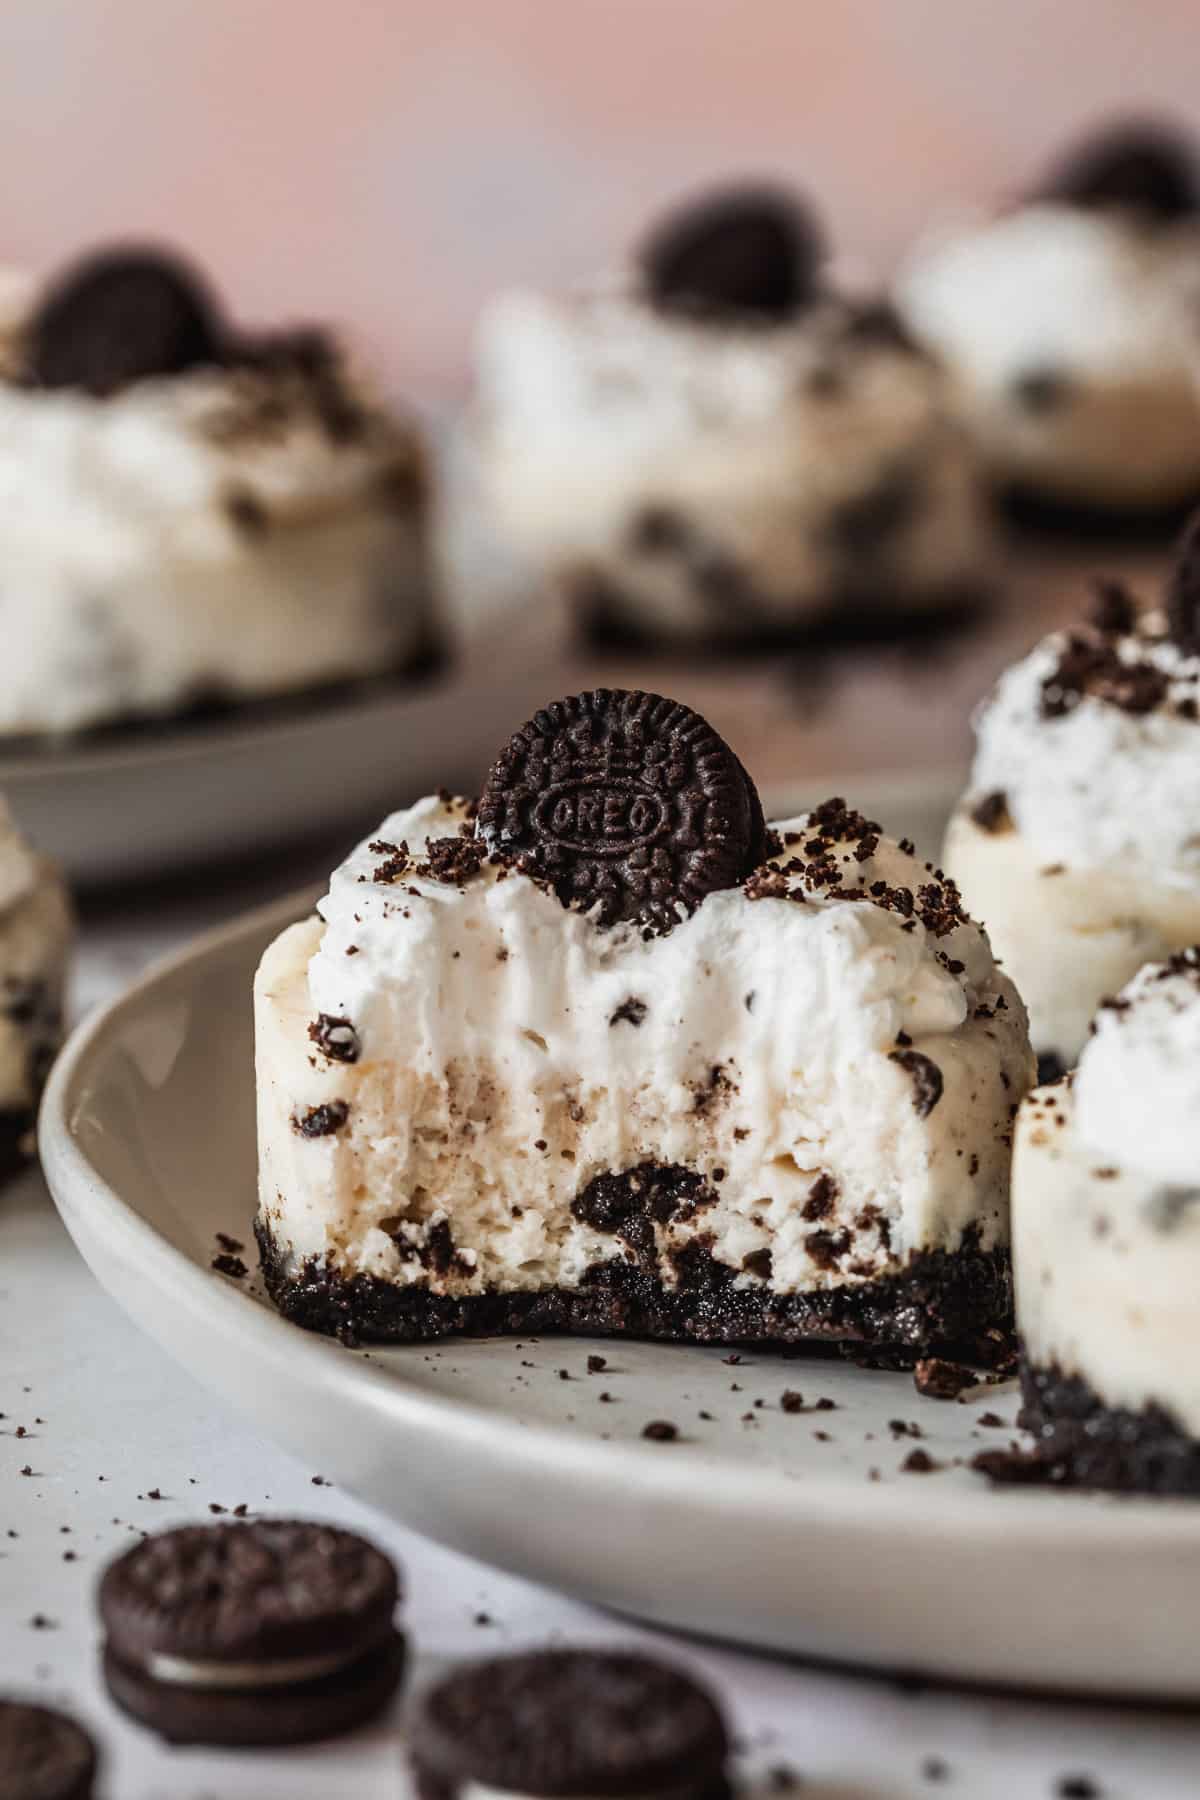
I can’t tell you how many times I’ve made these mini Oreo cheesecakes over the past month. With crumbly Oreo cookie crust, the creamiest filling, and a dollop of whipped cream, they’re a go-to for parties and gatherings! I mean truly, they are the best. You’re going to love this easy recipe!
As a kid, my preferred method of eating Oreos was to carefully twist the cookies apart, scrape about half the frosting off with my teeth, and then sandwich the cookies back together for a less-frosting Oreo situation. Probably while watching Rugrats and wearing gauchos. In a way, I like to think I’m the original creator of Oreo Thins.
Anywho, I think we can all agree that, in some way or another, everyone loves a good Oreo. So today, I thought I’d share a classic cheesecake recipe that I used to make all the time when I was in pastry school!
One of my gripes with cookies and cream desserts is that some of them are cloyingly sweet. Like, stomachache, gives-me-a-headache sweet. But with these cheesecakes, everything is much more chill thanks to a classic cream cheese filling!
These little cheesecakes have chocolate cookie crust, a classic creamy filling, and a good dollop of whipped cream. Mini Oreos are optional but highly recommended. And if your chocolate craving still isn’t fulfilled after a bite or two? Make these mini chocolate cupcakes, chewy brownie bites (my favorite!), or these easy mini chocolate chip cookies next!
Oreo Thins + other things you need
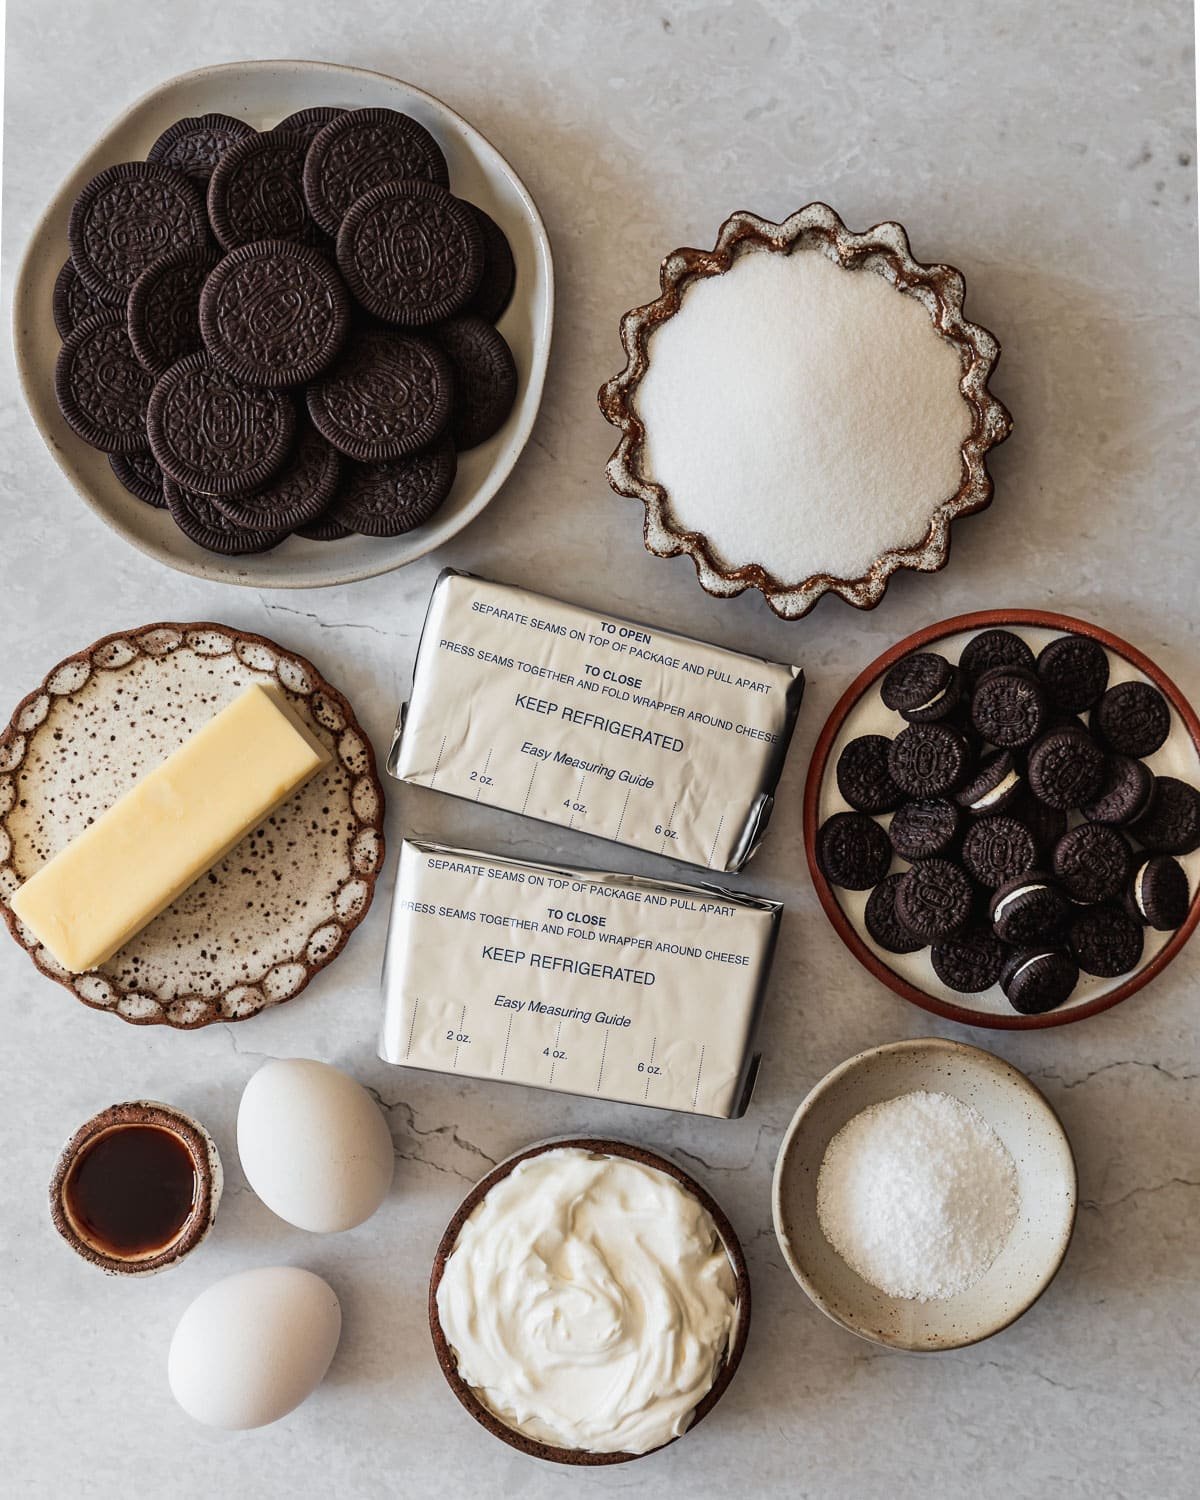
For this recipe, I definitely like Oreo Thins the best. Since they have less frosting, they keep the crust and filling from coming out too sweet. You can definitely use regular Oreos though, you just might need less butter in the crust!
You’ll also need these ingredients: unsalted butter, Morton’s Kosher salt, sugar, cream cheese, sour cream, vanilla extract, and eggs. You can also grab some mini Oreos for decoration if you want!
Muffin tin or cheesecake pan
You’ll either need a mini cheesecake pan or standard muffin tins. Since the cheesecake pans have small removable bottoms, you don’t need liners or anything fancy. But, if you use a standard muffin pan, you will need liners to help get the cakes out. You will also end up with more cheesecakes – closer to 16-18 – since the cups are smaller.
Cookie crust
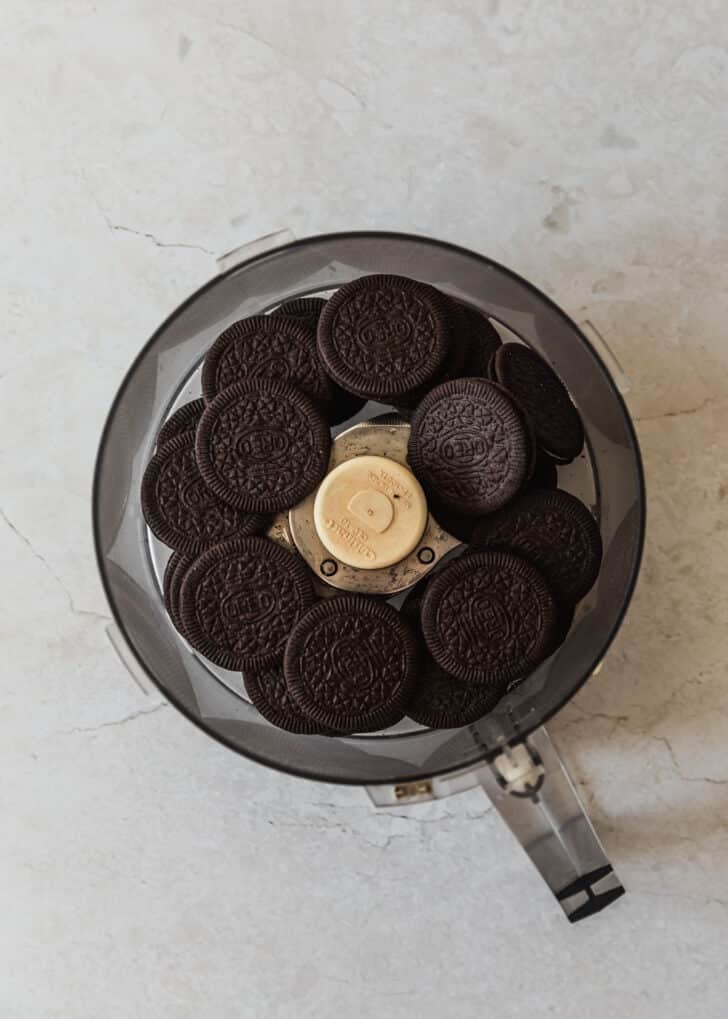
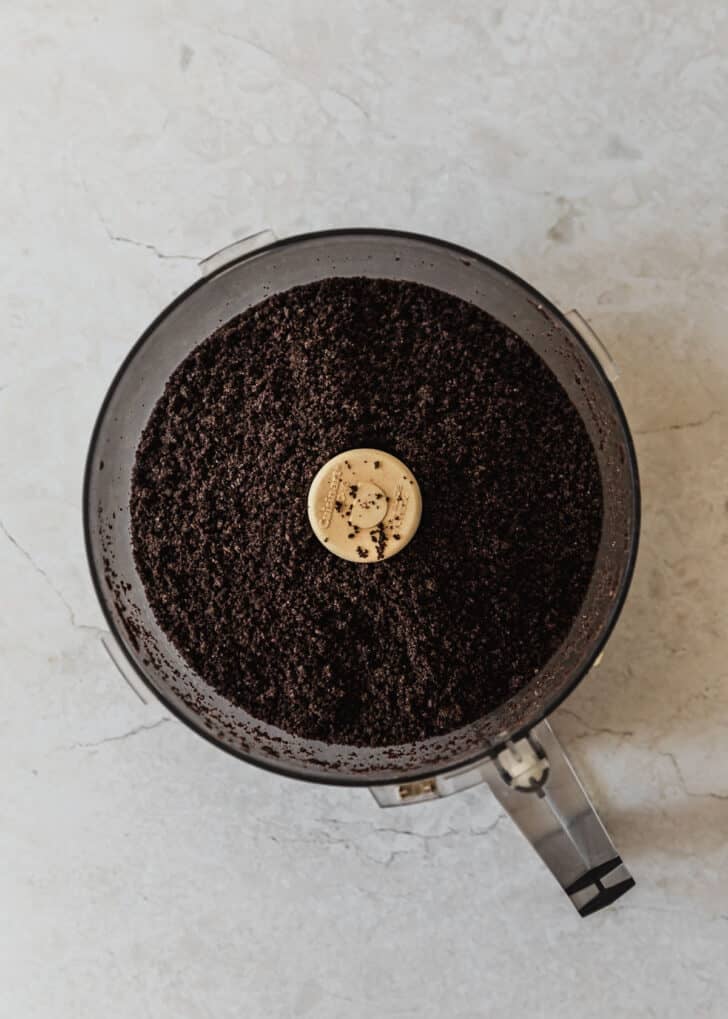
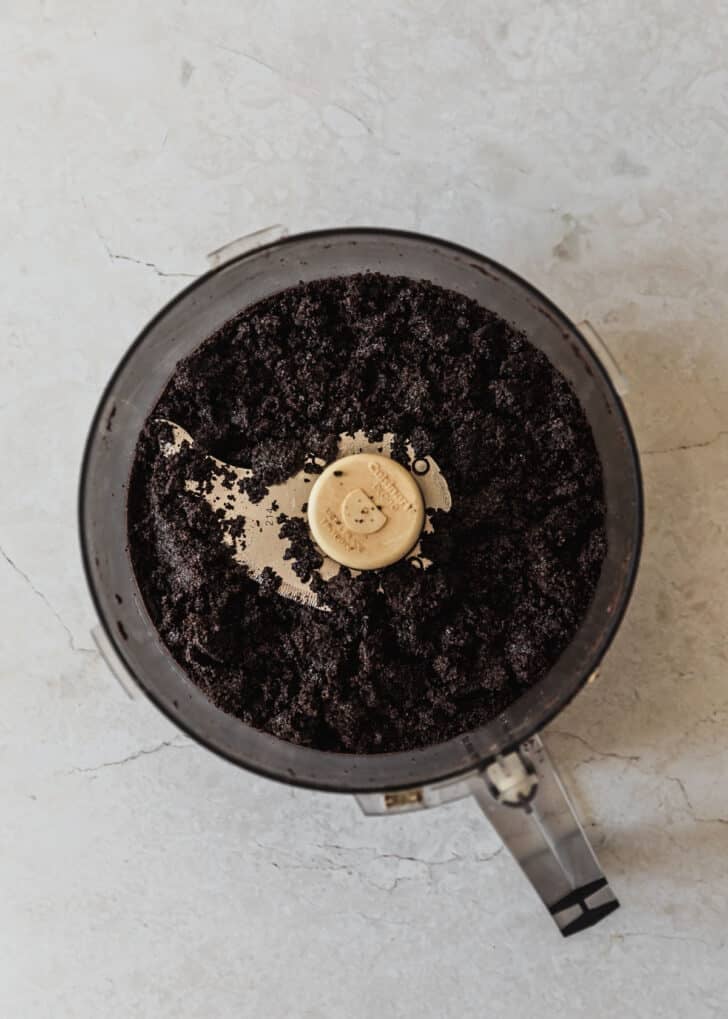
If you don’t have a food processor, you can also place the cookies in a zipper bag and use a rolling pin to crush them into fine crumbs. Then, mix the crust together by hand.
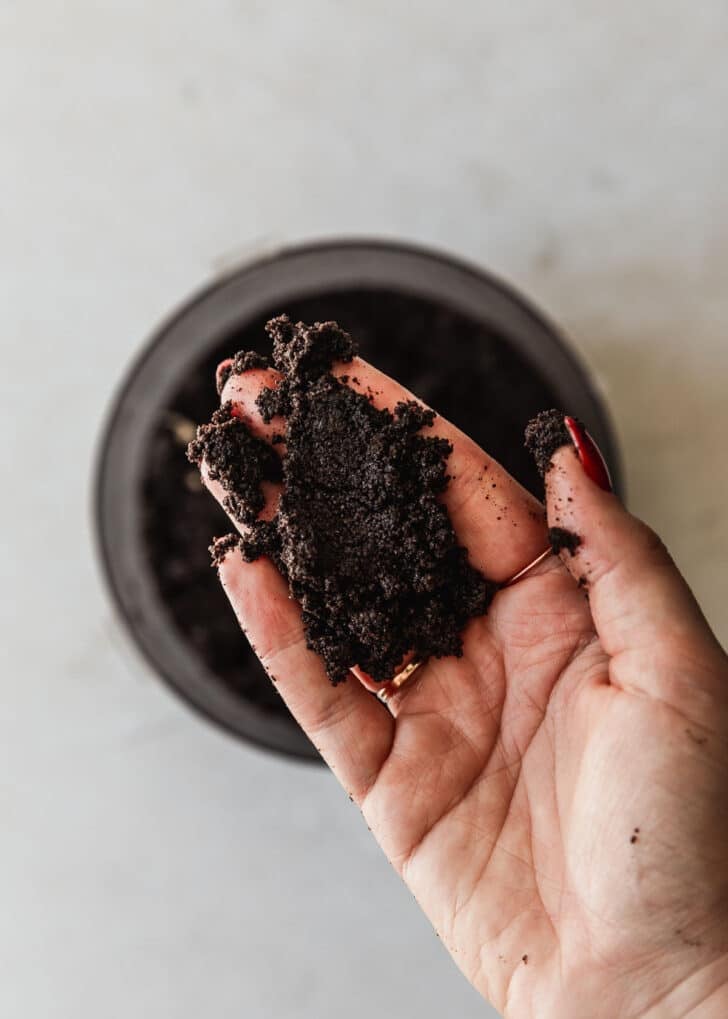
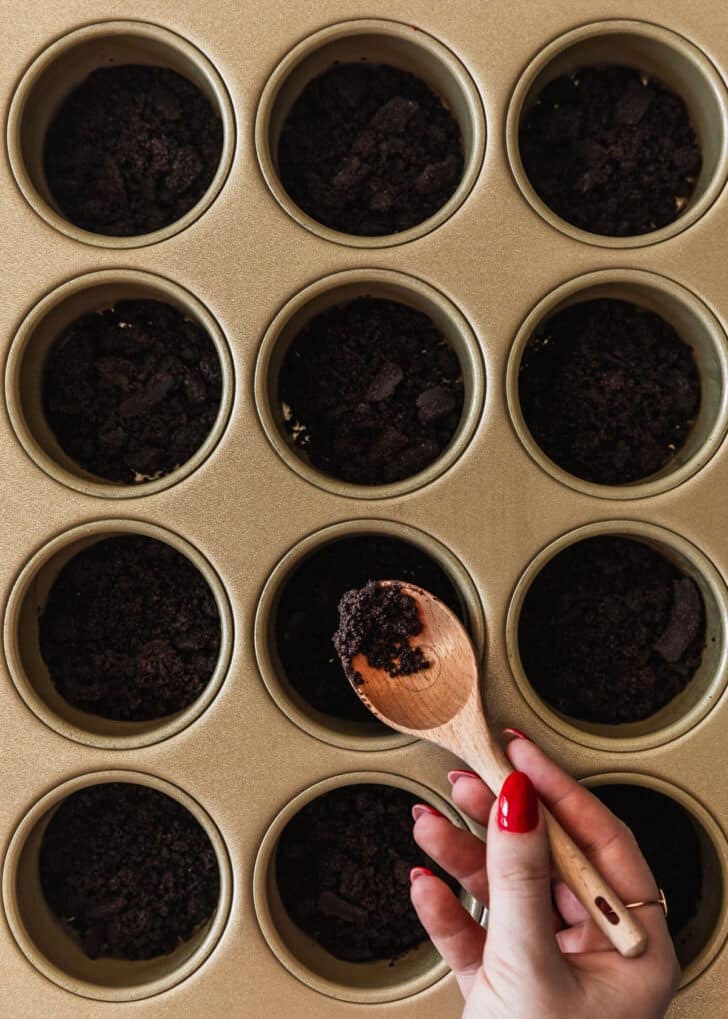
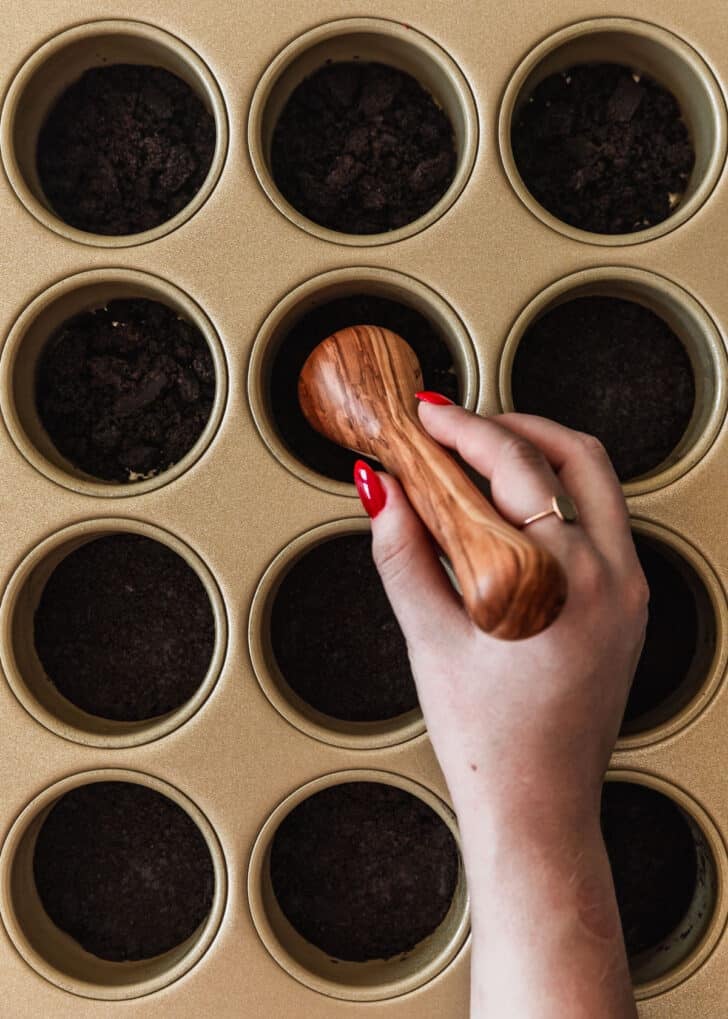
If you’re using a muffin tin, don’t forget the cupcake liners! They are key for removing the miniature Oreo cheesecakes from the pan.
Make the filling & bake
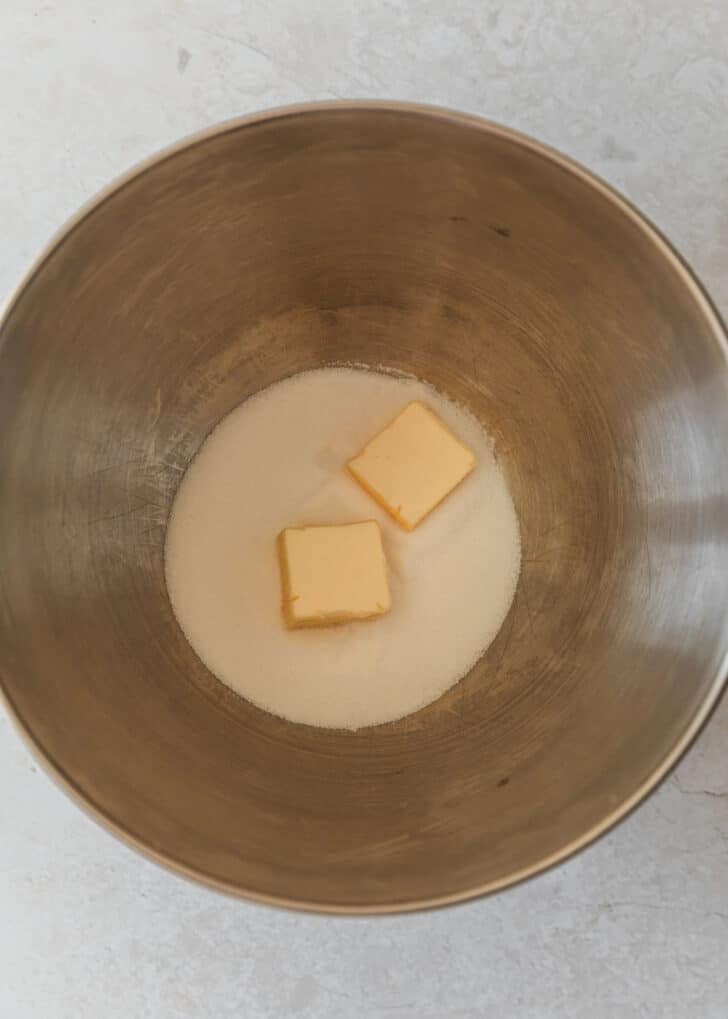
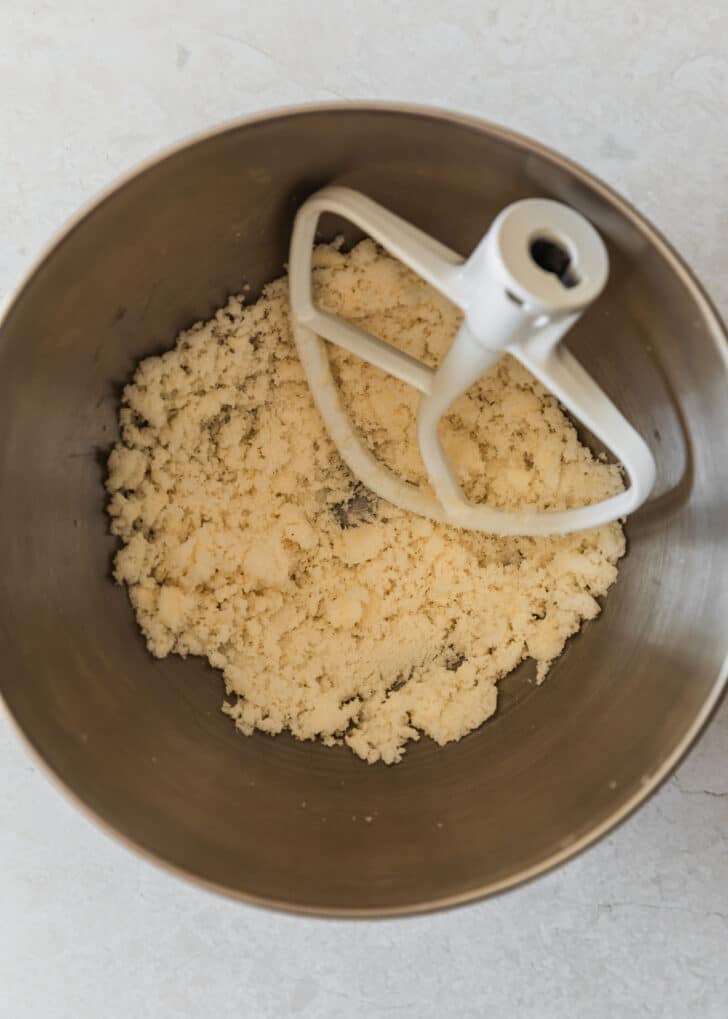
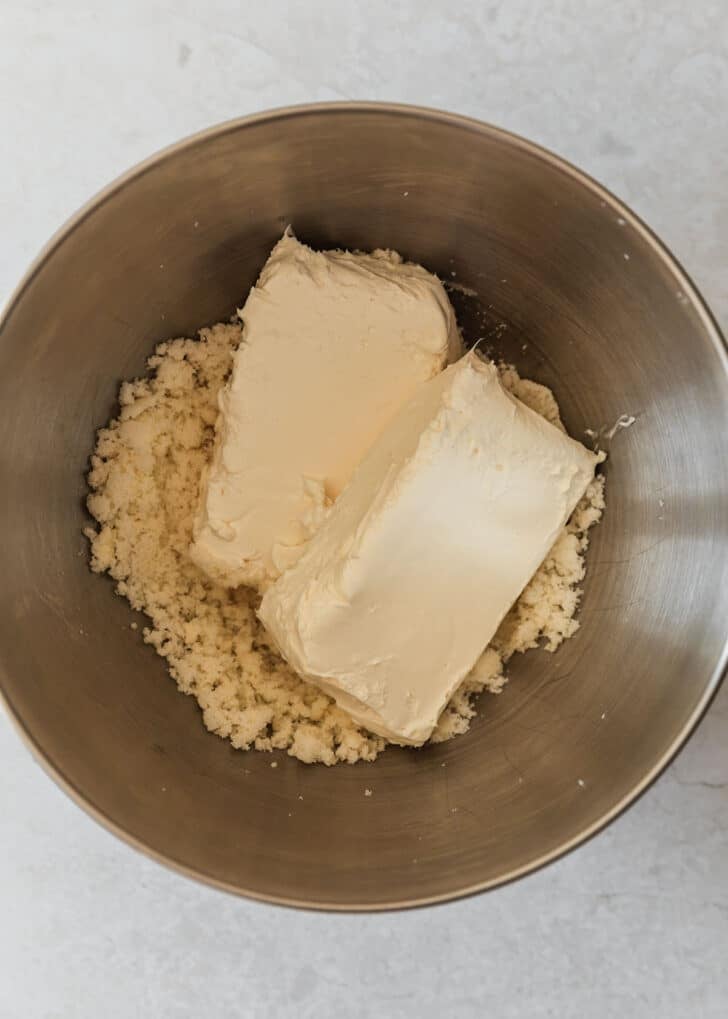
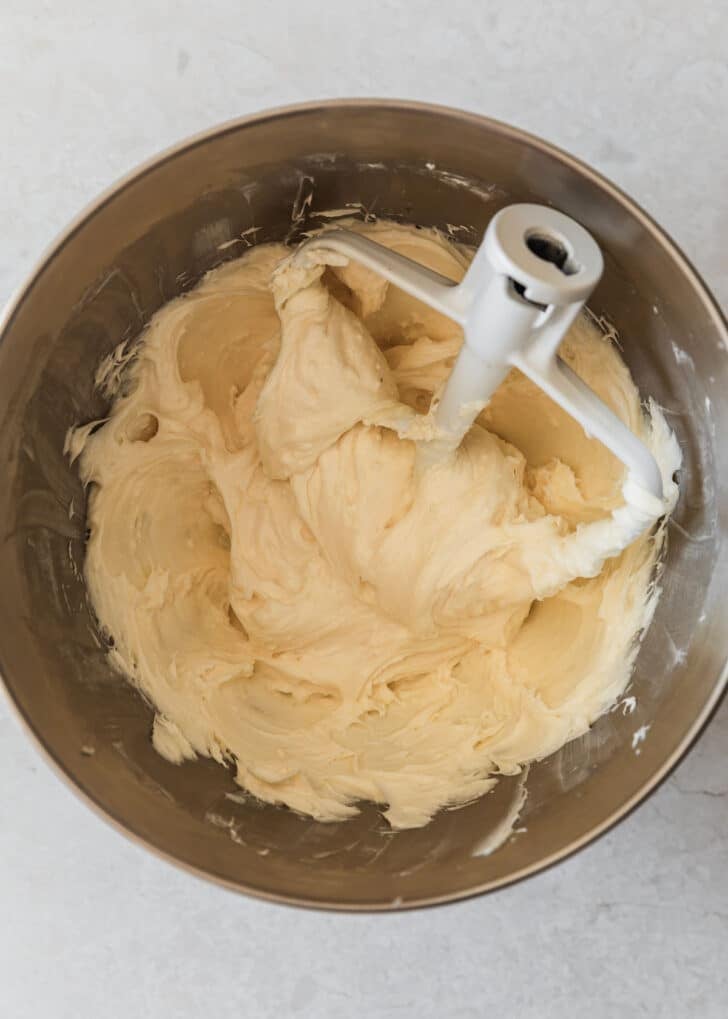
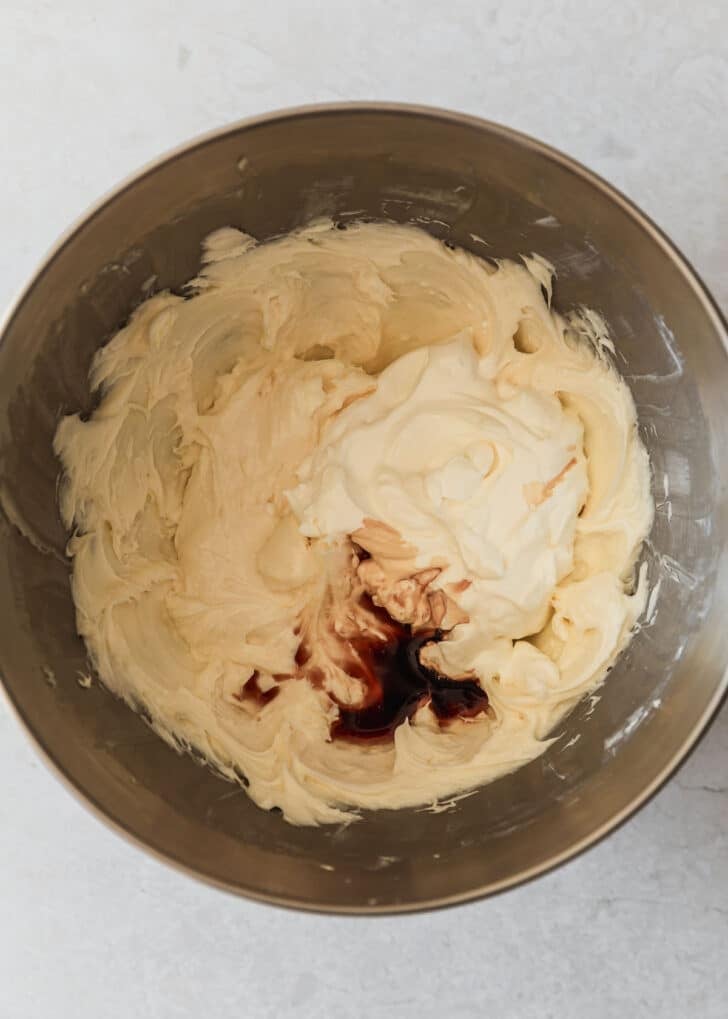
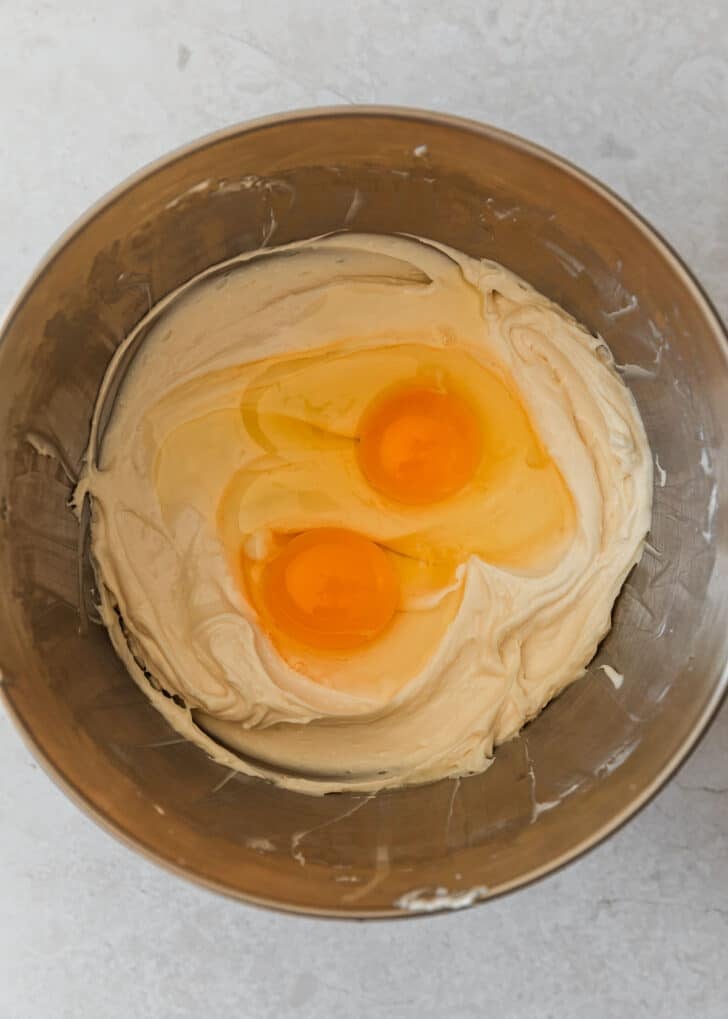
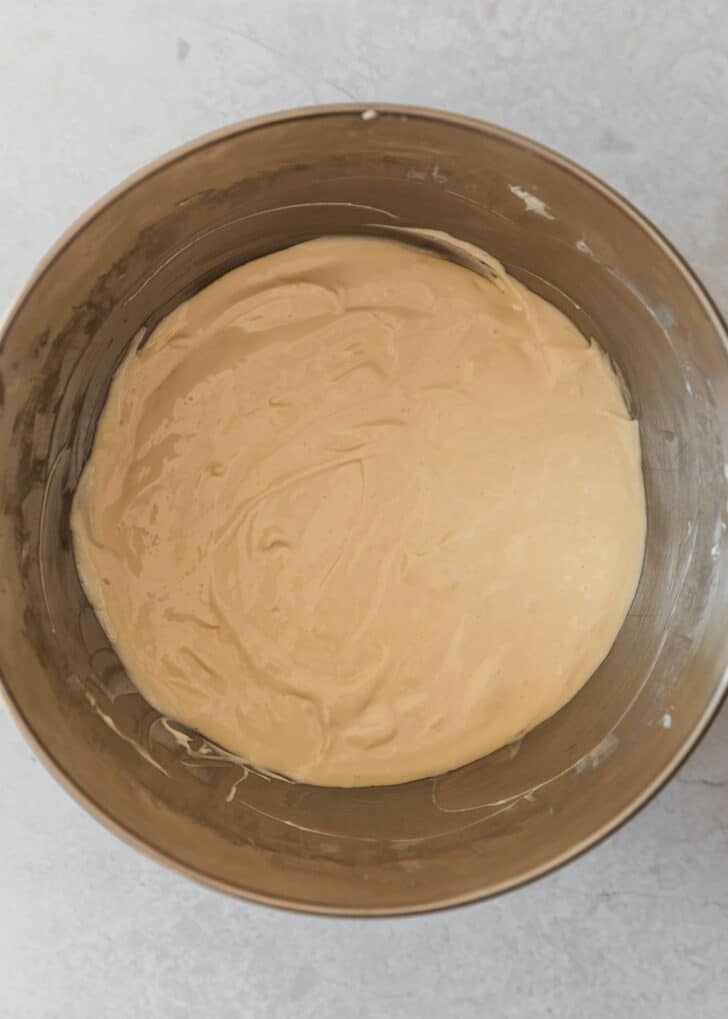
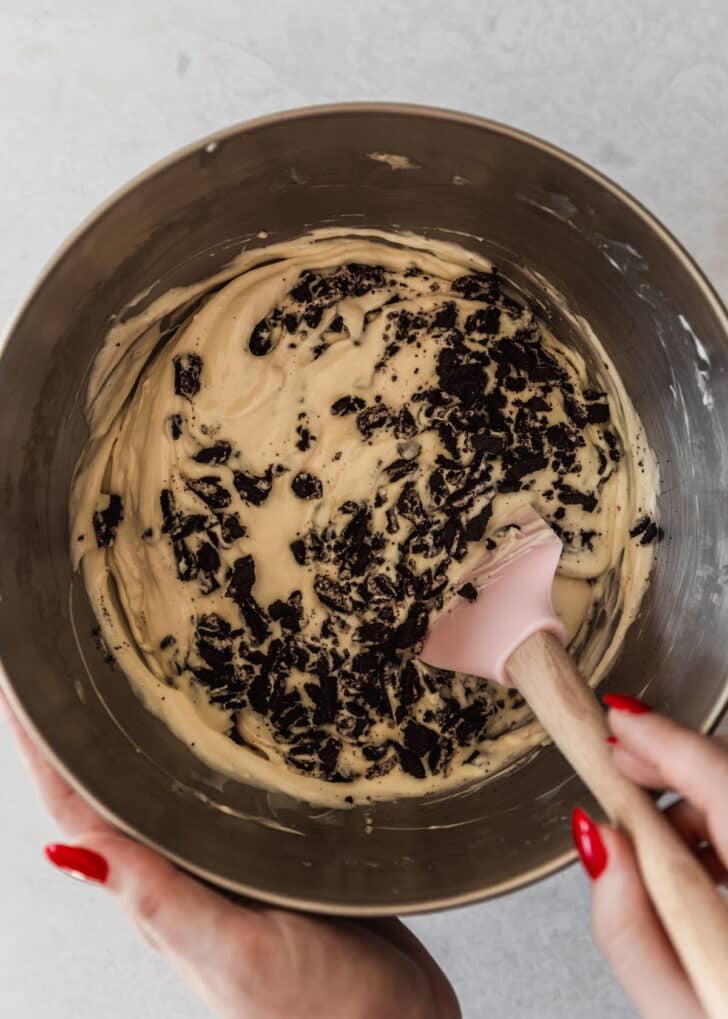
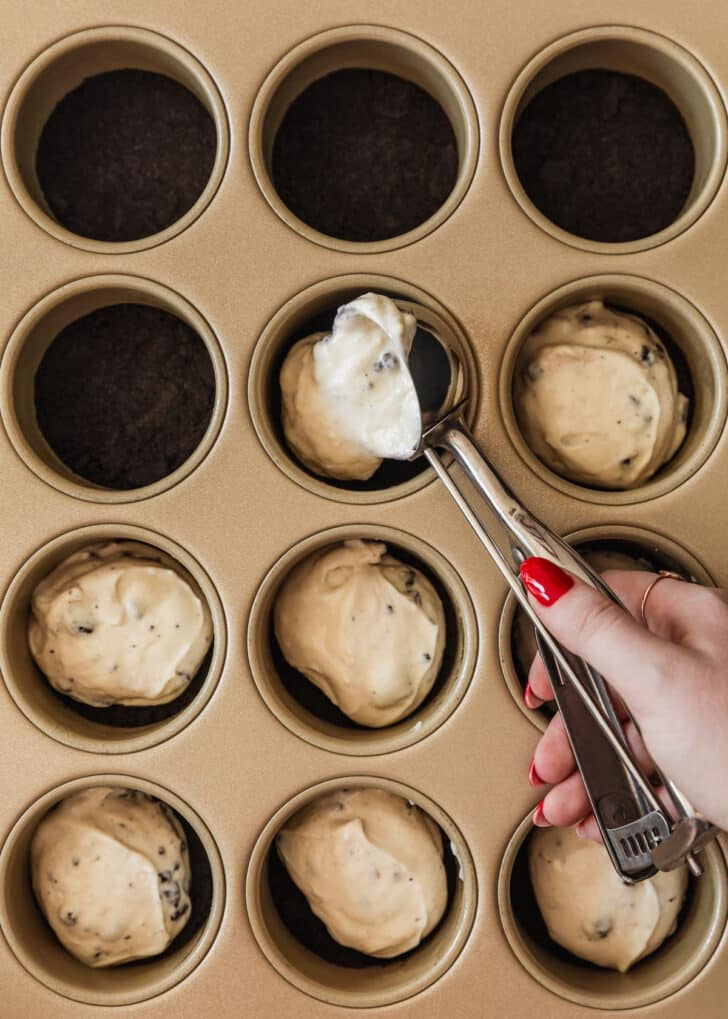
It’s super important to not over-bake the cheesecakes or they will come out dense and crumbly. The cheesecakes are ready when they’re set on the edges but a little jiggly in the center like Jell-O!
Decorating the cheesecakes
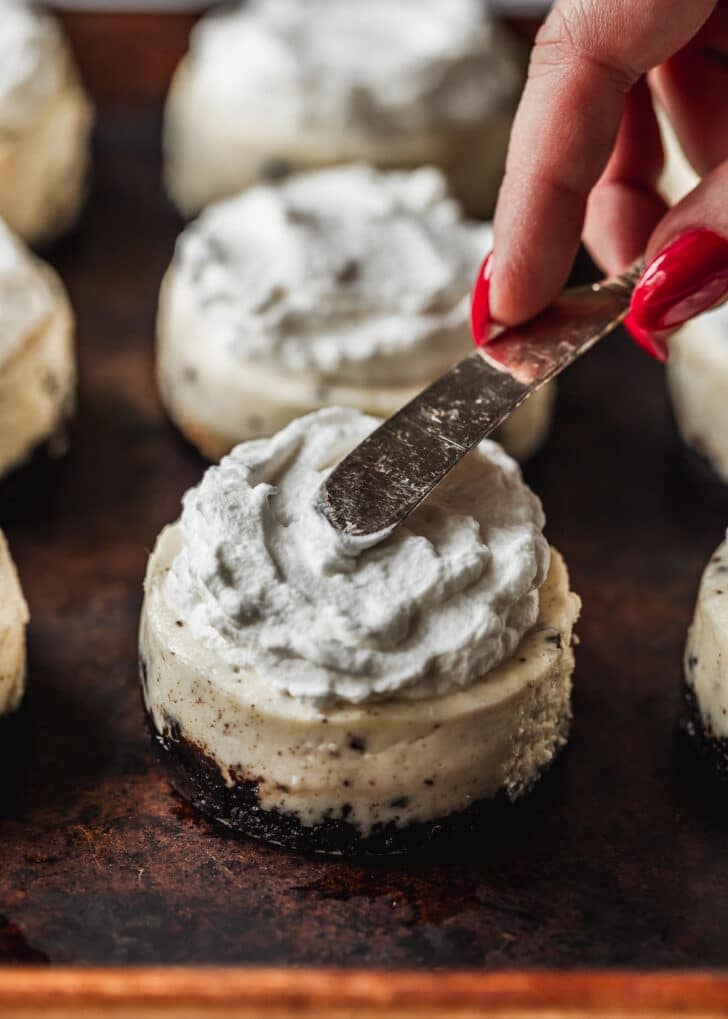
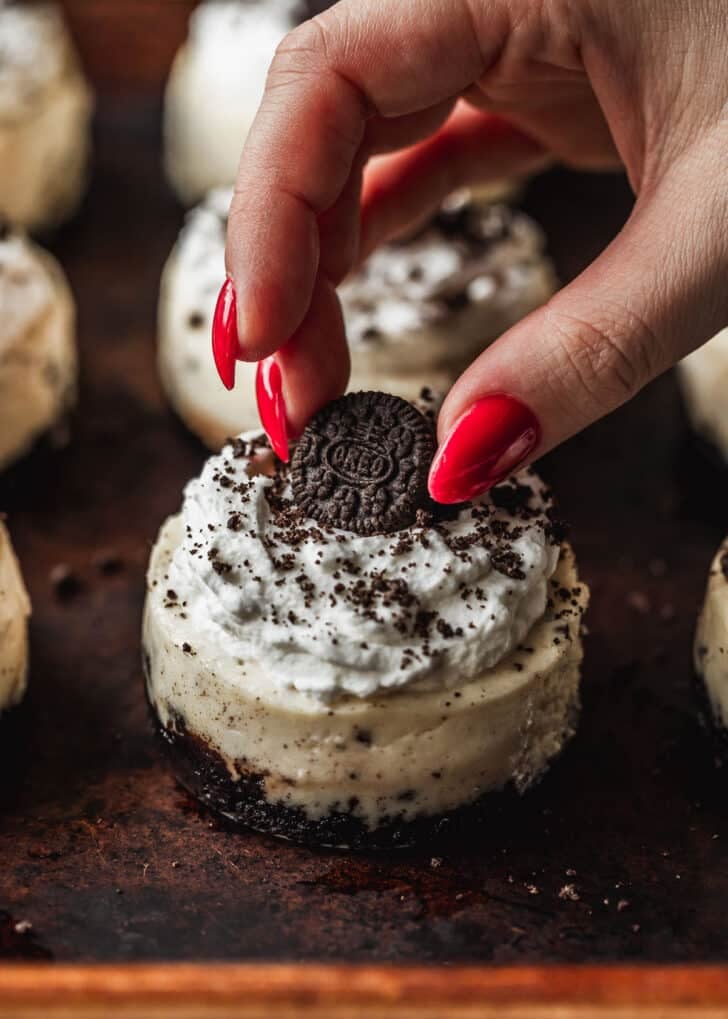
I usually keep the decorations simple with whipped cream, cookie crumbs, and mini Oreos. But you have lots of other options, of course! These cakes are also delicious topped with a layer of chocolate ganache, strawberry compote, or cherry pie filling. You can also finish the whipped cream with chocolate shavings or sprinkles!
Cooling cheesecake
When cheesecake is transferred right from the hot oven to room temperature, it can cause the top to crack. To keep this from happening, this is my favorite cooling hack! Once the cheesecakes are baked, turn off the oven and crack the door. Let the cheesecakes cool slowly in the oven for 30-60 minutes. Then, cover the cheesecakes and cool in the fridge until they’re completely set, 2-3 hours.
Refrigerate & freeze
- Refrigerate these individual Oreo cheesecakes in an airtight container for up to 3 days. Just keep in mind, the crust will lose crunch over time.
- Freeze leftovers in a freezer-safe container for up to 1 month. Add a layer of parchment to prevent freezer burn. You can defrost them overnight in the fridge or at room temp for about 2 hours!
If you make this recipe, I would love it if you left a star rating and review! I read every single comment and love hearing what you think about my recipes. Thank you for supporting Sunday Table!

Easy Mini Oreo Cheesecakes
Ingredients
Cookie Crust
- 24 Oreo Thins
- 42 grams unsalted butter, melted (3 Tablespoons)
- 1 pinch of Kosher salt
Cheesecake Filling
- 28 grams unsalted butter, softened (2 Tablespoons)
- 132 grams sugar (2/3 cup)
- 454 grams full-fat cream cheese, softened (16 ounces)
- 152 grams full-fat sour cream (2/3 cup)
- 15 milliliters vanilla extract (1 Tablespoon)
- 2 eggs, room temperature
- 60 grams chopped Oreos (1/2 cup)
- Whipped cream, for serving (optional)
- Mini Oreos, for serving (optional)
Equipment
- Mini cheesecake pan or standard muffin tin
Instructions
Cookie Crust
- Preheat the oven to 325°F (163°C). Lightly grease a mini cheesecake pan with baking spray. Or, you can use a standard cupcake pan – just line the cupcake pan with paper liners for easy removal. (See the Recipe Notes for more details on using a standard cupcake pan.)
- Add the Oreo Thins to the bowl of a food processor and pulse until you have semi-fine crumbs. You should end up with about 1 1/2 cups of crumbs (170 grams). Add the melted butter and pinch of salt. Pulse the mixture until the Oreos are finely ground and you have a thick dough.
- Evenly divide the cookie crust into the mini cheesecake cups, about 2 Tablespoons per cup (or 1 1/2 Tablespoons per cupcake liner). Using a pastry tamper, spoon, or clean fingers, press the mixture evenly into the bottom of the cups. Bake for 5-6 minutes, until the crusts smell toasty and chocolatey. Let the crusts cool while you prepare the filling.
Cheesecake Filling
- Fill an oven-safe pan (like a cake pan) with a few inches of water. Set aside.
- Add the butter and sugar into a large mixing bowl. Using a hand mixer or stand mixer, beat the butter and sugar together until the mixture is sandy, about 1 minute. Add the cream cheese and beat until the cream cheese is light and fluffy. Mix in the sour cream and vanilla extract. Then, add the eggs and beat just until the filling is mixed together. Gently fold the chopped Oreos into the filling until they're well-combined.
- Using a #60 cookie scoop, evenly divide the filling between the cooled crusts. Use a butter knife to smooth the filling over the crusts.
Bake & decorate
- Place the mini cheesecake pan (or cupcake pan) on the middle rack of the oven and set the pan of water on the rack under the mini cheesecakes. Bake at 325°F (163°C) for 15-16 minutes, or until the edges are set and the centers are still a bit jiggly (like Jell-O!).
- Once the cheesecakes are baked, turn off the oven and crack the oven door. Let the mini cheesecakes cool for 30-60 minutes in the oven to keep the tops from cracking. Then, cover the pan and refrigerate the cheesecakes for about 2-3 hours or until the filling is completely set.
- Top each chilled cheesecake with a dollop of whipped cream. Decorate the cheesecakes with a mini Oreo, if desired. Enjoy!


