Single Serving Macaroni & Cheese
This post might have affiliate links. For full details please see my disclosure policy.
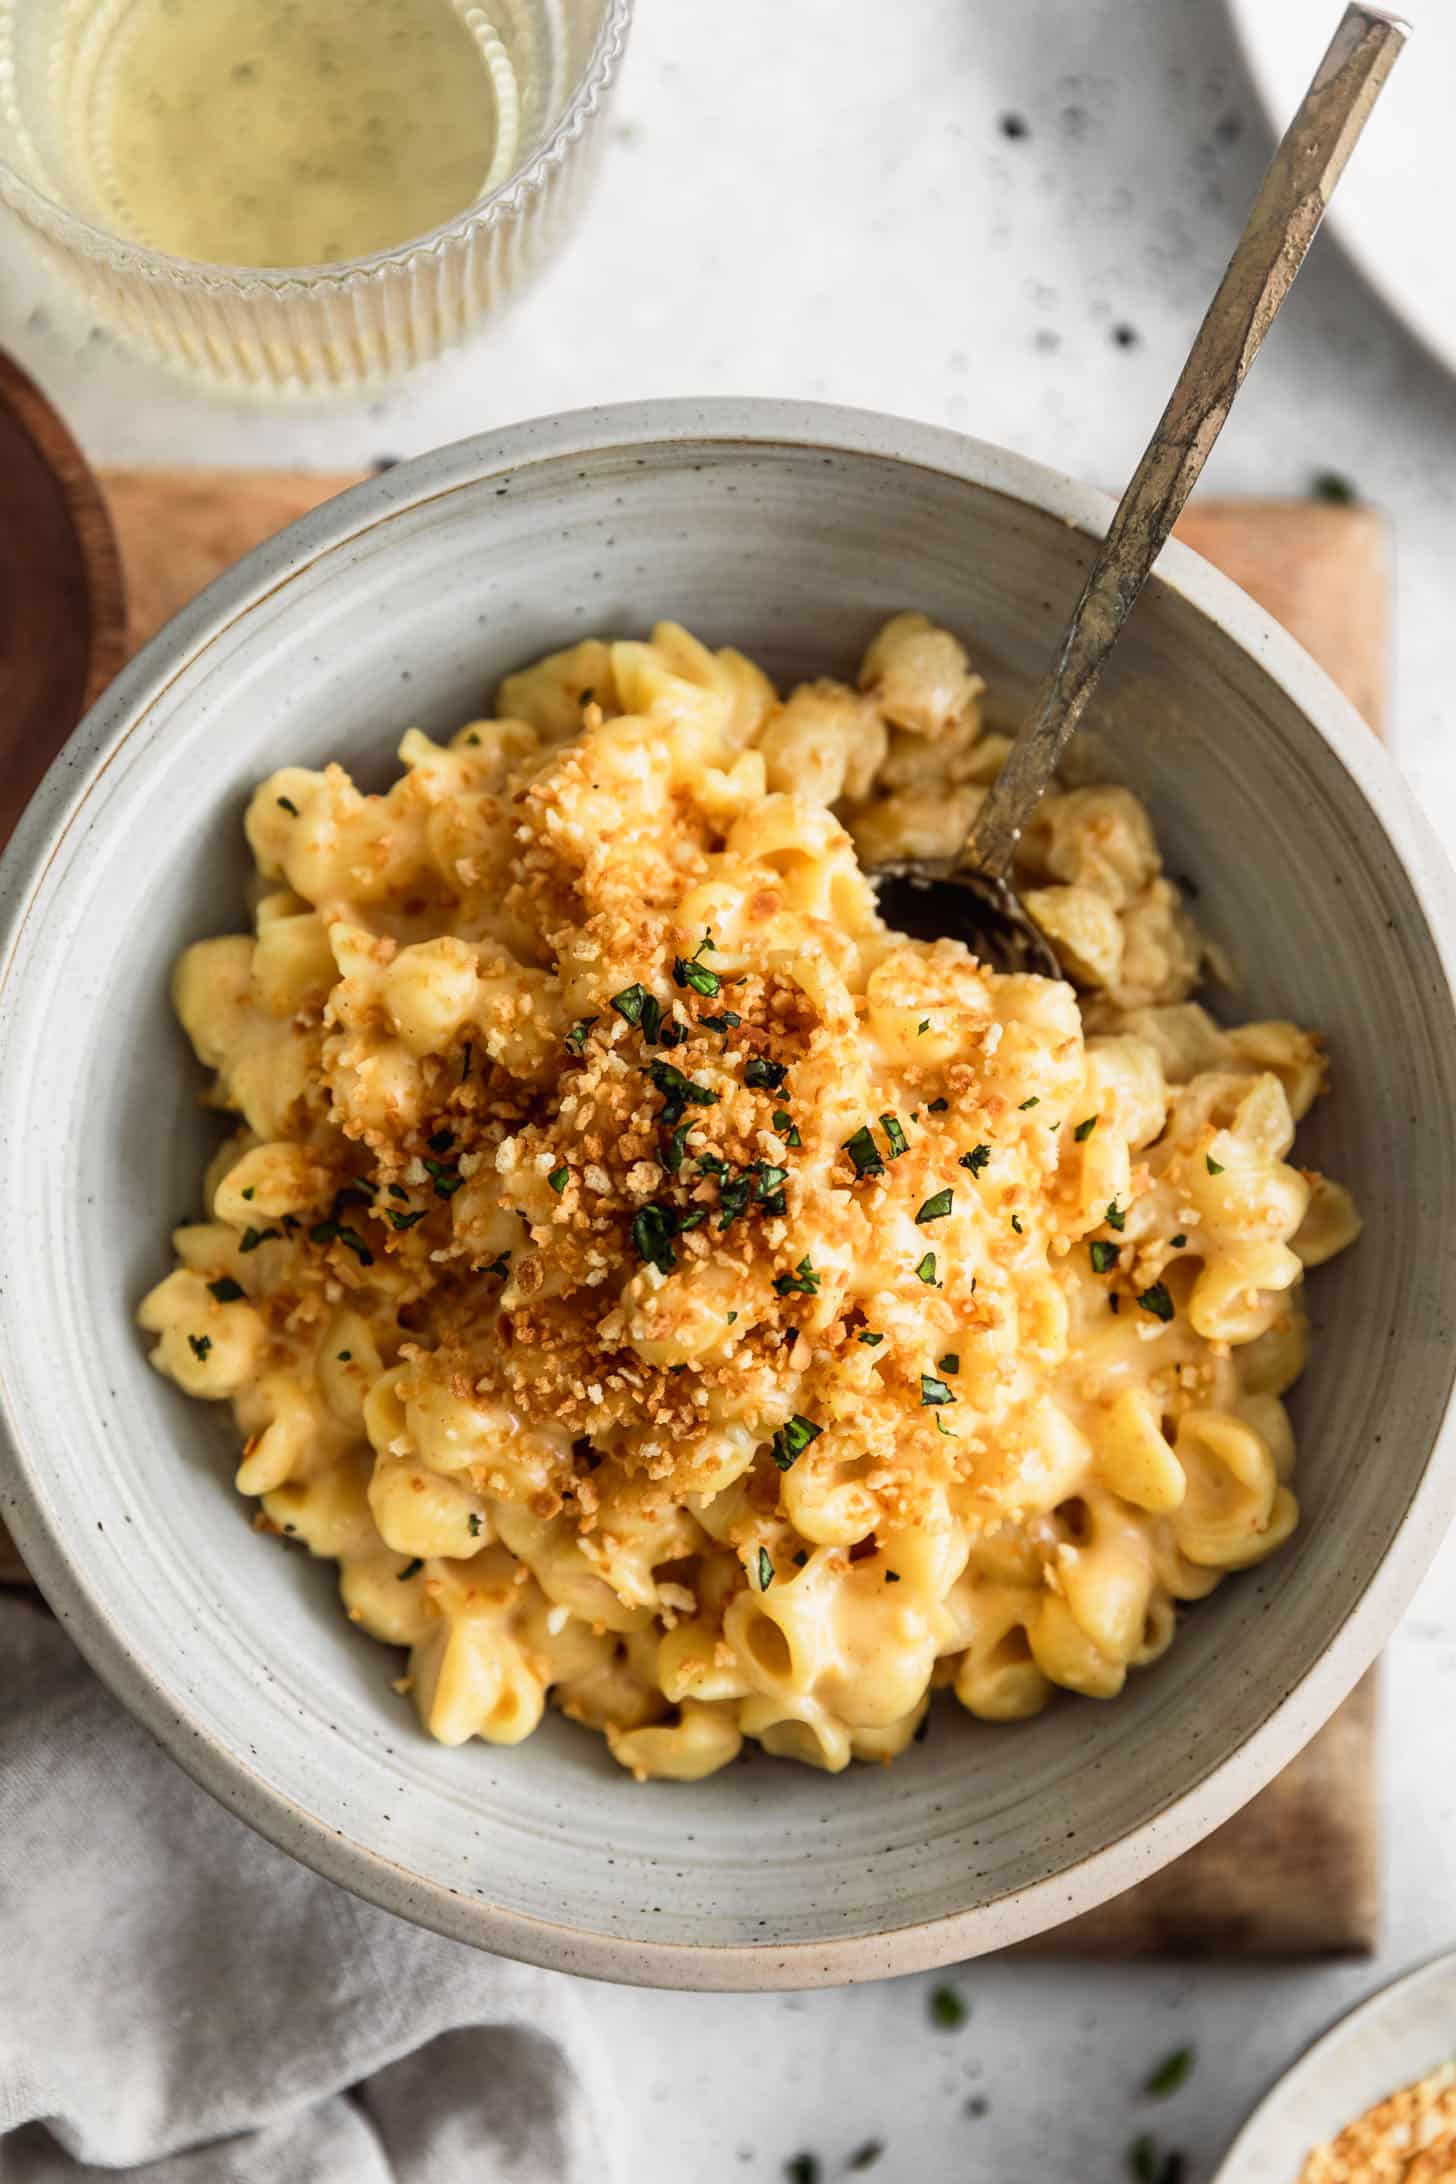
When a mac and cheese craving hits, but you don’t want to make a big batch, this single serving macaroni and cheese is here for you. You can make it from scratch in just one pot on the stovetop, for an easy, creamy, and super cheesy pasta situation. It’s a lovely dinner for just one (or two)!
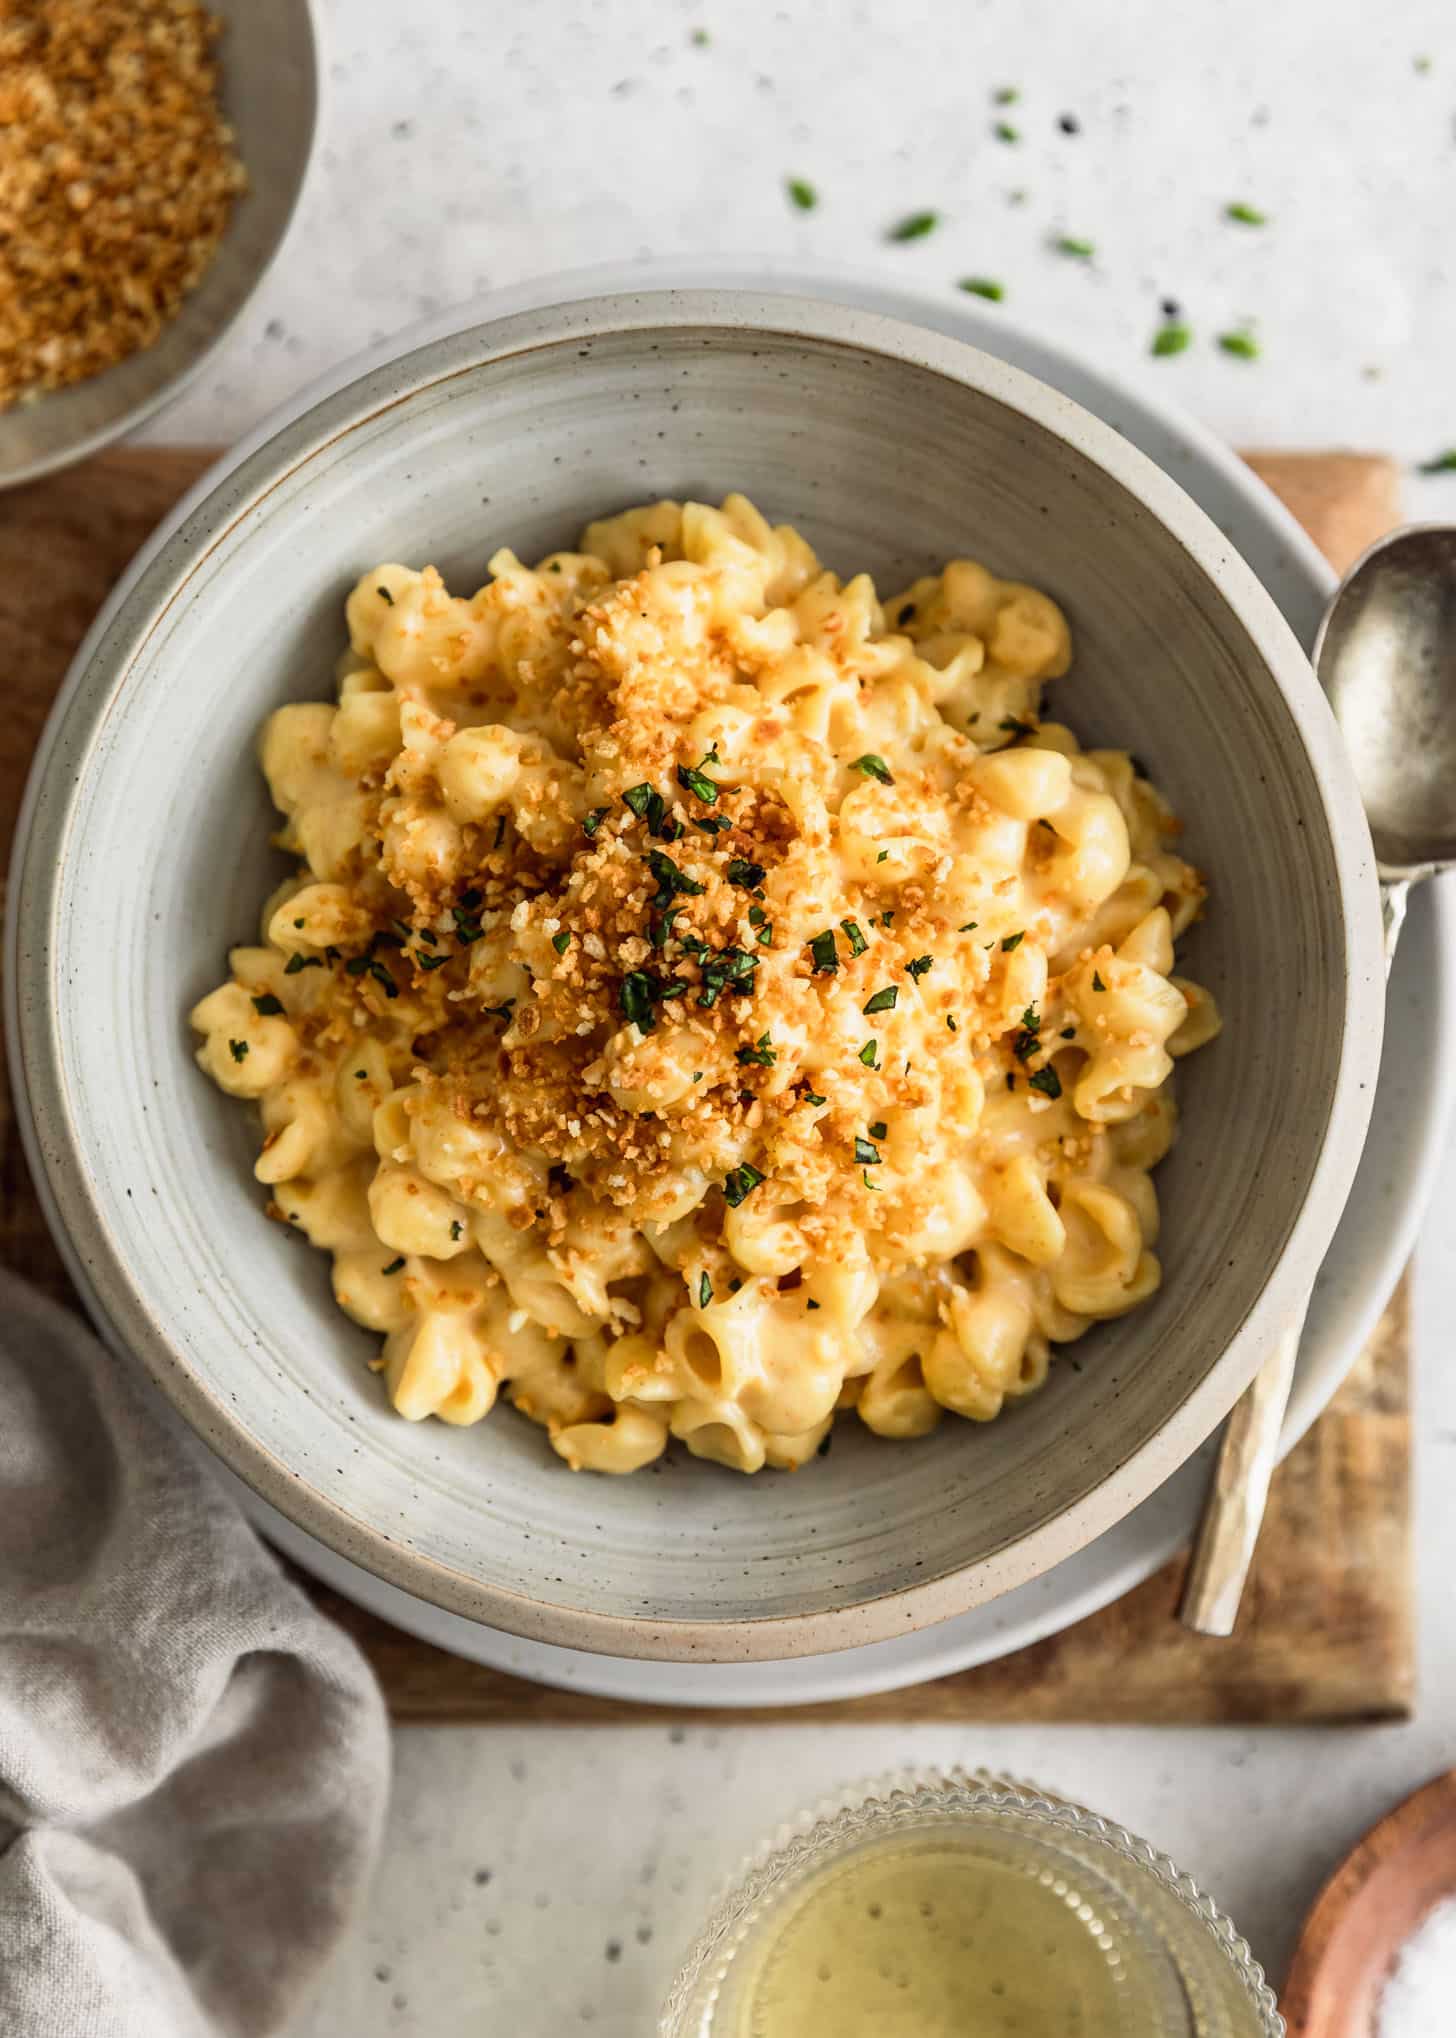
This recipe is kind of hilarious considering the entirety of my blog is dedicated to cooking big batches of food for friends and family. But let’s get honest with ourselves, sometimes we just need a bowl of mac and cheese ok??
Days when you’re feeling sorry for yourself, nights when you have the drunchies but don’t have a box of Kraft in the pantry. Those times when you cook an entire dinner party for your friends, and then you’re not hungry cause you cooked all day, but then at midnight you realize that you actually are hungry, and you don’t have any leftovers.
Just me??
Anyways, the only cure is pasta. Some of my favorite easy pastas are cacio e pepe and this creamy bucatini carbonara, but this mac and cheese for one is by far the easiest choice.
I’ve been making this recipe since I was in culinary school. It served me very well as a single college student stumbling into my kitchen with a wicked mac and cheese craving at 2am after a long night out with friends. Or after a bad break-up (IYKYK). It’s always been here for me and I know it’ll be here for you too!
Pantry staple ingredients
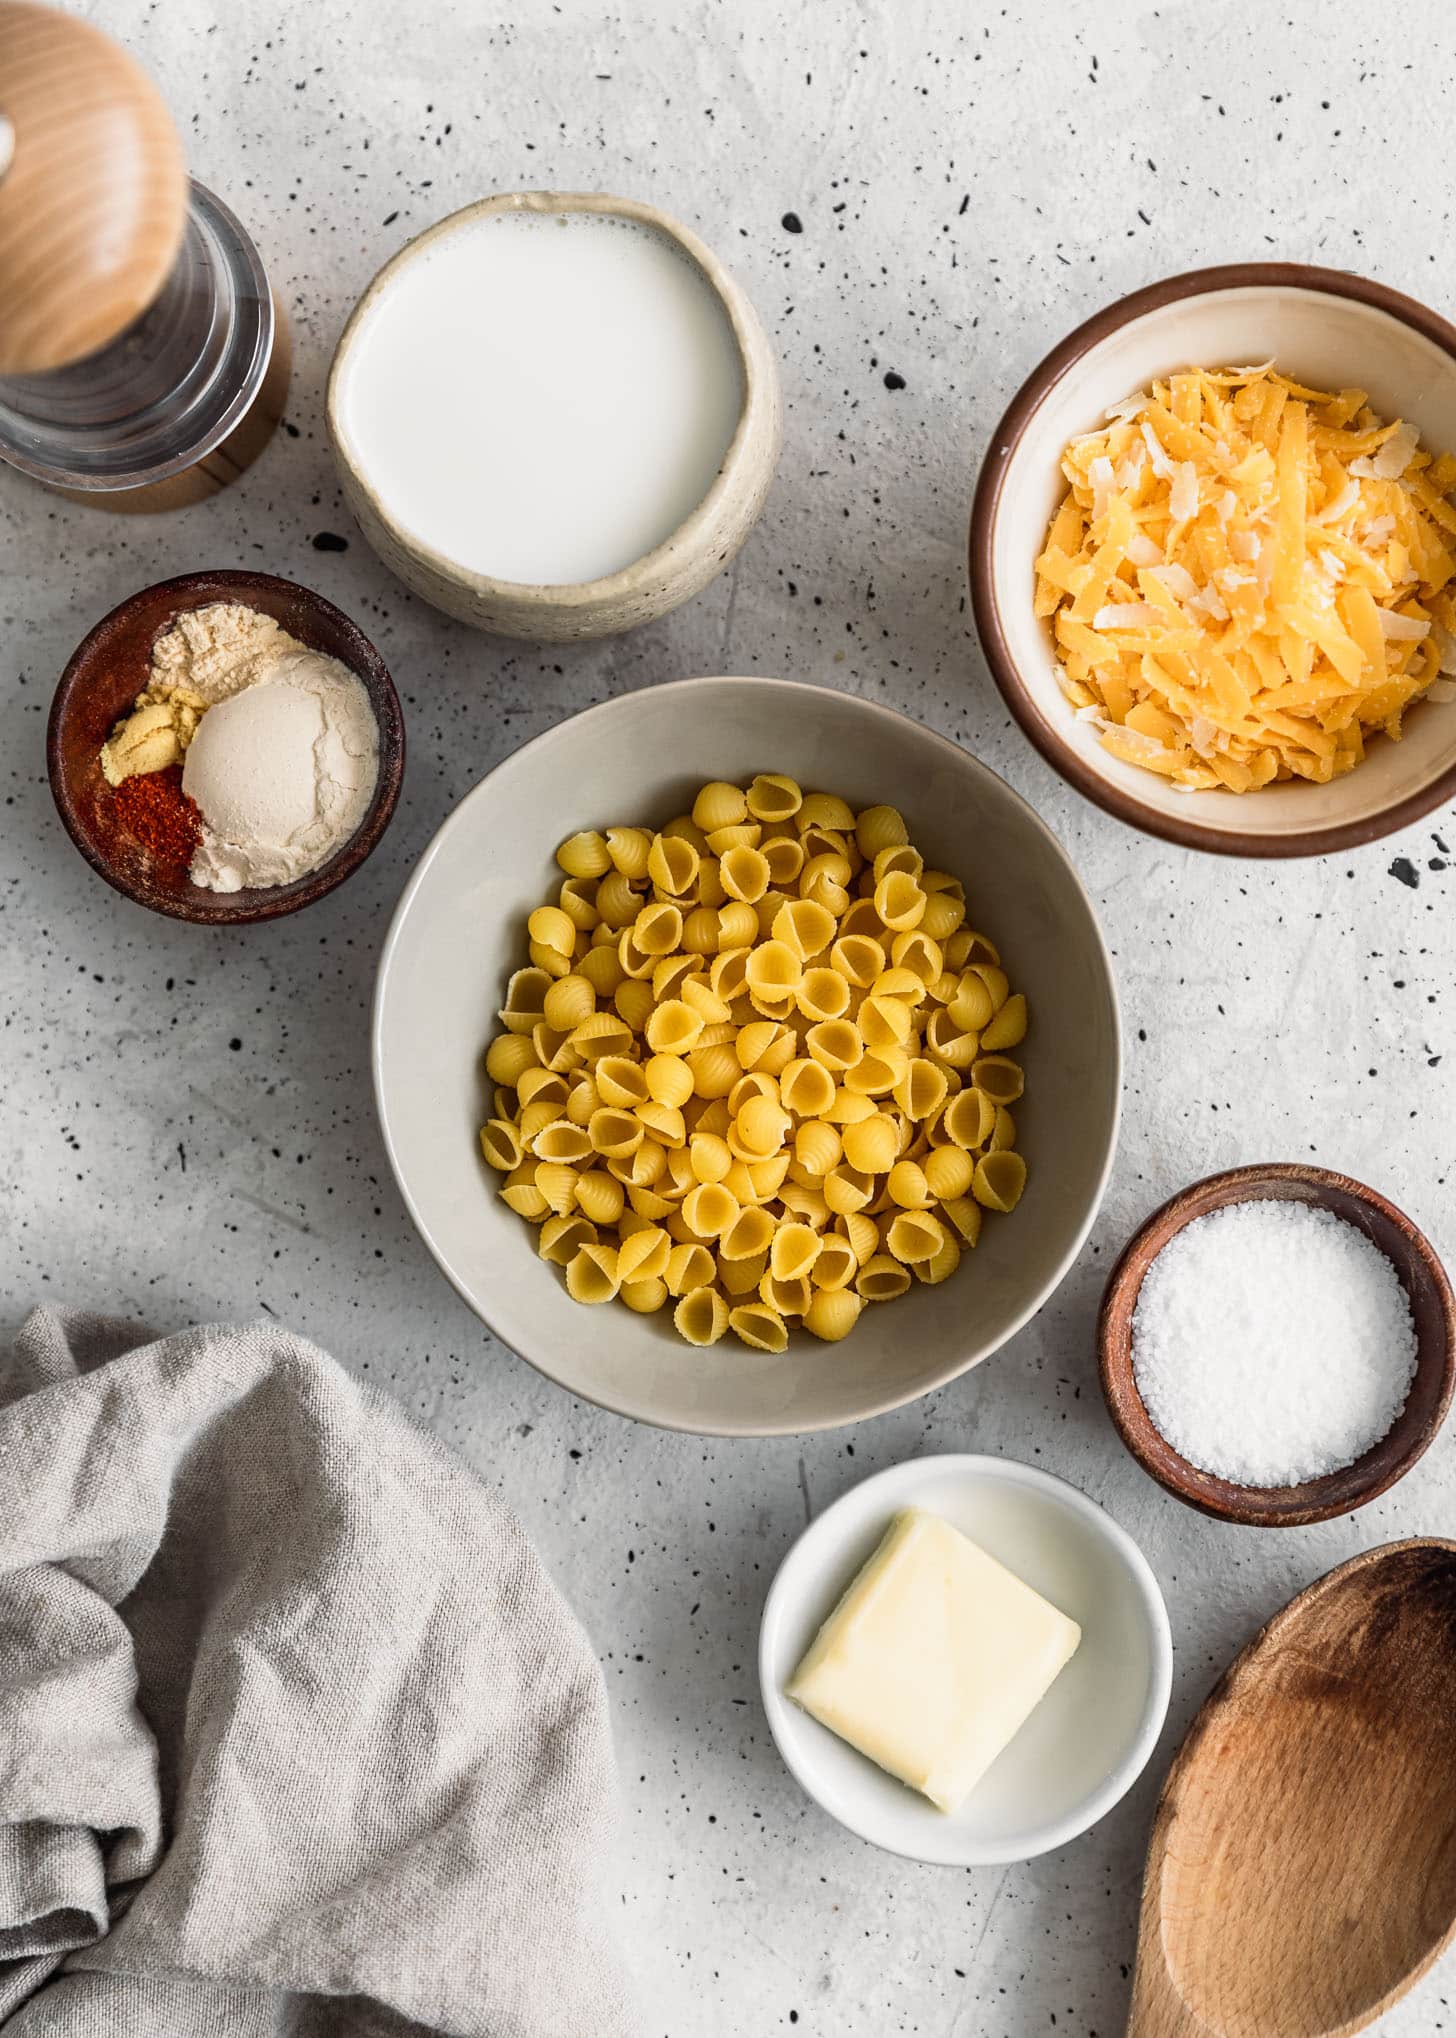
First thing’s first, make sure you have pasta. Something with nooks and crannies to soak up all of that delicious cheese sauce. Shells, elbows, cavatappi, and rotini are my go-tos! Otherwise, all you need is unsalted butter, all purpose flour, garlic powder, paprika, ground mustard, whole milk, and cheese. My favorite combo is sharp cheddar for meltiness and Parmesan for flavor!
Let’s make this recipe!
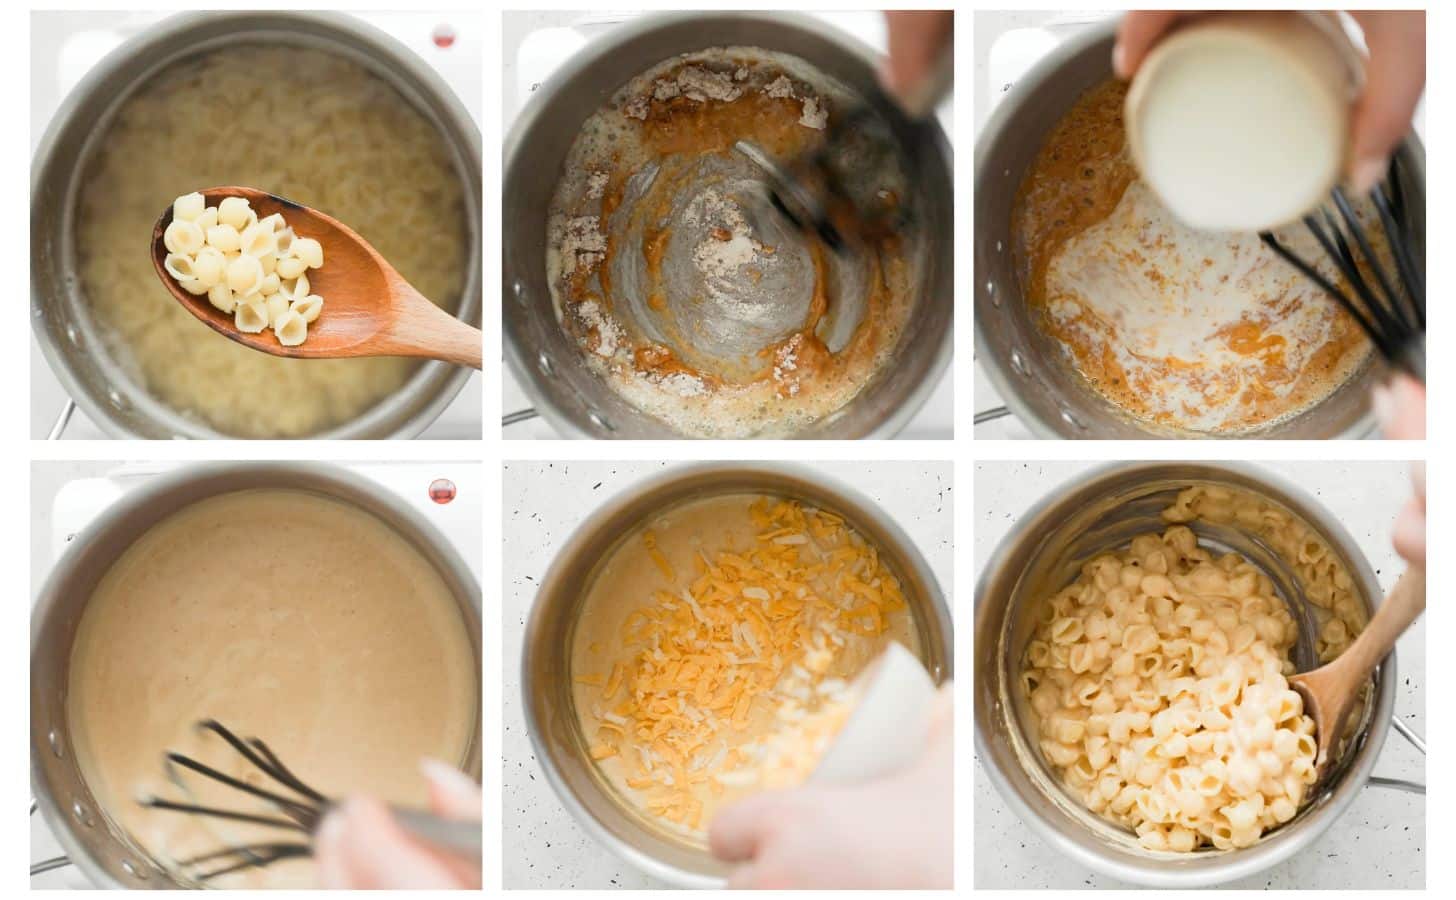
To keep the sauce from coming out grainy, first of all, you have to freshly grate the cheese. I know grating cheese is kind of the worst, but like, you just kinda have to, sorry! The preservatives in pre-shredded cheese will automatically make the sauce grainy. Also, make sure to remove the pan from the heat before stirring in the cheese. If the sauce is too hot, it’ll curdle the cheese and make it grainy.
Mac & cheese add-ins
If you want to make mac and cheese for one just a little fancier, try these add ins! It’s an amazing way to use up random leftovers in the fridge.
- Meat – leftover bacon, ham, chicken, sausage, or ground beef are all great options.
- Veggies – broccoli, onions, peas, or jalapeños would be delicious!
- Sauces – try a splash of Sriracha or basil lemon pesto!
- Toppings – broil breadcrumbs or extra cheese on top for crunch. Or, sprinkle crispy frizzled onions over the mac and cheese!
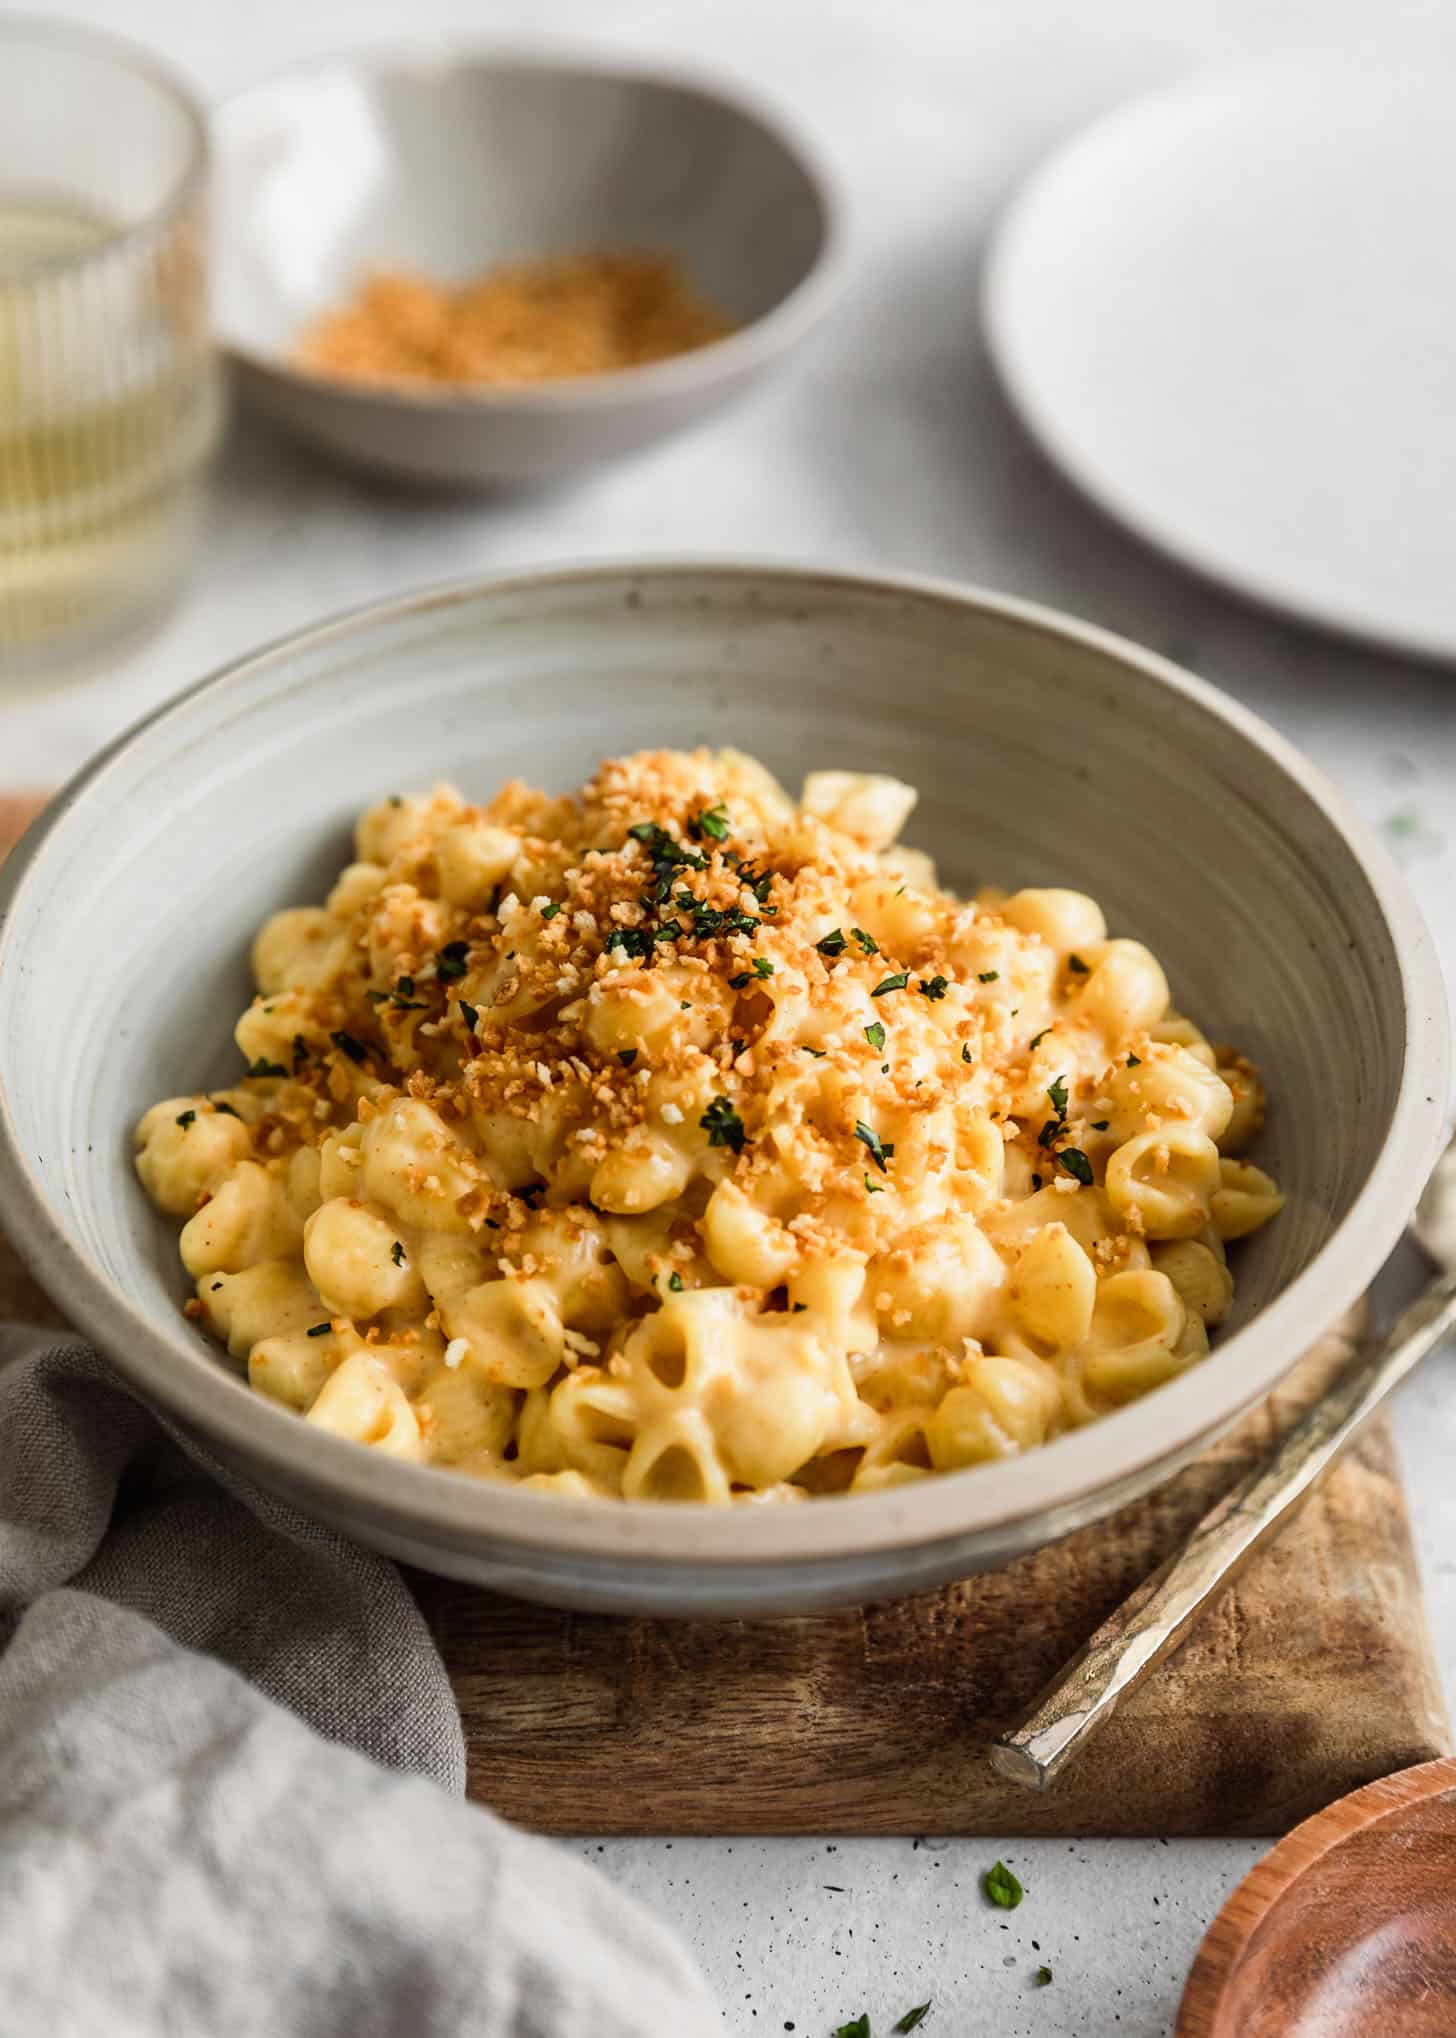
What cheese is best?
You can use all kinds of cheese in this recipe. These are just some of my go-tos, but feel free to use your favorite!
- Cheddar – this is the cheese I literally always use in macaroni and cheese. It’s the perfect mix of melty and flavorful.
- Parmesan – I always use Parm cause it adds so much salty, umami flavor. A dream.
- Gruyère – this is a classic. It melts so nicely and adds a lovely nutty flavor.
- Gouda – this will make for a super creamy mac. Try smoked for extra flavor!
- Fontina – this is another buttery, nutty cheese that will be great in one serving of mac and cheese.
Trust me, you need to use freshly grated cheese. If you use pre-shredded, the sauce will be flavorless and have an odd, gritty texture. For the best results, just grate some cheese real quick. It only takes a minute!
Can I store leftovers?
Not going to lie, this one serving mac and cheese is honestly best right out of the pot. But if you do have leftovers and want to store them, it’s not the end of the world. Just place it in an airtight container and refrigerate for up to 3 days.
If you make this recipe, I would love it if you left a star rating and review! I read every single comment and love hearing what you think about my recipes. Thank you for supporting Sunday Table!

Single Serving Macaroni and Cheese
Ingredients
- 1/2 cup pasta, with nooks & crannies (shells, elbows, etc.)
- 1 Tablespoon unsalted butter
- 1 Tablespoon all-purpose flour
- 1/8 teaspoon garlic powder
- 1/8 teaspoon paprika
- 1/8 teaspoon ground mustard
- 1/2 cup whole milk
- 1/2 cup freshly-grated cheese (I like sharp cheddar and Parmesan)
- Kosher salt and freshly-ground black pepper, to taste
- Breadcrumbs, bacon, broccoli, onions, etc., if desired
Equipment
- Medium saucepan
Instructions
- Fill a medium saucepan with water and add a few generous pinches of salt. Bring to a boil. Then, boil the pasta until al dente, according to package directions. Drain and return the pot back to the stove.
- Melt the butter in the pot over medium heat. Add the flour and spices and whisk to make a thick roux.
- Next, slowly whisk the milk into the roux. Bring to a simmer and cook, stirring constantly, until the mixture thickens slightly, about 2-3 minutes.
- Remove the pan from the heat and whisk in the cheese. Stir until smooth. Taste and add salt, pepper, and more spices if needed.
- Fold the pasta into the cheese sauce. At this point, you can add any mix-ins such as cooked bacon, broccoli, etc. and eat straight from the pan.
- To make baked mac and cheese, spoon the pasta into a greased, heatproof dish. Sprinkle more cheese and breadcrumbs over the top and broil on high for 3-4 minutes until the cheese is melty and golden-brown.
Notes
Originally posted on March 31, 2023.


Very simple yet very yummy, I’m definitely going to be making this a lot!
Thanks, Kelly! Love this recipe, I’m glad you liked it too. 🙂
Love that someone totally understands when I just need that single serving mac & cheese – your pictures hit my cravings just right and really make it look “adultified” = justified.
This is the perfect base recipe. When sautéing the butter, I like to add some shallot or garlic scapes we have frozen from our garden for extra flavor. Definitely recommend saving pasta water to mix with the cheese sauce so it thins out and binds better to the pasta.
Yummy – thanks!!
Ahhh thanks so much, Janine! So glad you like the recipe. 🙂 Definitely trying with some shallots soon!
Yum! This hit the spot. I used a mix of Parmesan, Gruyère, and cheddar. I would recommend reserving some pasta water just in case you’d like it a little thinner.
Thanks so much, Alison! So glad you like the recipe. 🙂
this was super good i doubled up on tje cheese and it was mwah! wish i could leave a photo
Oh yay, so glad you liked it! Thanks, Kenzie. 🙂