These high altitude yellow cupcakes have been adjusted for baking above 3,500 feet so you get fluffy, pretty cupcakes every time! They’re flavored with lots of vanilla and topped with fudgy chocolate buttercream for a classic birthday cake situation. (Post updated on March 8, 2022).
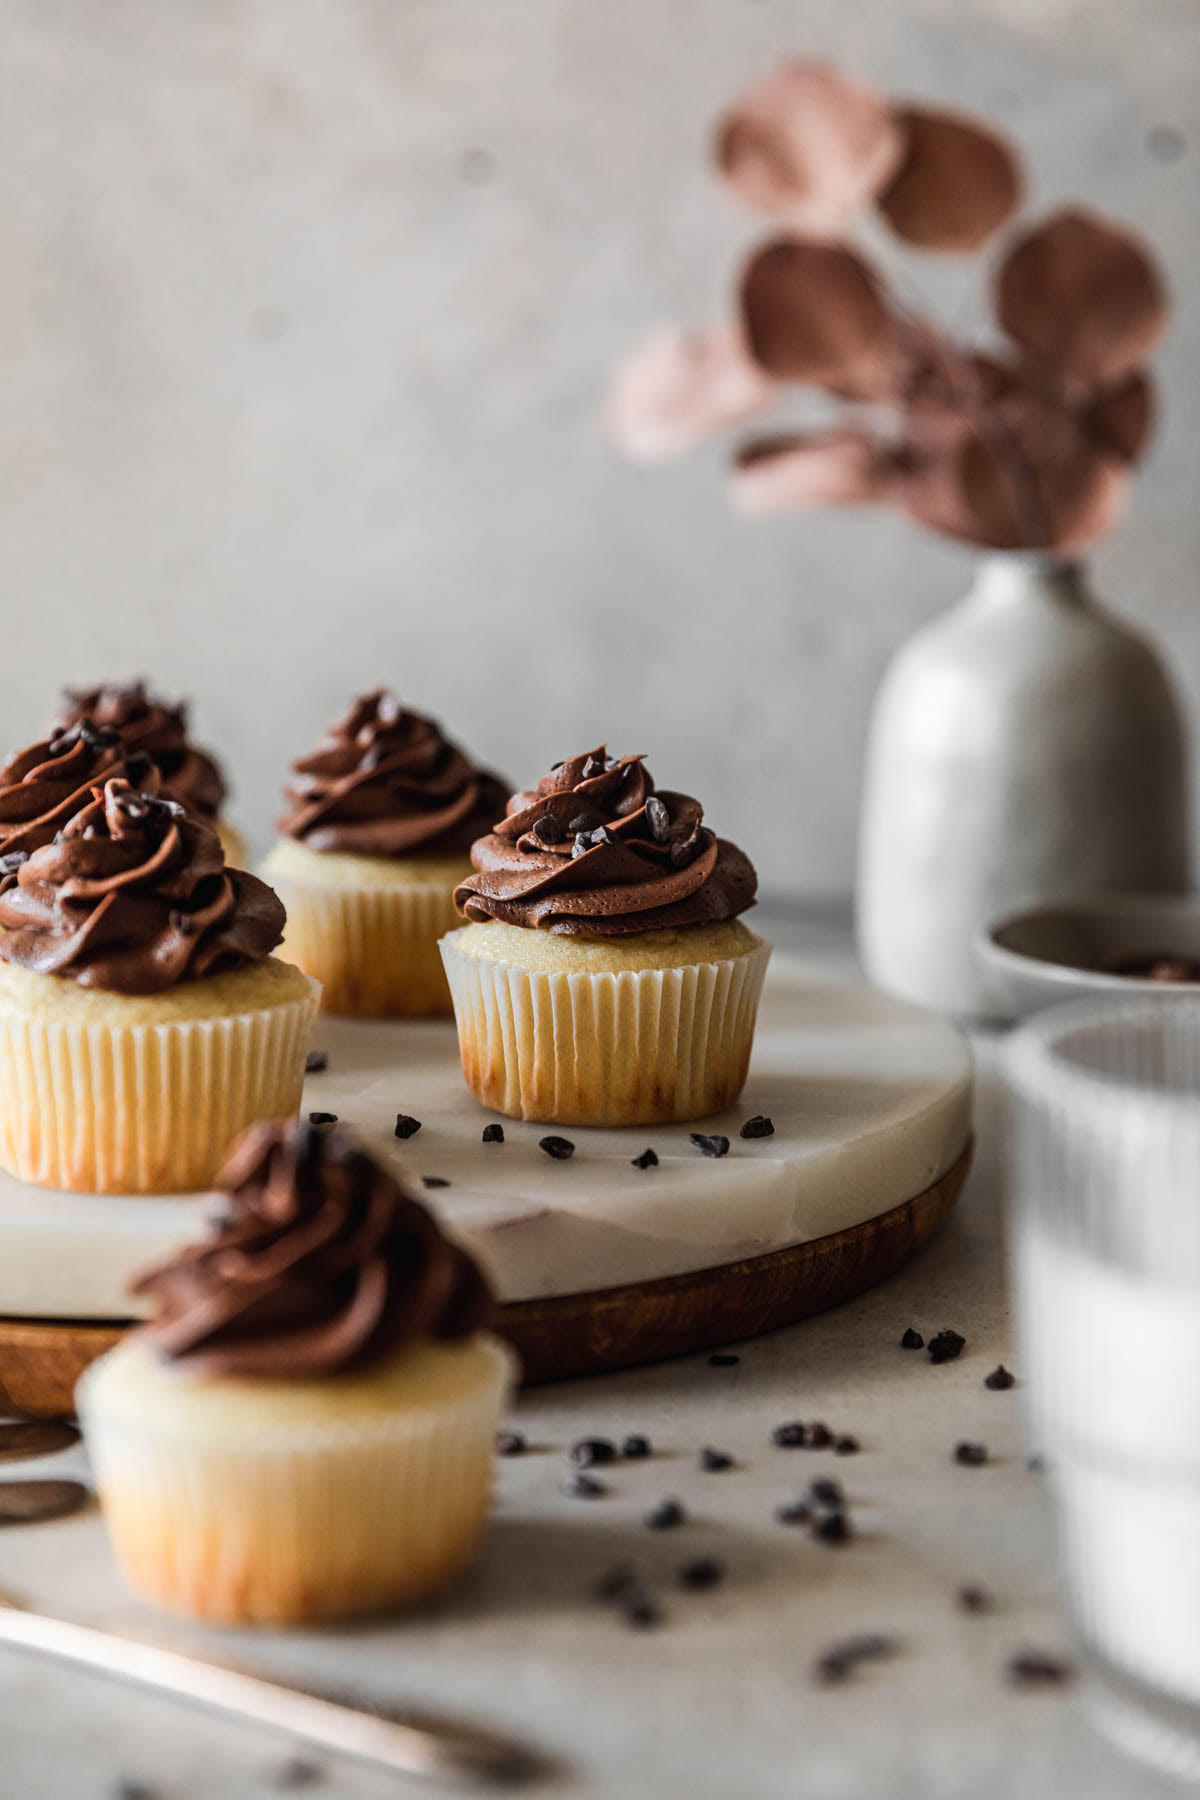
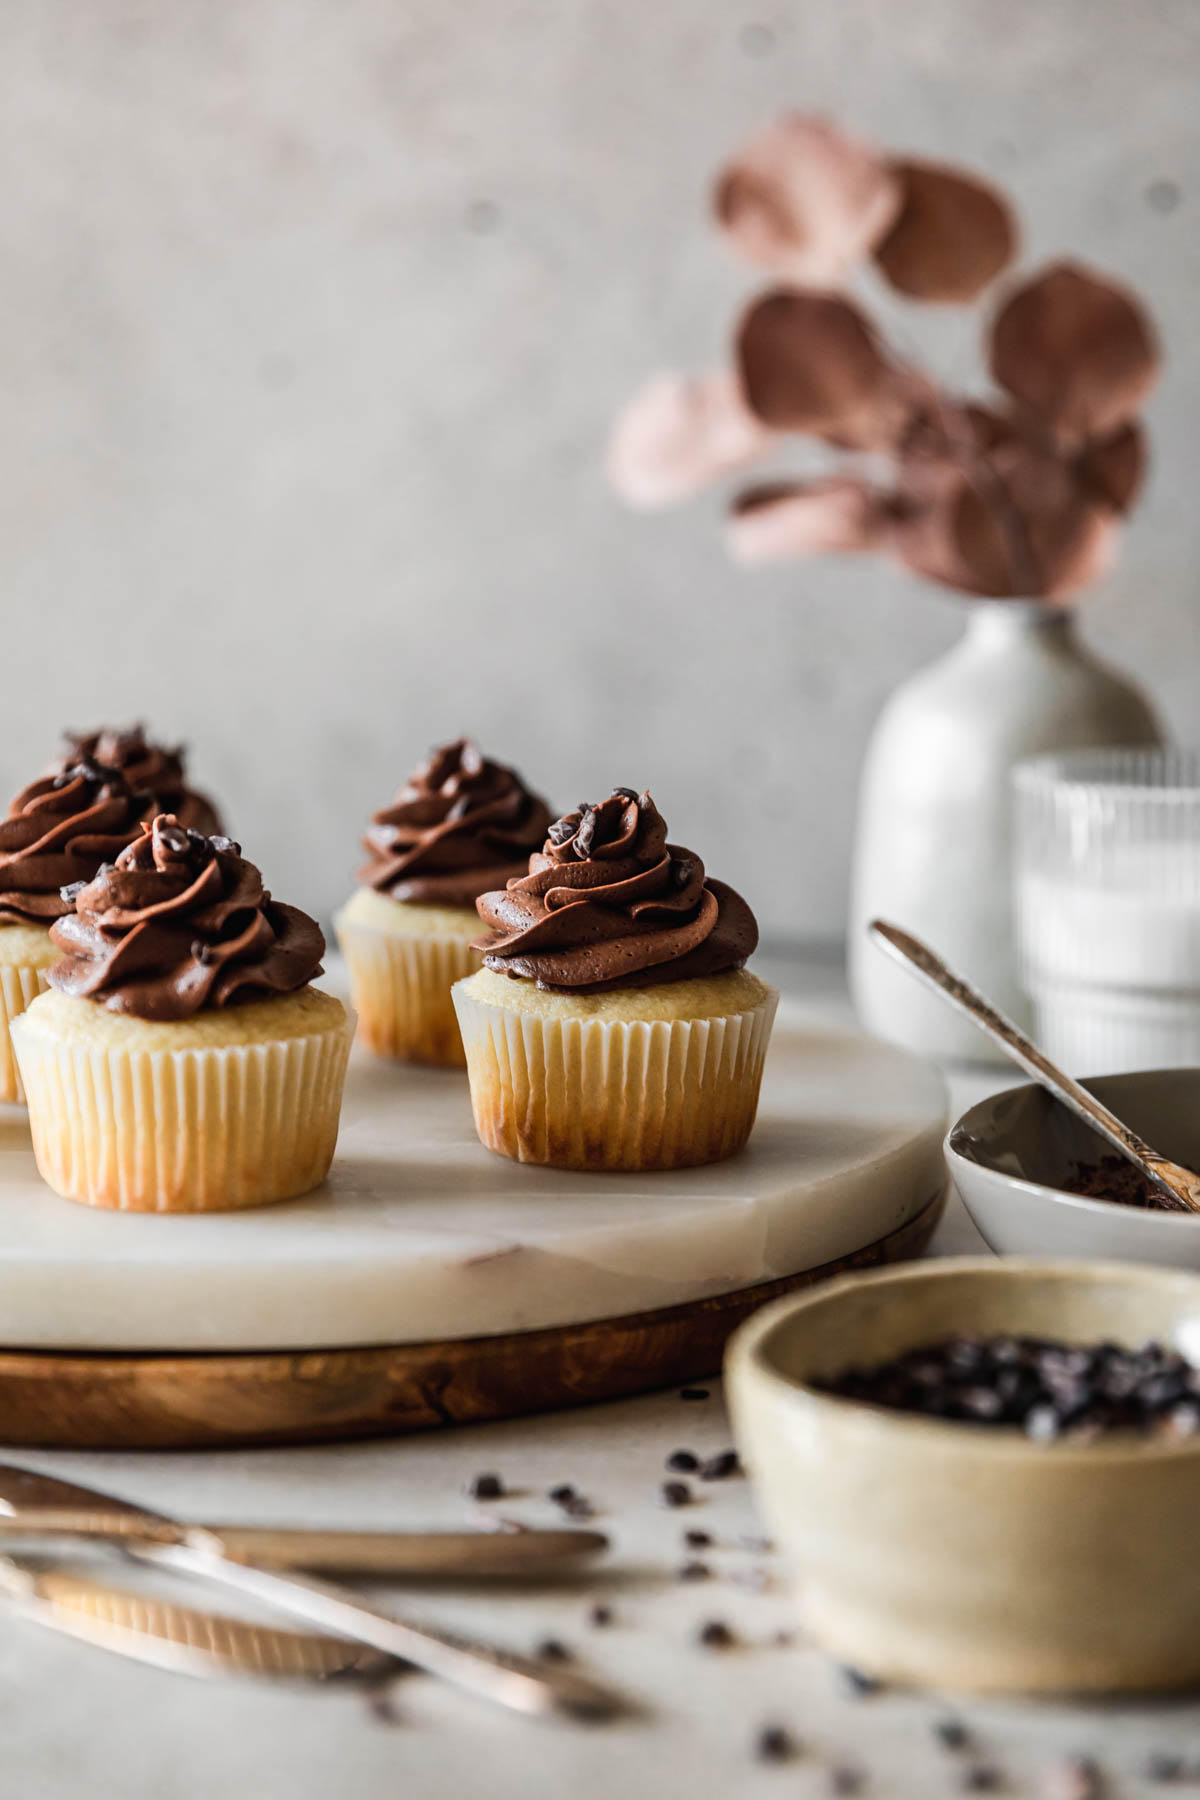
A closeup side image of a marble and wood board topped with high altitude yellow cupcakes with chocolate buttercream on a grey table next to a glass of milk, grey bowl of frosting, and grey vase with dried eucalyptus leaves.

This post is dedicated to my lovely Grammy Gail. Back in 2016, a few days after she passed, I created this recipe to honor her memory. Her favorite dessert was classic yellow cake with chocolate buttercream and it is the recipe I associate with her most! Aside from yellow cake, I also have some amazing memories of my grandma, growing up visiting her ranch out in Washoe, Nevada and riding horses. My grandma loved Native American history and traveled around Nevada for archaeological digs. She had a huge passion for animals, particularly horses and dogs, and she loved making large comforting meals for us all. True story, one time my aunt had a friend over and truly couldn’t believe that the two roasted chickens resting peacefully on the counter were for my grandma’s gang of greyhounds and other such mutts.

But, that was my grandma. She was quiet but so funny. She had a ton of sass which she (luckily) passed on to me. Gail taught me to never take no for an answer.

And yellow cake with chocolate buttercream was her absolute favorite. She passed that on to the whole Hunt family, and aside from a special recipe for chocolate cake, this was always a family favorite that I associated with my grandma. Today, I’m sharing my favorite recipe for yellow cupcakes with chocolate buttercream, adjusted for high altitude of course, in honor of my Gram. ❤️

About these high altitude yellow cupcakes

If you live at high elevation, I don’t have to tell you that baking in this thin air can really blow. When I moved to Reno and started baking, all of my cakes came out with a sunken, underbaked middle and crusty brown exterior. So, I set out to develop the best high altitude yellow cupcakes as a base for any cake or cupcake recipe. After an absolute ton of research, I finally found a combination that I absolutely love! These cupcakes are soft, moist (sorry), and come out perfectly domed every single time. You can’t even tell the difference between these cupcakes and those baked at sea level. They’re absolutely foolproof.

Even better, these cupcakes are super easy and don’t require difficult steps or weird ingredients. Surprisingly, high altitude baking is pretty easy once you get the hang of it! I’ve been doing it for close to 8 years now and at this point, almost all of my baked goods come out without problems.

Why do you have to adjust ingredients at high altitude?

As you get higher in altitude, the air gets “thinner”. Basically, what this means is that the air is less dense and the pressure is much lower than at sea level. When it comes to baking, this creates a variety of “problems” in terms of flavor and texture. (Spoiler alert: they’re all fixable with a few adjustments). Here is how higher altitudes affect baked goods:

  • Food takes longer to bake, so temperatures oftentimes have to be adjusted.
  • Liquids evaporate faster so you may need a different ratio of liquids, flour, and sugar.
  • Gases expand more which means that leaveners (such as baking soda, baking powder, and yeast) need to be decreased.
  • Note: some denser baked goods may not need adjustments at all. Recipes like quick breads, bars, and cookies have a stronger cell structure and don’t require changes. At 4,500 feet, I don’t have an issue with denser baked goods but have experienced issues when baking at 7,000-8,000 feet. However, I almost always have to adjust lighter recipes like cakes.

What is considered high altitude?

High altitude, at least when it comes to baking, is anything over 3,500 feet. I currently live at 4,500 feet in Reno but have also baked as high to 8,000 feet in the mountains of Utah. Since there is a huge range of what is considered high altitude, baking adjustments are much more drastic at extremely high elevations. Basically, the closer you are to sea level, the less adjustments you’ll have to do.

In the U.S., these are a few major cities that are considered high altitude. You can also find a full list of high altitude cities and towns here. If you live in or near any of these places, you may need to adjust your baked goods!

  • Denver, Colorado (5,470 feet)
  • El Paso, Texas (4,000 feet)
  • Albuquerque, New Mexico (6,120 feet)
  • Park City, Utah (7,000 feet)
  • Jackson, Wyoming (6,200 feet)
  • Bozeman, Montana (4,700 feet)
  • Sedona, Arizona (4,300 feet)
  • Reno, Nevada (4,500 feet)
  • Bend, Oregon (3,600 feet)
  • Truckee, California (5,800 feet)
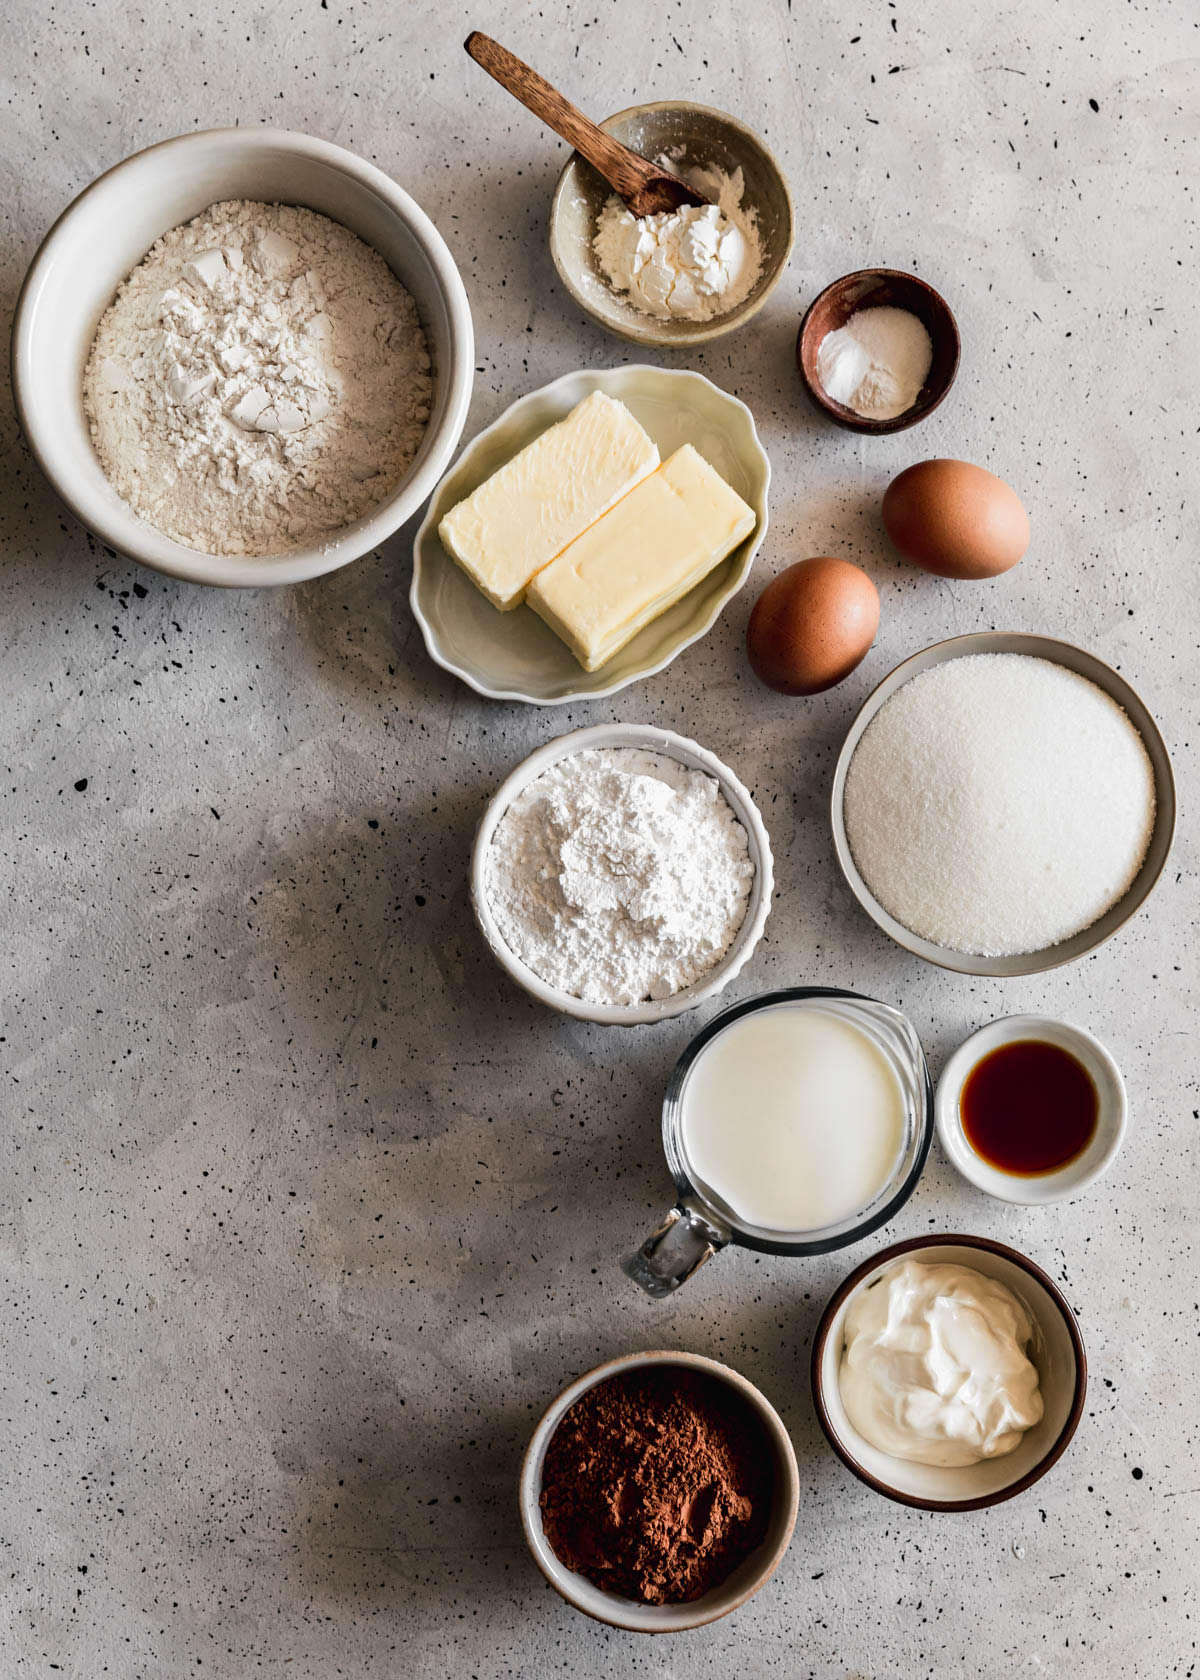
A variety of white and grey bowls filled with baking ingredients like flour, butter, sugar, eggs, cocoa powder, sour cream, and milk on a grey speckled counter.

The ingredient list

Now that you’ve determined that you need to switch things up in the kitchen, we can finally make our yellow cupcakes! Here’s what you’ll need to make this recipe.

For the cupcakes

  • Flour – regular all-purpose flour works great.
  • Cornstarch – to give a “cake flour” effect without actual cake flour.
  • Butter – unsalted and softened.
  • Sugar – regular white sugar.
  • Eggs – room temperature please!
  • Vanilla extract – to give us alllll the delicious flavor.
  • Sour cream – adds a nice tang and helps activate baking soda.
  • Whole milk – because we need those liquids!
  • Basics – baking soda, baking powder, and table salt.

For the buttercream

  • Unsalted butter – very soft so it whips up nicely.
  • Cocoa powder – I like dark cocoa powder for a richer flavor but any will work.
  • Powdered sugar – sifted so you don’t get sugar lumps.
  • Whole milk – or cream to thin out the frosting.
  • Salt – just to cut the sweetness a little.

Watch how to make this recipe

To make the high altitude yellow cupcakes

  1. Preheat the oven to 375°. Line a cupcake pan with paper wrappers and set aside. In a small bowl, whisk together the flour, cornstarch, baking powder, baking soda, and salt.
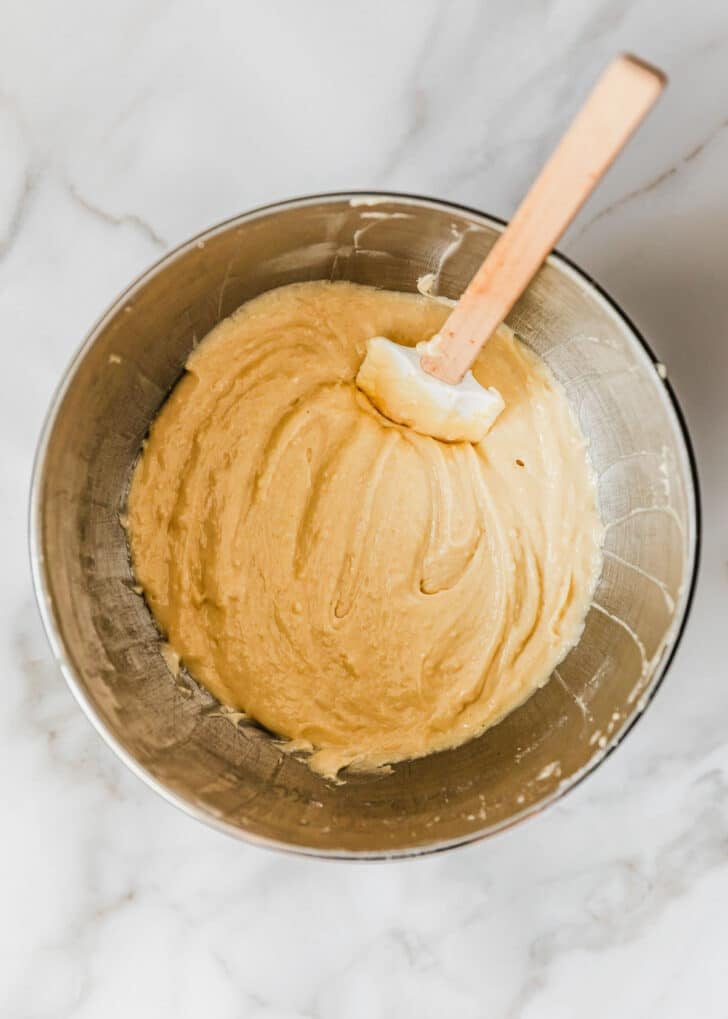
  2. In a large bowl, beat the butter and sugar until the mixture is pale yellow and fluffy, about 3-4 minutes.
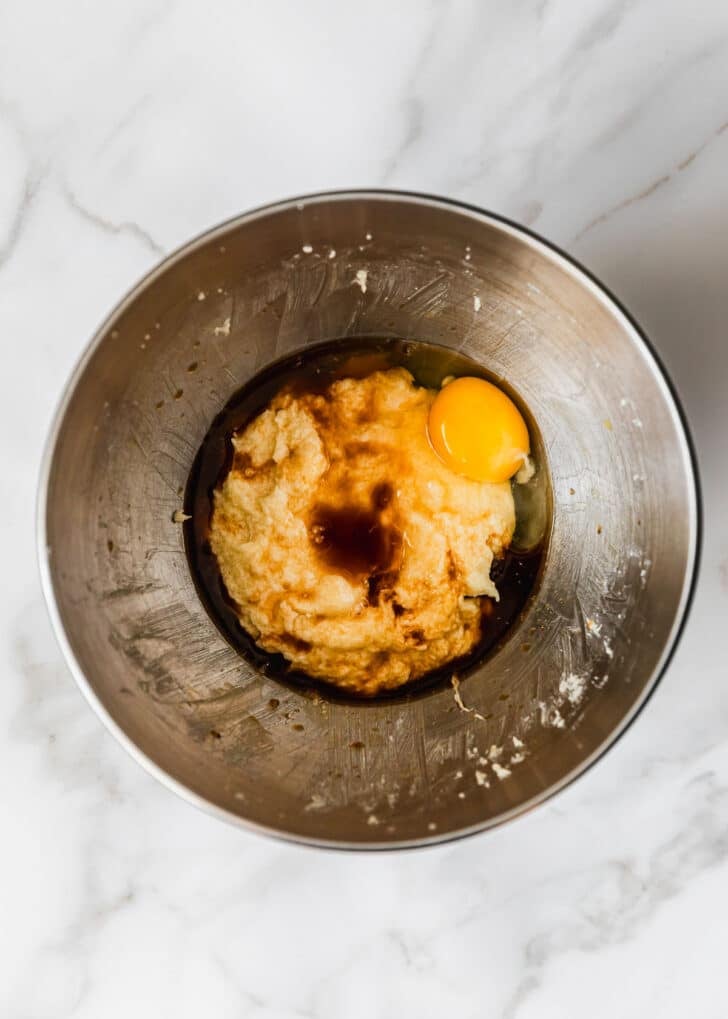
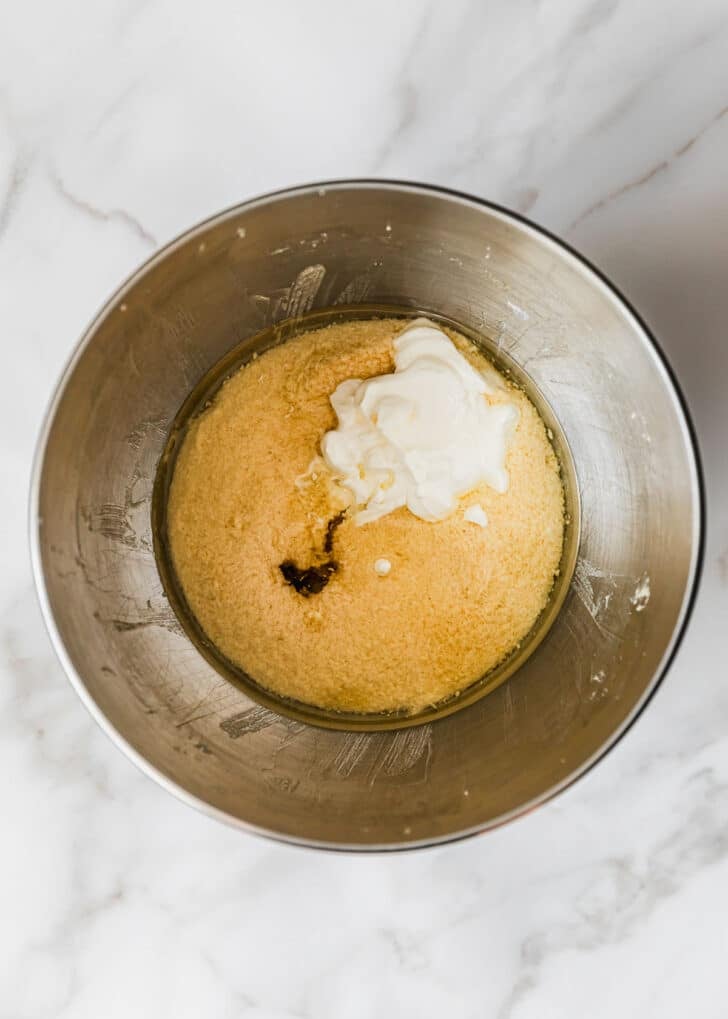
  3. Next, add the eggs, one at a time, followed by the vanilla extract and sour cream. Scrape down the sides of the bowl.
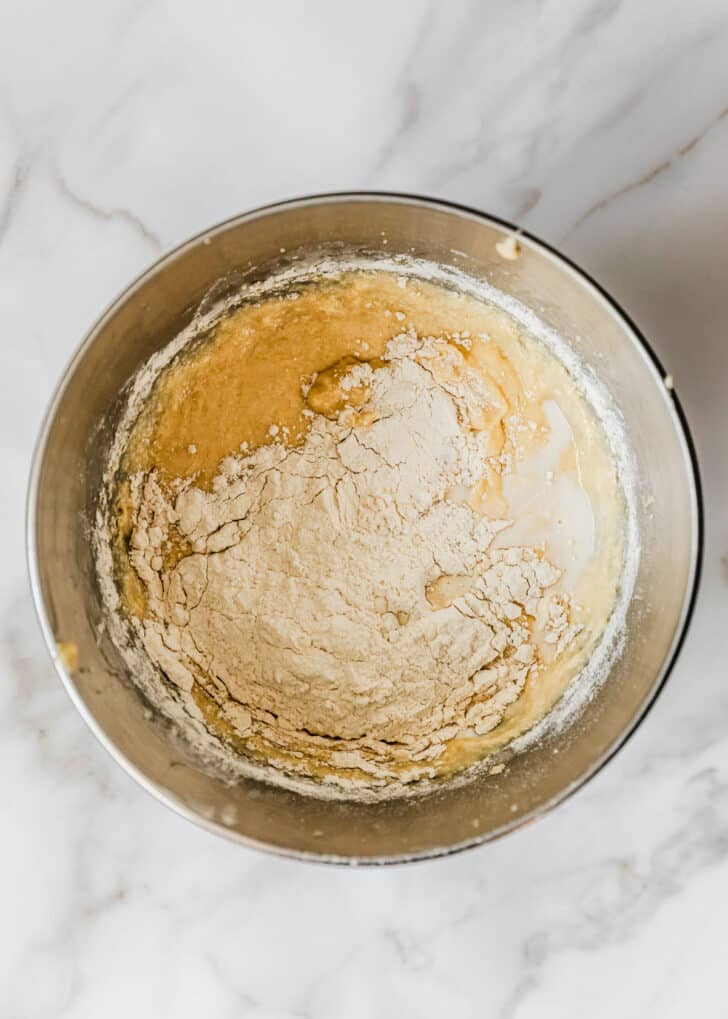
  4. Then, add half of the flour mixture followed by half of the milk. Repeat with the remaining flour mixture and milk. Don’t overmix!
  5. Scoop the batter evenly between the 24 cupcake wrappers. Bake for 12-14 minutes, until an inserted toothpick has just a few moist crumbs.
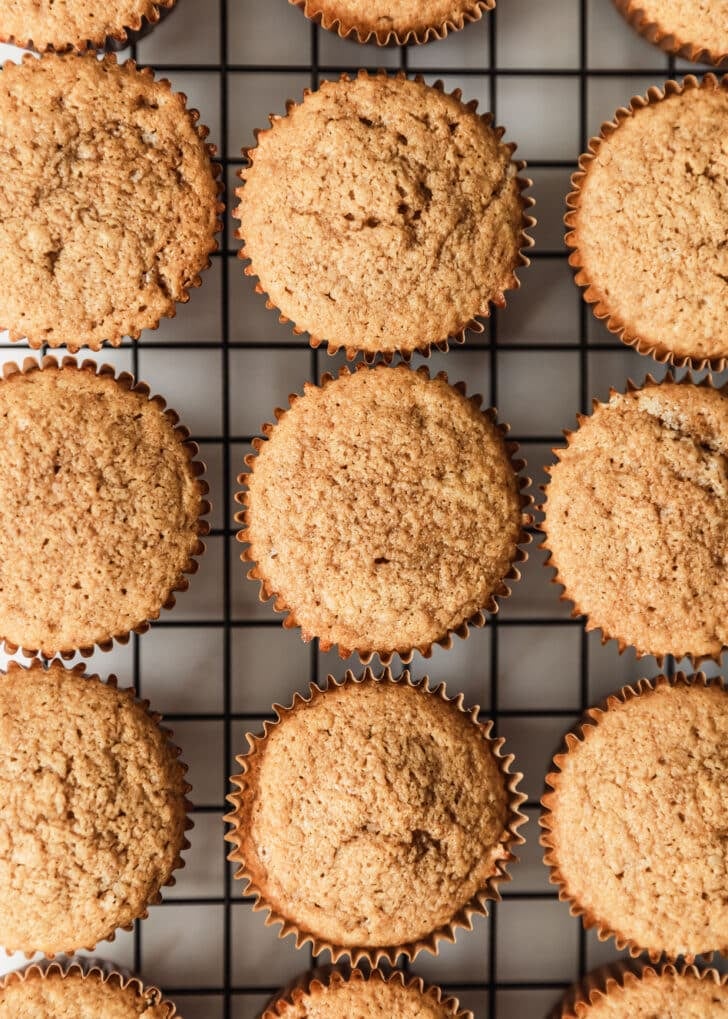
  6. Let the cupcakes cool in the pan for a few minutes. Then, transfer to a cooling rack and let them cool completely.

To make the chocolate buttercream

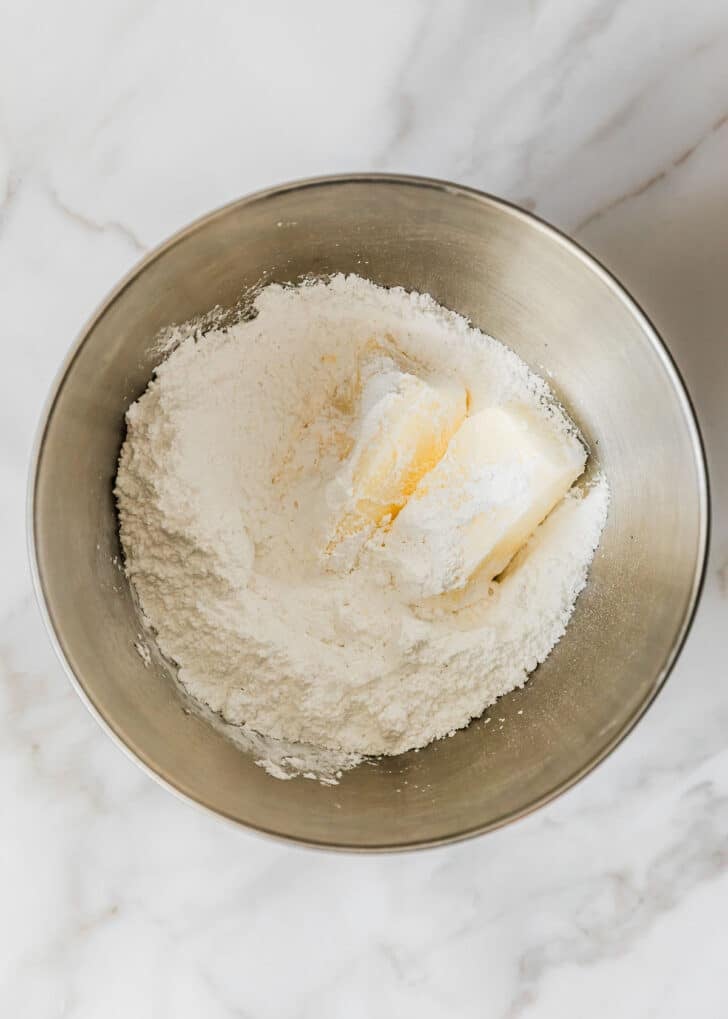
  1. In a large bowl, beat the butter for a couple of minutes until it’s fluffy.
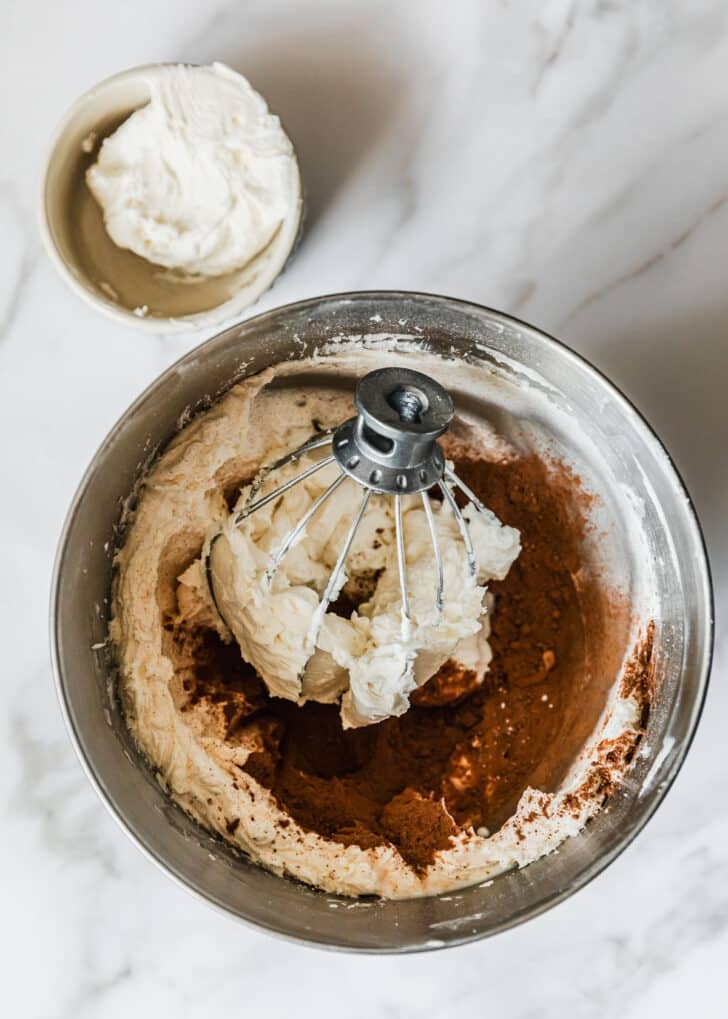
  2. Sift in the cocoa powder and beat to combine.
  3. Next, sift the powdered sugar, one cup at a time, into the butter-cocoa mixture, until you have a thick frosting.
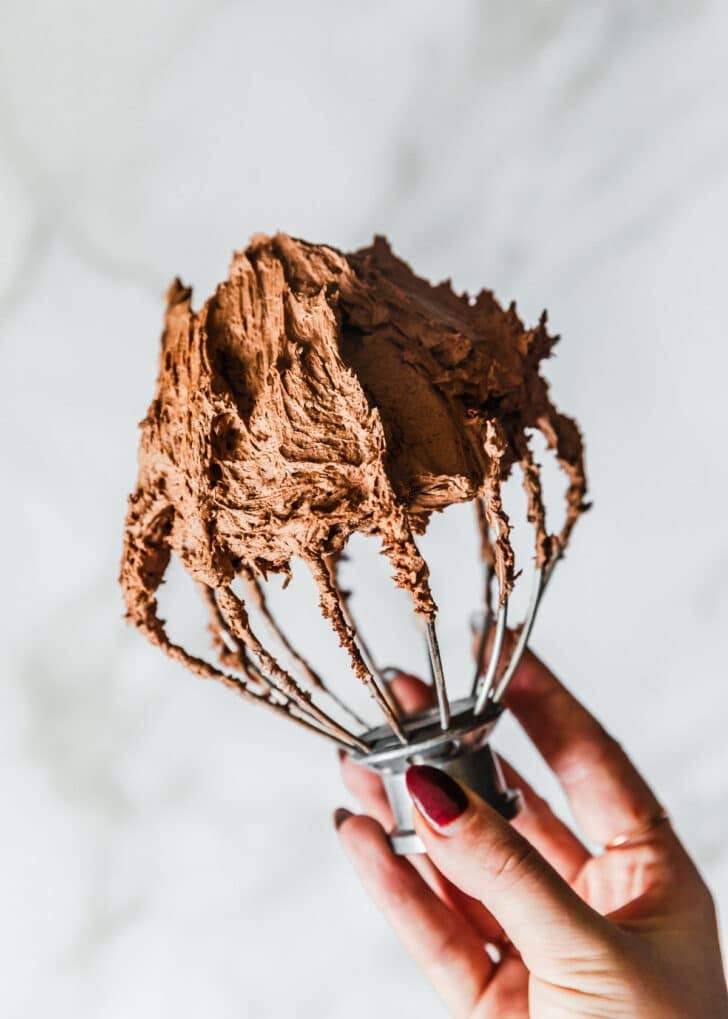
  4. Then, add whole milk or heavy cream 1 Tablespoon at a time to thin the frosting. Beat for 5-6 minutes until the frosting is whipped and fluffy.
  5. Lastly, pipe the buttercream onto the cooled cupcakes using a piping bag and tip. Or, just spread the frosting onto the cupcakes. Decorate as desired. Enjoy!

How to adjust ingredients

I developed this recipe for around 4,500 feet. However, if you live at higher altitudes, you may need to adjust the recipe even more to account for that extra elevation.

  • Increase the temperature – typically, cakes are baked at 350°F but in this recipe, we’re increasing that temp to 375°F to help the cupcakes rise and set faster before they dry out.
  • Decrease the bake time – since we’re increasing the temperature, we’re decreasing the bake time by a few minutes. The cupcakes should be done in 12-14 minutes.
  • Decrease the sugar – we’re using less sugar in this recipe to help strengthen the structure of the cupcakes. I reduced the sugar by 1/4 cup, although the general rule of thumb is to decrease the sugar 1 Tablespoon for every cup.
  • Increasing the liquid – for this recipe, I used a combo of sour cream, whole milk, and eggs to ensure there is plenty of liquid. If you live at very high altitudes, try adding another 1-2 Tablespoons of milk.
  • Increase flour – I did not increase flour in this recipe, although if you live at extremely high altitudes, you may need to add a few Tablespoons more flour.
  • Leavening agents – in this recipe, we’re decreasing the baking soda and baking powder to account for the “thinner” air. If you’re still having trouble, try decreasing the leavening agents 1/4 teaspoon at a time until you find the right balance.

For more tips and tricks, check out this high altitude baking guide by King Arthur.

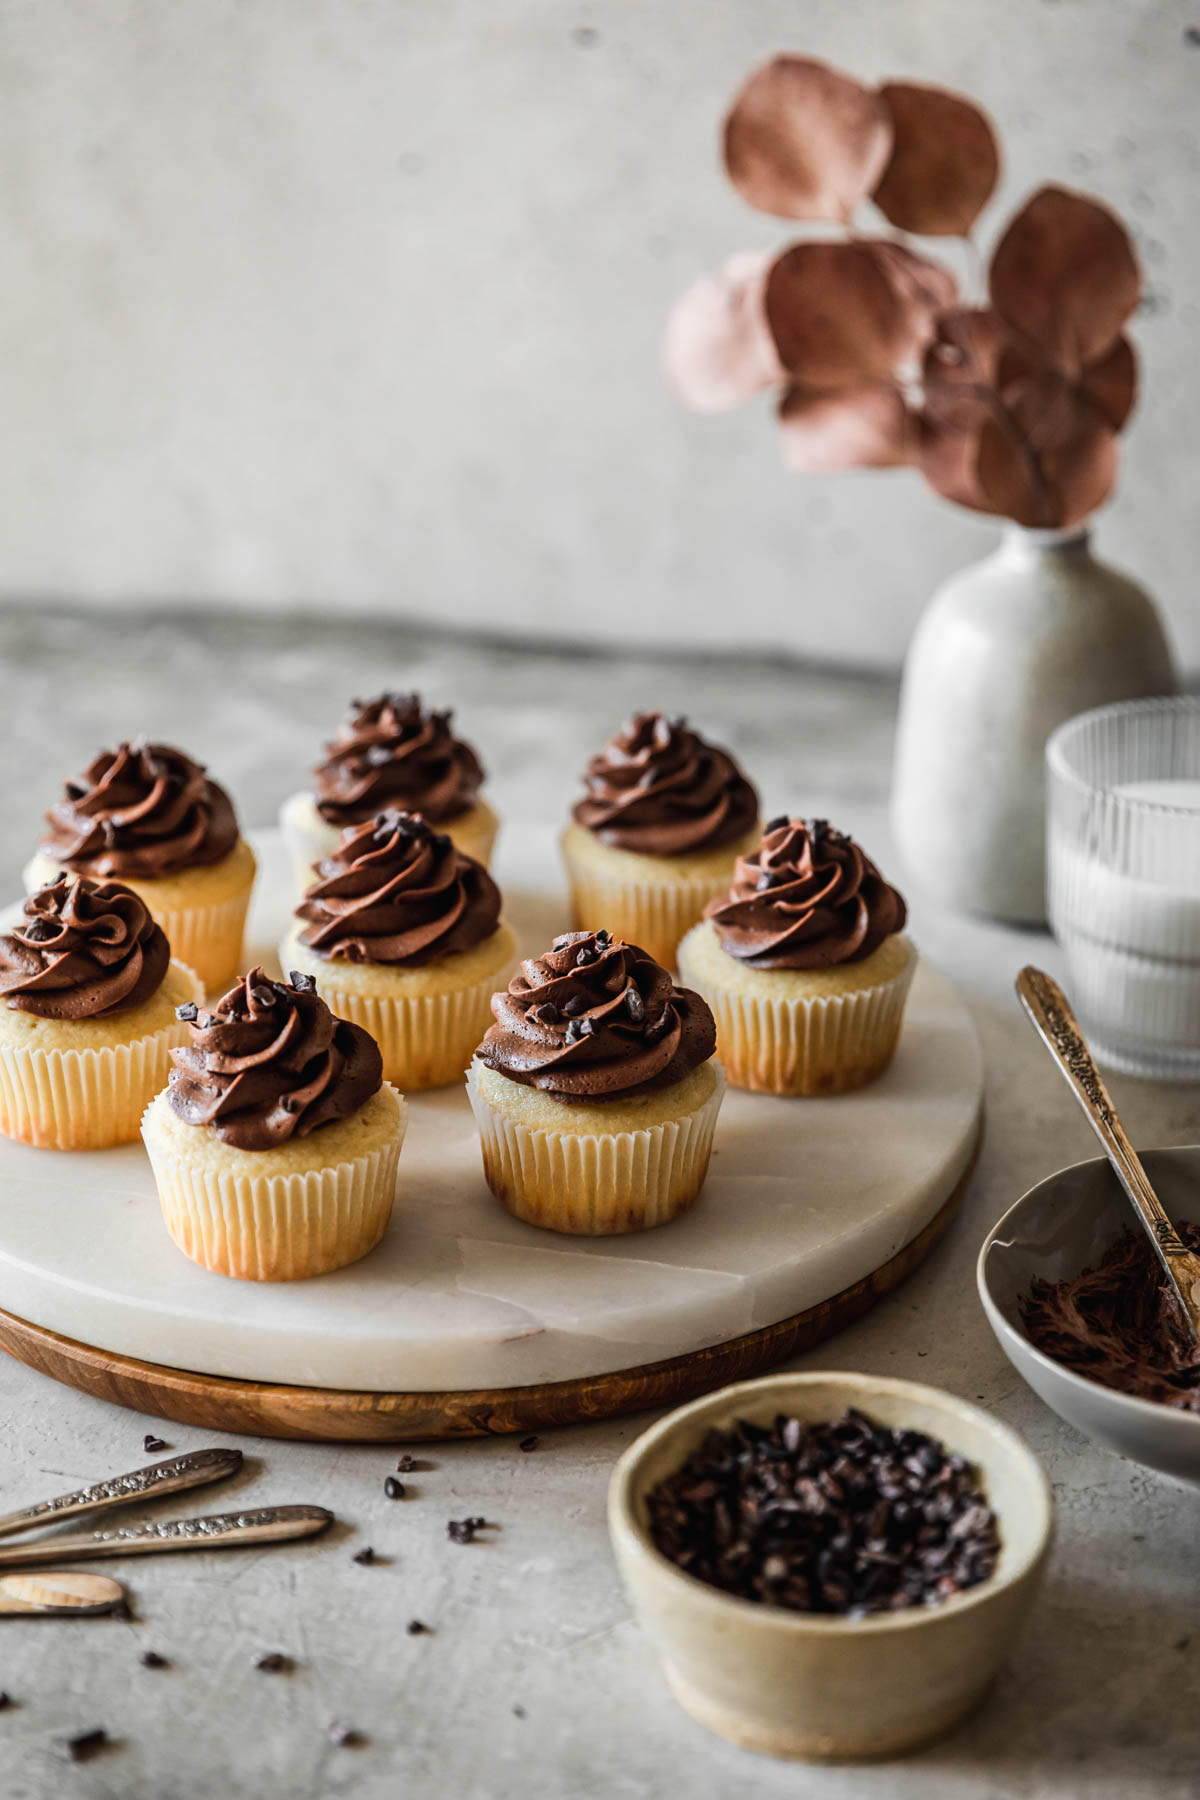
A side image of a marble and wood tray of high altitude yellow cupcakes with chocolate buttercream on a grey table next to a grey bowl of frosting, white bowl of cacao nibs, white vase with brown blossoms, and cup of milk.

Storing + Freezing

To store leftover cupcakes, place them in an airtight container. Then, just let them sit at room temperature for up to three days. After three days, they will start to dry out. If you need them to last longer than three days, I would recommend freezing them!

To freeze high altitude yellow cupcakes, place the unfrosted cupcakes in a freezer-safe container. Separate layers with sheets of parchment paper if you need to stack them. Then, freeze the cupcakes for up to 1 month. Defrost the cupcakes at room temperature for an hour, pipe the chocolate buttercream on top, and enjoy! You can also freeze the frosted cupcakes, although I don’t recommend it as a first option. The freezer can mess with the texture of the buttercream, so always freeze without when possible!

Can I make this recipe as a cake?

Yes, you absolutely can! This recipe can be made into a 3 layer 6-inch cake. You can also make a 2 layer 8-inch cake. To make this recipe into a cake, I would recommend doing the following based on my recipe testing experiments:

  1. Grease the cake pans well and line the bottoms with parchment paper to prevent sticking.
  2. Then, bake at 375°F for 18-21 minutes, just until they’re finished baking.
  3. Let the cakes cool completely before removing them from the pan. Otherwise, they may crumble.
  4. Make another half batch of the frosting if you plan on filling the layers and frosting the outside.
  5. Lastly, if you want to make a larger cake (a 3 layer 8-inch cake or 3 layer 9-inch cake for, example) you’ll want to make another batch or half-batch of batter. I would do this separately from the first batch to avoid any ratio issues!

Tips & tricks

  • Use extra large eggs rather than large eggs. Again, this will just add extra moisture which is always a plus with high altitude baking.
  • Do not overmix the batter. I know this is true for all cakes but especially at high altitude! Overmixing adds extra air bubbles which will cause the cake to rise quicker. Since this is already an issue at high elevation, you always want to make sure to mix the batter just until it’s incorporated.
  • Avoid opening the oven whenever possible. Especially during the rising process because the cold air can prevent the cupcakes from rising. This is true even at sea level but for some reason, I’ve noticed it’s extra sensitive at high altitude. Try to avoid opening the oven until the cupcakes have finished rising and they’re close to doneness.
  • Bake the cupcakes until they’re just done. Since it’s easy to dry out cake at high altitudes, you want to be extra careful! I like to take them out when an inserted toothpick has just a few moist crumbs. The cupcakes will continue baking in the pan.
  • If you’re still having troubles with the high altitude yellow cupcakes sinking in the middle, this recipe may need to be adjusted more for even higher elevations. I recommend trying my tricks above until you find the right combo of ingredients!
A closeup side image of high altitude yellow cupcakes with chocolate buttercream on a marble and wood cake stand next to a grey vase with blossoms, a glass of milk, a grey bowl of frosting, and a white bowl of cacao nibs with a grey background.

If you give this recipe a try, I’d love to know how it goes so that I can help other readers who live at different altitudes! Also, what high altitude baking recipe would you like to see next? Let me know!

If you make this recipe, I would love it if you left a star rating and review! I read every single comment and love hearing what you think about my recipes. Thank you for supporting Sunday Table!
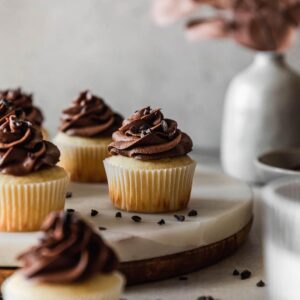

A very closeup image of high altitude yellow cupcakes with chocolate buttercream on a marble cake stand with a grey background.
5 from 3 votes

High Altitude Yellow Cupcakes with Chocolate Buttercream

Yield: 24 cupcakes
Prep Time: 25 minutes
Cook Time: 15 minutes
Total Time: 40 minutes
Inspired by the go-to birthday cake, these high altitude yellow cupcakes have been adjusted for elevation so that they always come out fluffy, soft, and pretty! Then, they're topped with fluffy, fudgy chocolate buttercream for a delicious, classic treat. They're just the best!

Ingredients

High Altitude Yellow Cupcakes

  • 2 1/4 c all purpose flour
  • 2 Tbs cornstarch
  • 1 tsp baking powder
  • 1/2 tsp baking soda
  • 3/4 tsp table salt
  • 1/2 c unsalted butter, softened
  • 1 1/4 c sugar
  • 2 eggs, room temperature
  • 1 Tbs vanilla extract
  • 1/2 c sour cream
  • 1 c whole milk

Chocolate Buttercream

  • 1 c unsalted butter, softened
  • 1/2 c cocoa powder, sifted
  • 3-4 c powdered sugar, sifted
  • 2 Tbs whole milk or cream, plus more as needed
  • Pinch salt, to taste
  • Cacao nibs, sprinkles, etc., for decorating (optional)

Instructions 

High Altitude Yellow Cupcakes

  • Preheat the oven to 375°F. Line two cupcake pans with paper cupcake wrappers.
  • In a small bowl, whisk together the flour, cornstarch, baking powder, baking soda, and salt. Set aside.
  • In a large bowl, beat the butter and sugar together until the mixture is pale yellow and fluffy, about 3-4 minutes. Add the eggs one at a time until incorporated. Then, mix in the vanilla extract and sour cream. Scrape down the sides of the bowl.
  • Stir in half of the flour mixture followed by half of the milk. Repeat with the remaining flour mix and milk, stirring just until combined. Don't overmix!
  • Divide the batter evenly between the 24 cupcake wrappers, until the cups are about 2/3 full each. Bake the cupcakes for 12-14 minutes, just until an inserted toothpick has a few moist crumbs.
  • Let the cupcakes cool in the pan for a few minutes. Transfer the cupcakes to a cooling rack and allow them to cool completely before frosting.

Chocolate Buttercream

  • In a large bowl, beat the butter for a couple of minutes until it is fluffy. Add the cocoa powder and mix until combined.
  • Next, add the powdered sugar 1 cup at a time until the frosting comes together. Then, add the whole milk or heavy cream 1 Tablespoon at a time until the frosting is smooth and reaches your desired texture.
  • Whip the buttercream for 5-6 minutes until it is light and fluffy. Pipe the buttercream onto the cooled cupcakes with a piping bag and tip. Or, use a butter knife or offset spatula to spread the frosting onto the cupcakes. Decorate as desired. Enjoy!
Cuisine: American
Course: Dessert
Serving: 1cupcake, Calories: 289kcal, Carbohydrates: 41.7g, Protein: 2.5g, Fat: 13.1g, Saturated Fat: 8.1g, Cholesterol: 47mg, Sodium: 114mg, Potassium: 106mg, Fiber: 0.9g, Sugar: 30.7g, Calcium: 32mg, Iron: 1mg
Did you make this recipe?Tag @sundaytable.co on Instagram!

Cheers to an amazing lady. I love you Gram!

XO Sara Lynn

*Song of the Day: Songbird by Fleetwood Mac