The Best No Bake Mini Cheesecakes
This post might have affiliate links. For full details please see my disclosure policy.
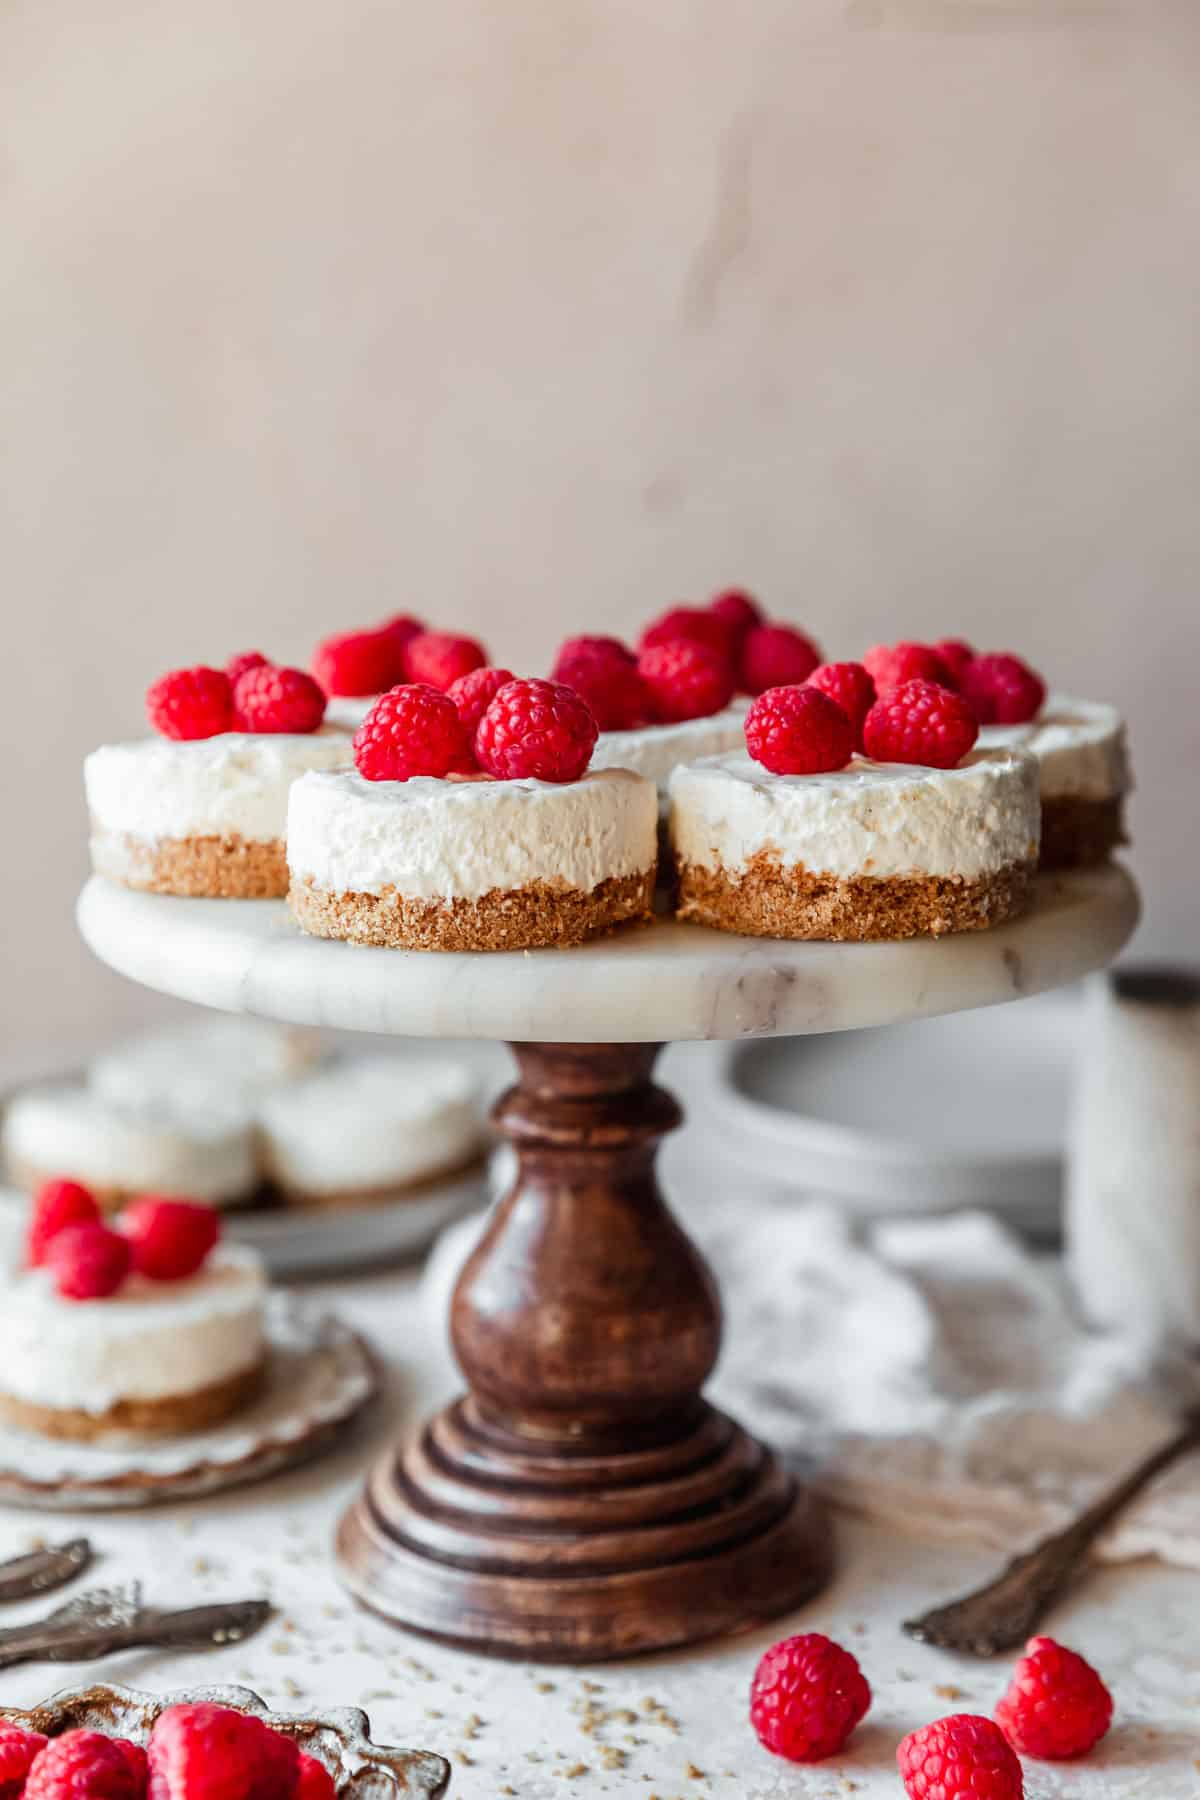
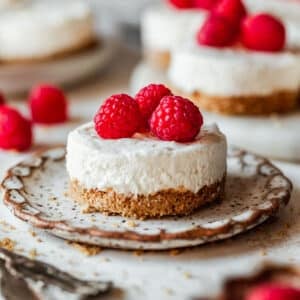
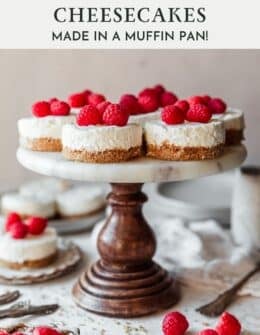
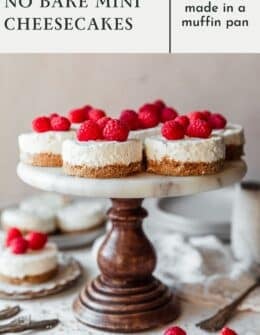
When you’re craving cheesecake, but don’t want to turn on the oven, turn to these no bake mini cheesecakes instead! With graham cracker crust and a fluffy cheesecake filling, they’re quick, simple, and come together in a basic cupcake pan. My favorite part? They come together in literally just 30 minutes of hands-on prep. They are seriously the best!
I propose that we take January a little easier this time around, yes? I mean, we just spent two full months in front of the oven. It’s time we step back, have a seat, and gently slip into a new year.
That being said, I am all about giving myself a little treat. You will find no, and I mean absolutely none, resolutions around cutting out sweets or giving up my weekly glass or two of wine. Nope. I’m good. This year, my resolution is to eat more cheesecake.
And for those times when turning on the oven simply sounds like a nightmare, this no bake version is here for you and for me. As a trained pastry chef, I’ve tested and tasted dozens of no-bake cheesecakes, but this version is by far my favorite. It has a little extra whipped cream for a fluffier texture and a little less sugar so it’s not cloyingly sweet. And this recipe is ridiculously easy. All you need is a basic cupcake pan, some kitchen staples, and 30 minutes of free time.
This is one of those basic (but obviously amazing) recipes that I keep in my back pocket when I need something simple for a party. It’s definitely one of my go-tos like these mini chocolate chip cookies, my chewy two-bite brownie bites, or these fluffy mini red velvet cupcakes which have the best cream cheese frosting. Let’s bake!
Pan options
For this recipe, I typically use a mini cheesecake pan but you totally don’t need one. A standard cupcake pan will work too! If you’re using a cupcake pan, you will also need paper liners.
If you do have a mini cheesecake pan, you will end up with about 18 cheesecakes. But if you’re using a cupcake pan, you’ll end up with closer to 24. Feel free to use either depending on how many servings you need!
The secret ingredient: whipped cream!
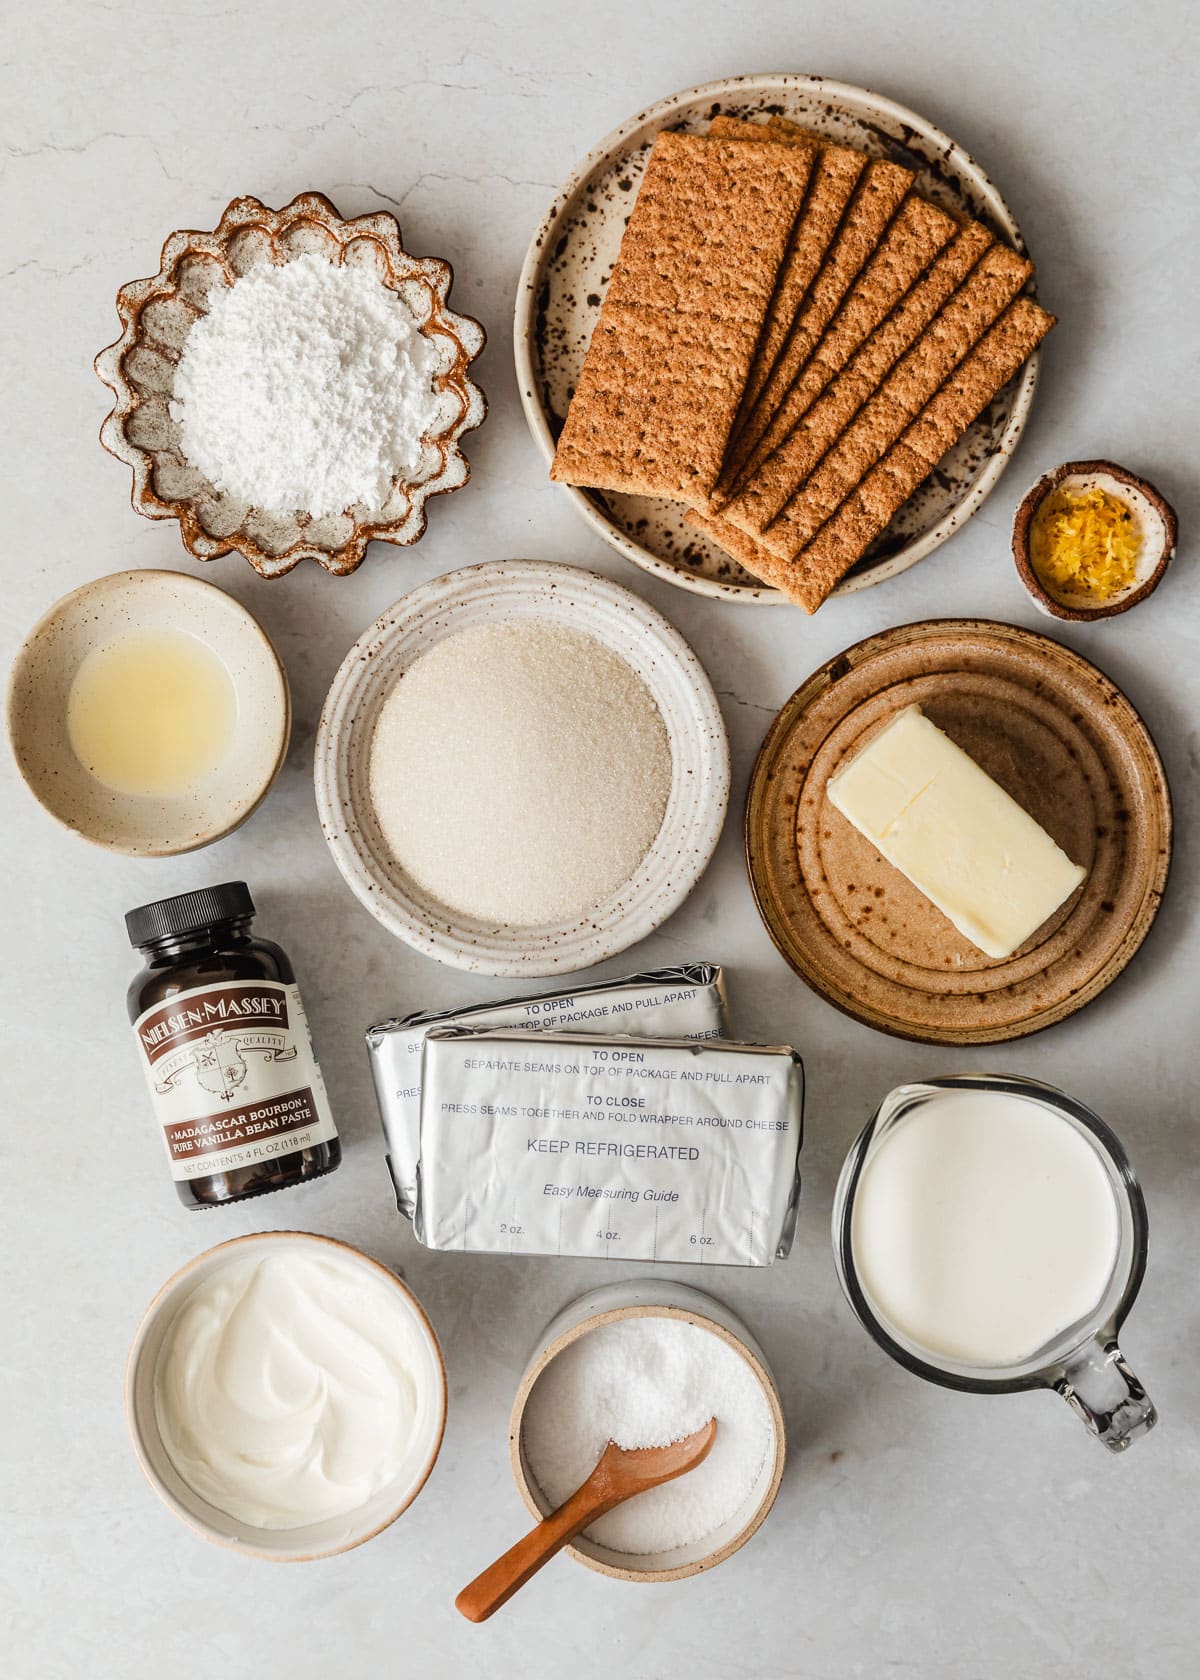
One of the best parts of this recipe is that the ingredients are super basic! Nothing fancy here. To make the crust, first grab some graham crackers. I like cinnamon but classic honey is good too. You’ll also need sugar, unsalted butter, and Morton’s Kosher salt.
For the filling, pick up some heavy whipping cream, full-fat cream cheese, sugar, powdered sugar, lemon zest and juice, vanilla bean paste, and full-fat sour cream. We’ll whip the heavy whipping cream which is key for that silky texture without eggs.
P.S. don’t forget any toppings you want to add like berries, caramel sauce, etc.!
In most of my baking recipes, I tell you to use room temperature ingredients. But in this recipe, you’ll actually want to use cold ingredients! I tested this recipe 6 times, and I found that using cold cream cheese helps the filling set up better in the fridge. A don’t worry about lumps! The granulated sugar will help break down the cream cheese. 🙂
No-bake graham cracker crust
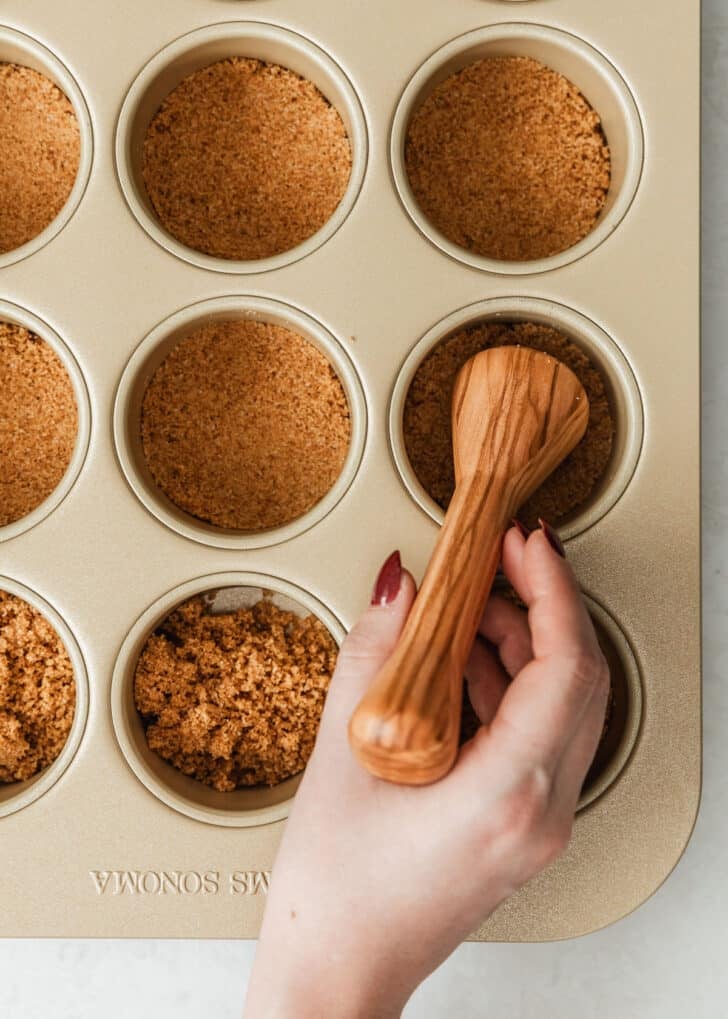
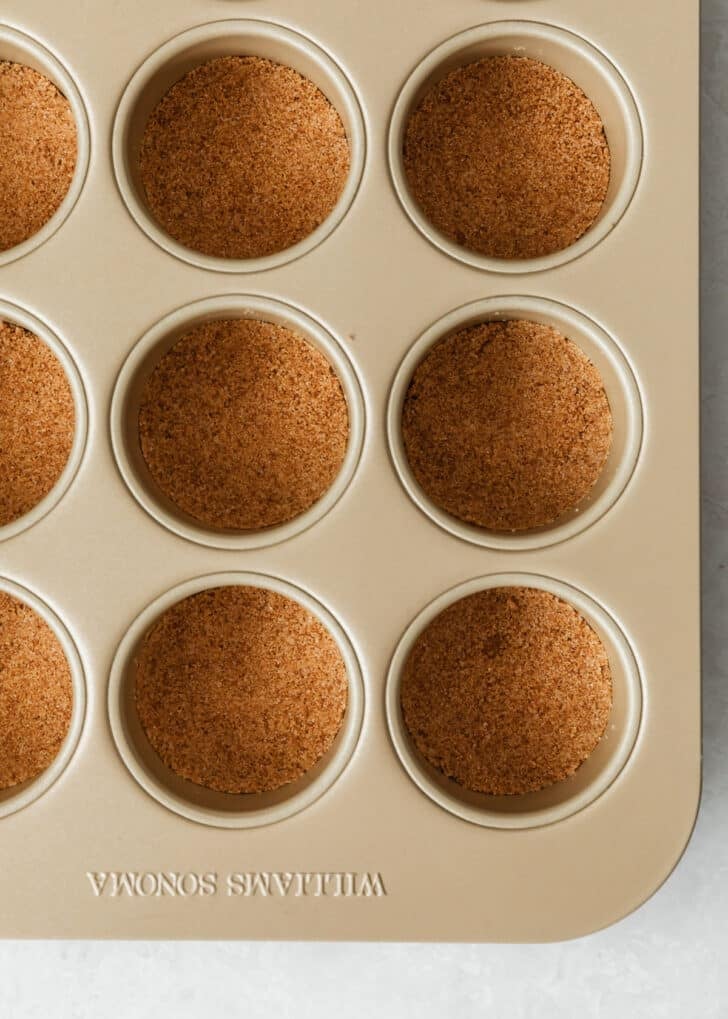
Make sure to press the crusts firmly into the cups. If they’re too loose, they will crumble apart when you remove the cheesecakes from the pan.
Make the filling

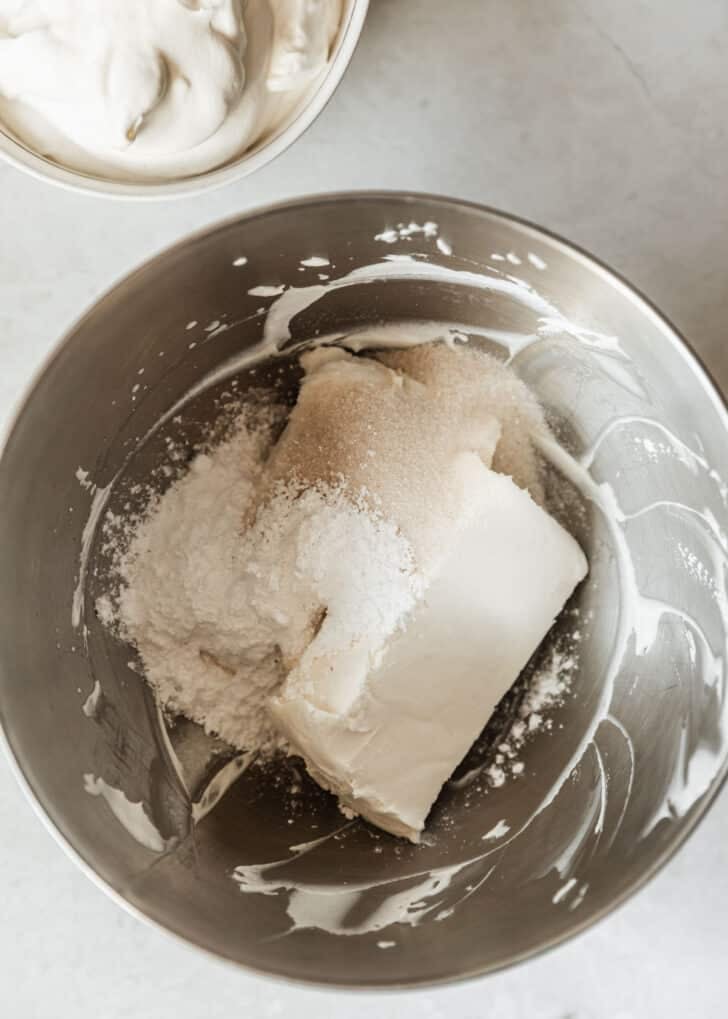

Beat the cream cheese until there is no more grittiness from the granulated sugar. It should be nice and smooth.
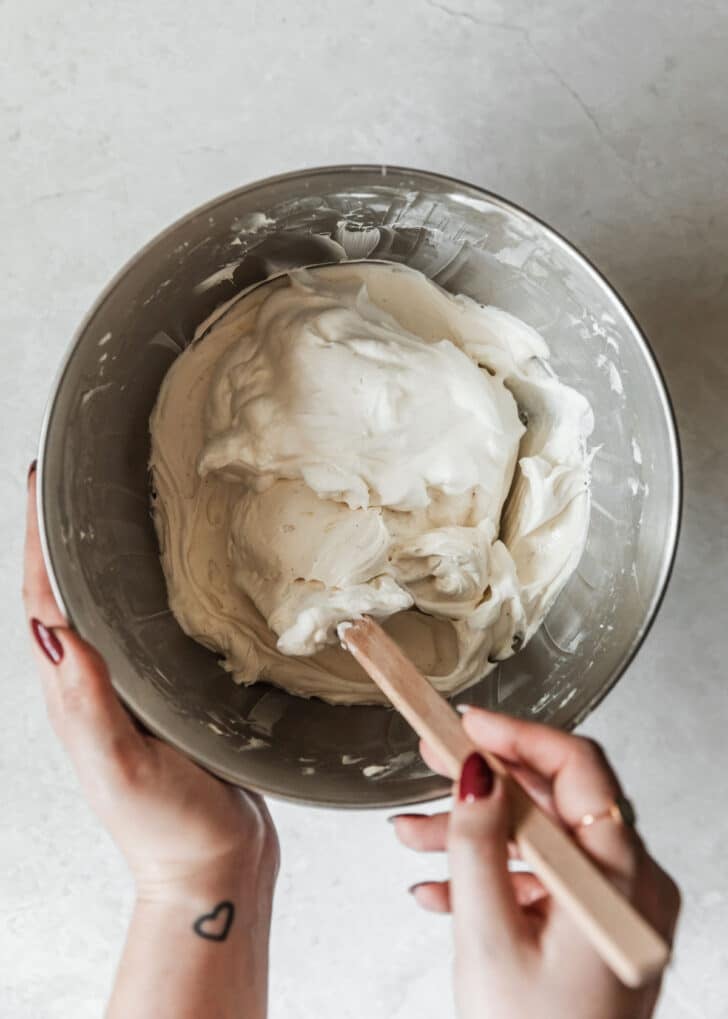
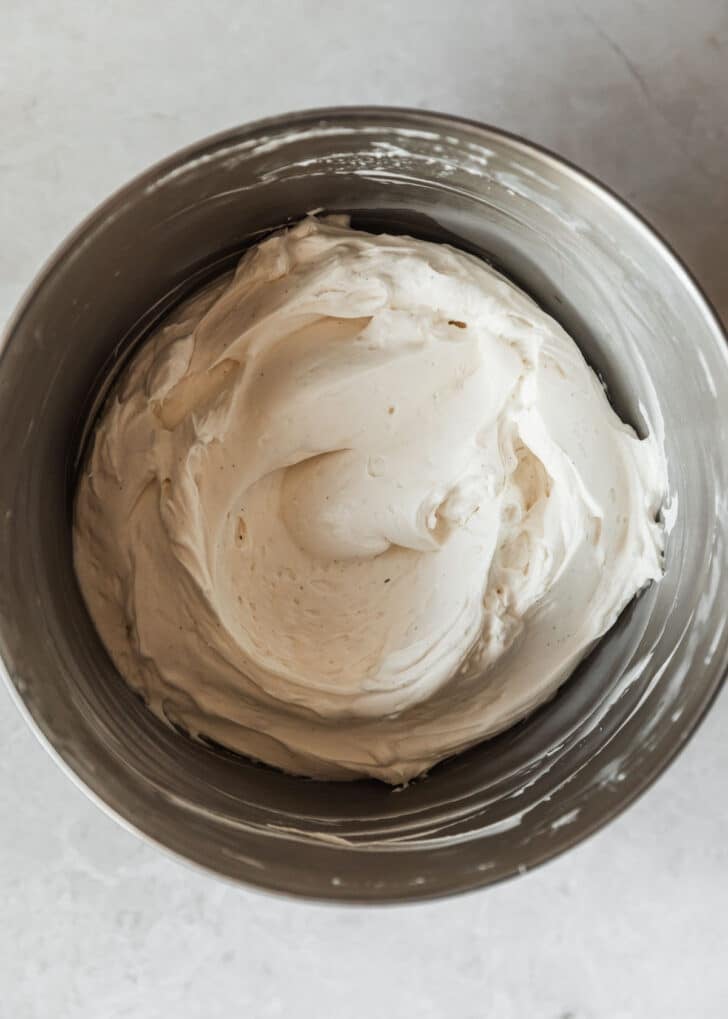
It’s important to gently fold the whipped cream into the cream cheese. You don’t want to deflate the whipped cream! It’s key for that fluffy texture.
Assemble & chill
Topping ideas
I mean, these mini unbaked cheesecakes are great as-is. But you can add any toppings you like! Here’s a few tried-and-true favorites.
- Whipped cream
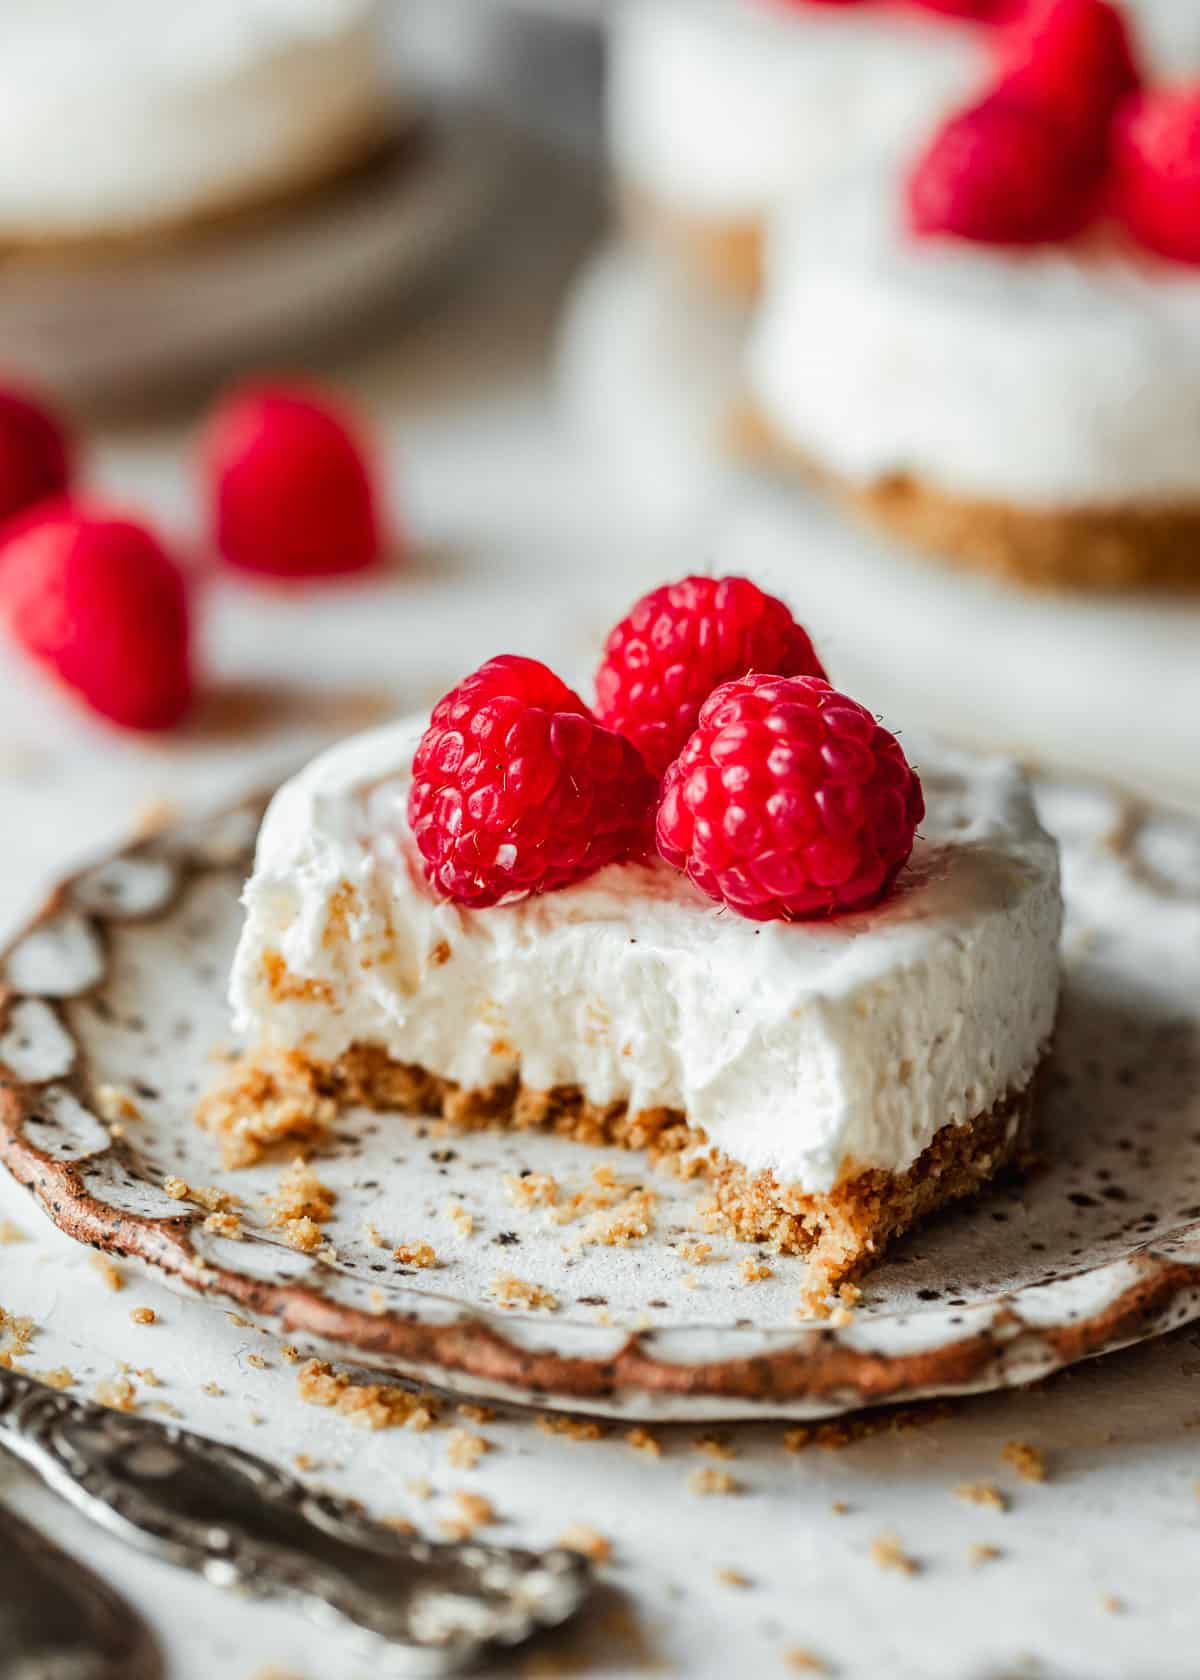
- Berries – strawberries, raspberries, blueberries, etc.
- Strawberry coulis or Meyer lemon curd
- Caramel sauce or chocolate ganache
- Crushed Oreos or Biscoff cookies
Make-ahead & store leftovers
- Store – to store leftovers, place them in a single layer in an airtight container. Refrigerate the cheesecakes for up to 3 days.
- Make-ahead – you can make these cheesecakes up to 3 days in advance. Don’t store them for too long or the crusts will get soggy in the fridge!
I personally don’t recommend freezing leftovers. I’ve found that the filling gets gummy when it defrosts. Not pleasant!

If you make this recipe, I would love it if you left a star rating and review! I read every single comment and love hearing what you think about my recipes. Thank you for supporting Sunday Table!
Easy No Bake Mini Cheesecakes (No Cool Whip!)
Ingredients
Graham Cracker Crust
- 16 full graham cracker sheets
- 66 grams granulated sugar (1/3 cup)
- 114 grams unsalted butter, melted (1/2 cup)
- Pinch of Kosher salt
No Bake Filling
- 360 milliliters heavy whipping cream, cold (1 1/2 cups)
- 454 grams full-fat cream cheese, cold (16 ounces)
- 100 grams granulated sugar (1/2 cup)
- 30 grams powdered sugar (1/4 cup)
- 1 teaspoon lemon zest, about 1 lemon
- 15 milliliters fresh lemon juice (1 Tablespoon)
- 1 1/2 teaspoons vanilla bean paste or 15 milliliters/1 Tablespoon vanilla extract
- 80 grams full-fat sour cream (1/3 cup)
- Berries, sauces, crushed cookies, etc. for topping (optional)
Equipment
- Mini cheesecake pan optional
- 2 standard cupcake pans with paper liners
Instructions
Graham Cracker Crust
- If you're using a mini cheesecake pan, spray the bottoms with a very light layer of baking spray. (If you're using standard cupcake pans, add paper liners to each cup.) Set aside.
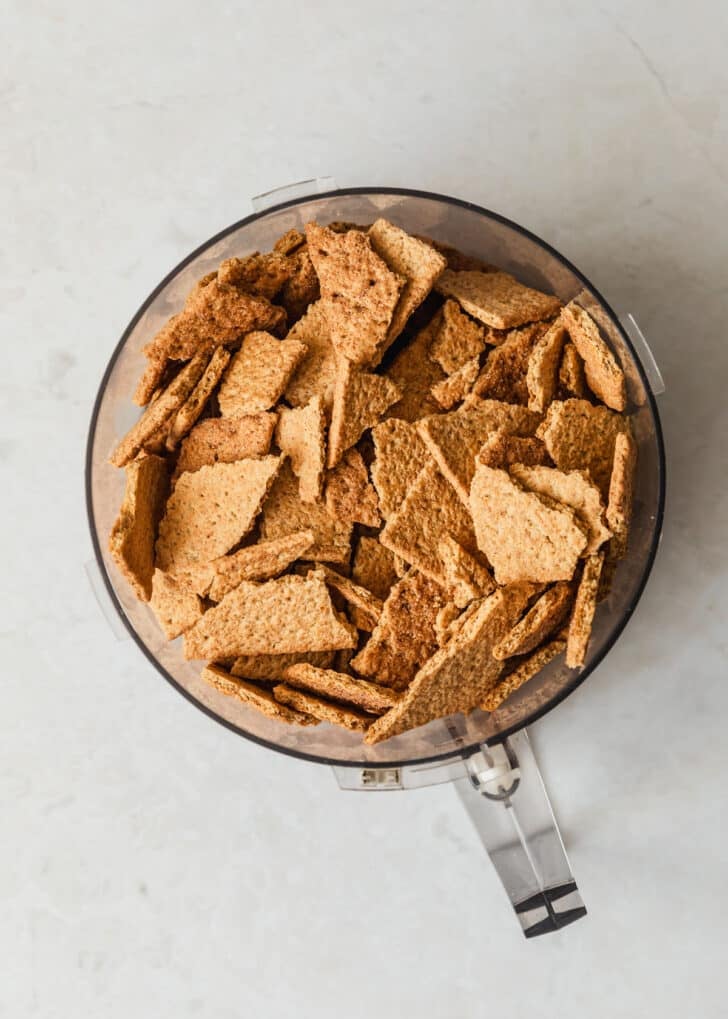
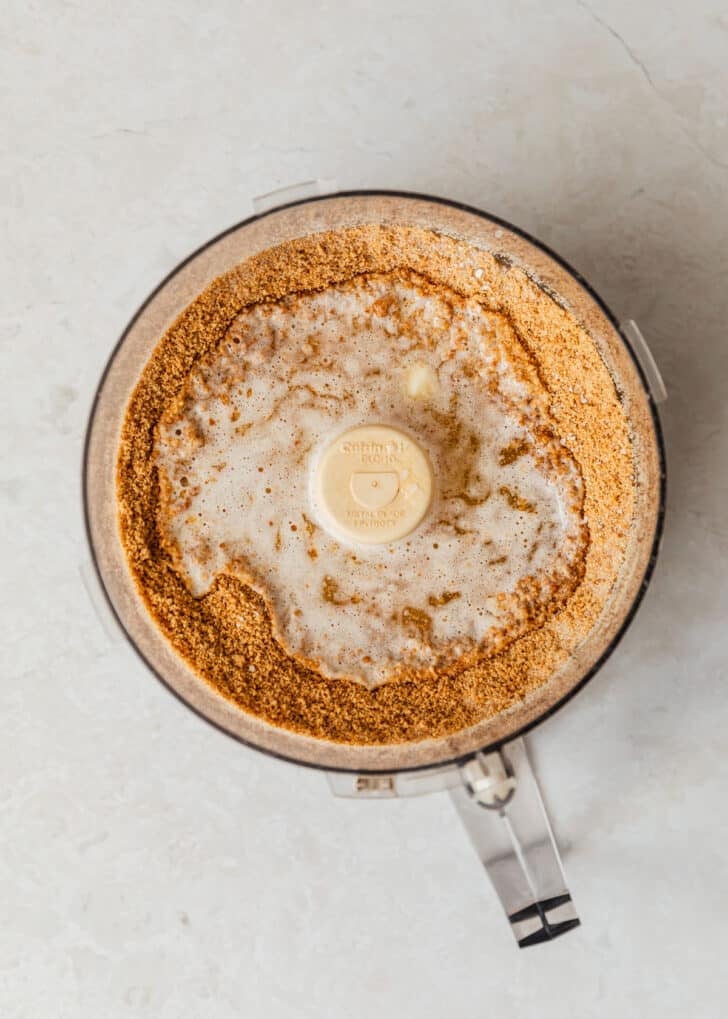
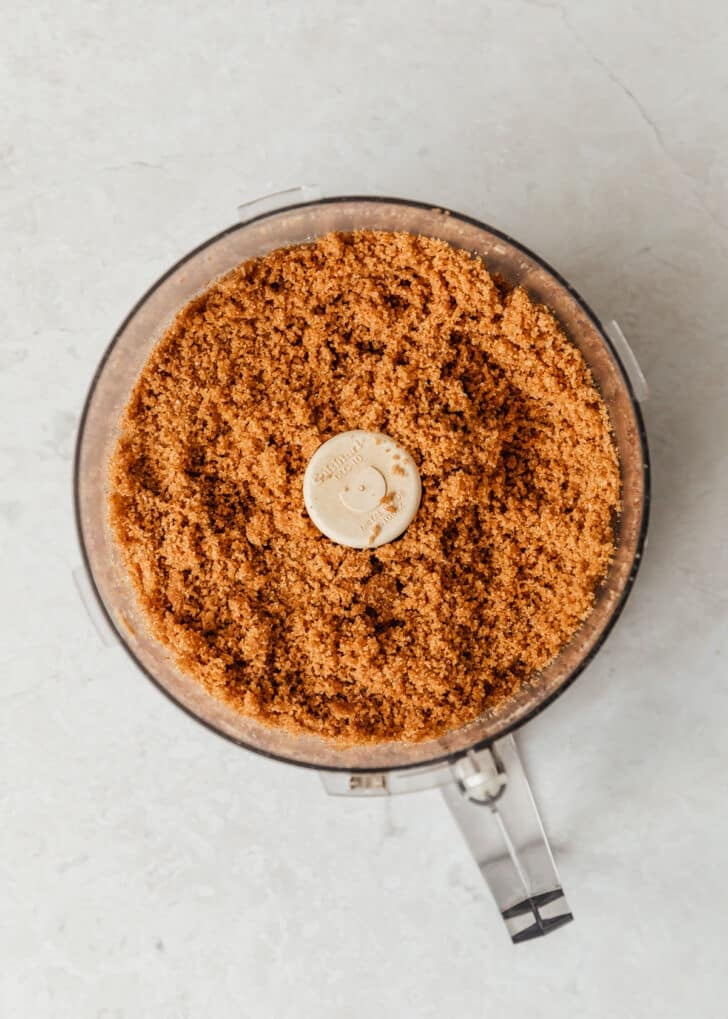
- Break up the graham crackers and add them to the bowl of a food processor. Pulse until you have about 2 1/3 cups (240 grams) of semi-fine crumbs. Add the sugar, melted butter, and a pinch of Kosher salt. Pulse until the graham crackers are finely ground and the mixture clumps together.
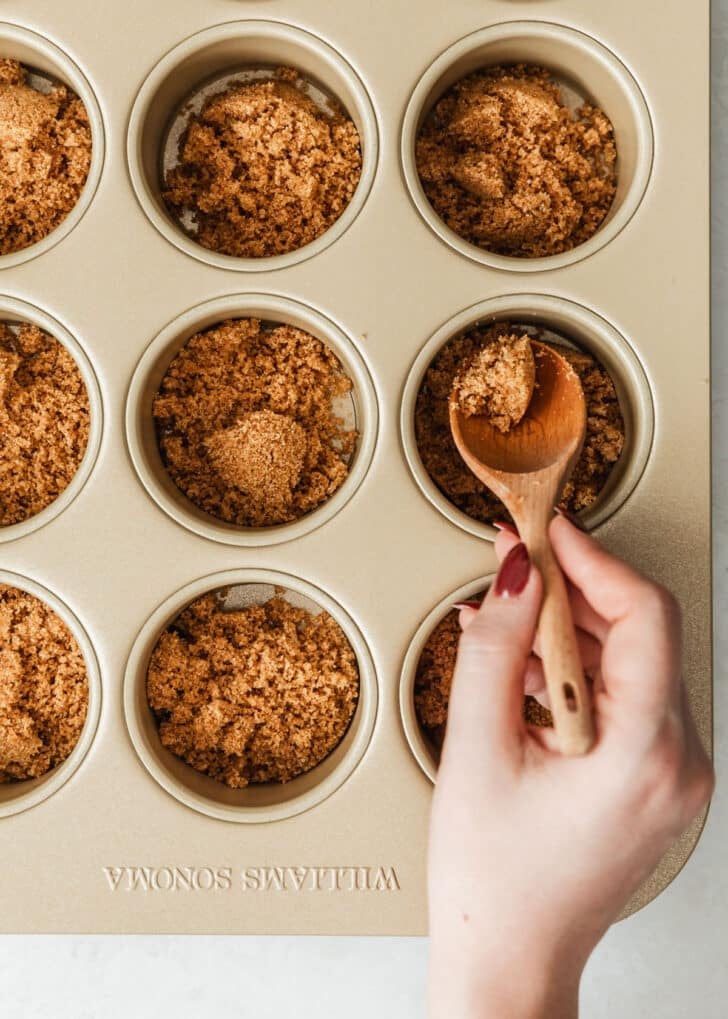
- Evenly divide the graham cracker mixture into the cheesecake cups, about 2 1/2 Tablespoons per cup (or 2 Tablespoons per cupcake liner). Using a pastry tamper or clean fingers, press the mixture evenly into the bottom of the cups. Refrigerate the crusts while you prepare the filling.
No Bake Filling
- Pour the cold heavy whipping cream into a large mixing bowl. Using a hand mixer or stand mixer with a whip attachment, whip the cream into stiff peaks. Spoon the whipped cream into a bowl and set aside.
- Then, add the cold cream cheese, sugar, and powdered sugar to the same mixing bowl. Using beaters or a paddle attachment, beat the mixture until it's smooth and there are no more lumps. Scrape down the sides of the bowl, as needed.
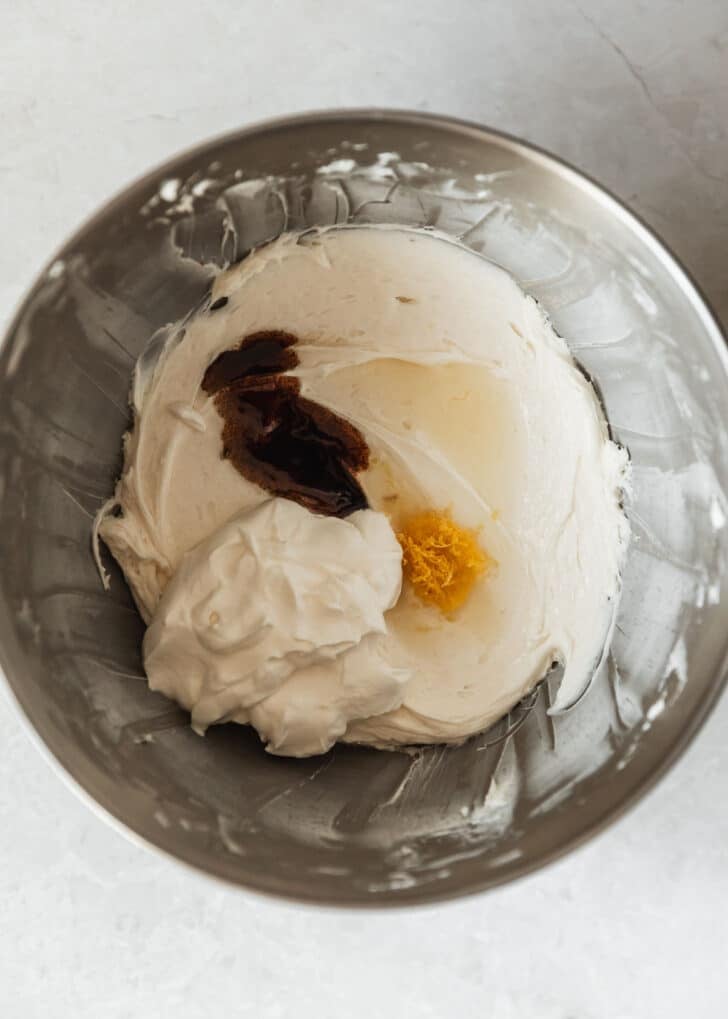
- Add the lemon zest, lemon juice, vanilla bean paste or extract, and sour cream. Beat the filling for another 2-3 minutes on medium-high speed until the mixture is very smooth.
- Using a rubber spatula, gently fold the whipped cream into the cream cheese mixture about 1 cup at a time. Work slowly so that you don't deflate the whipped cream! Continue folding until there are no more streaks of whipped cream.
Assemble & Chill
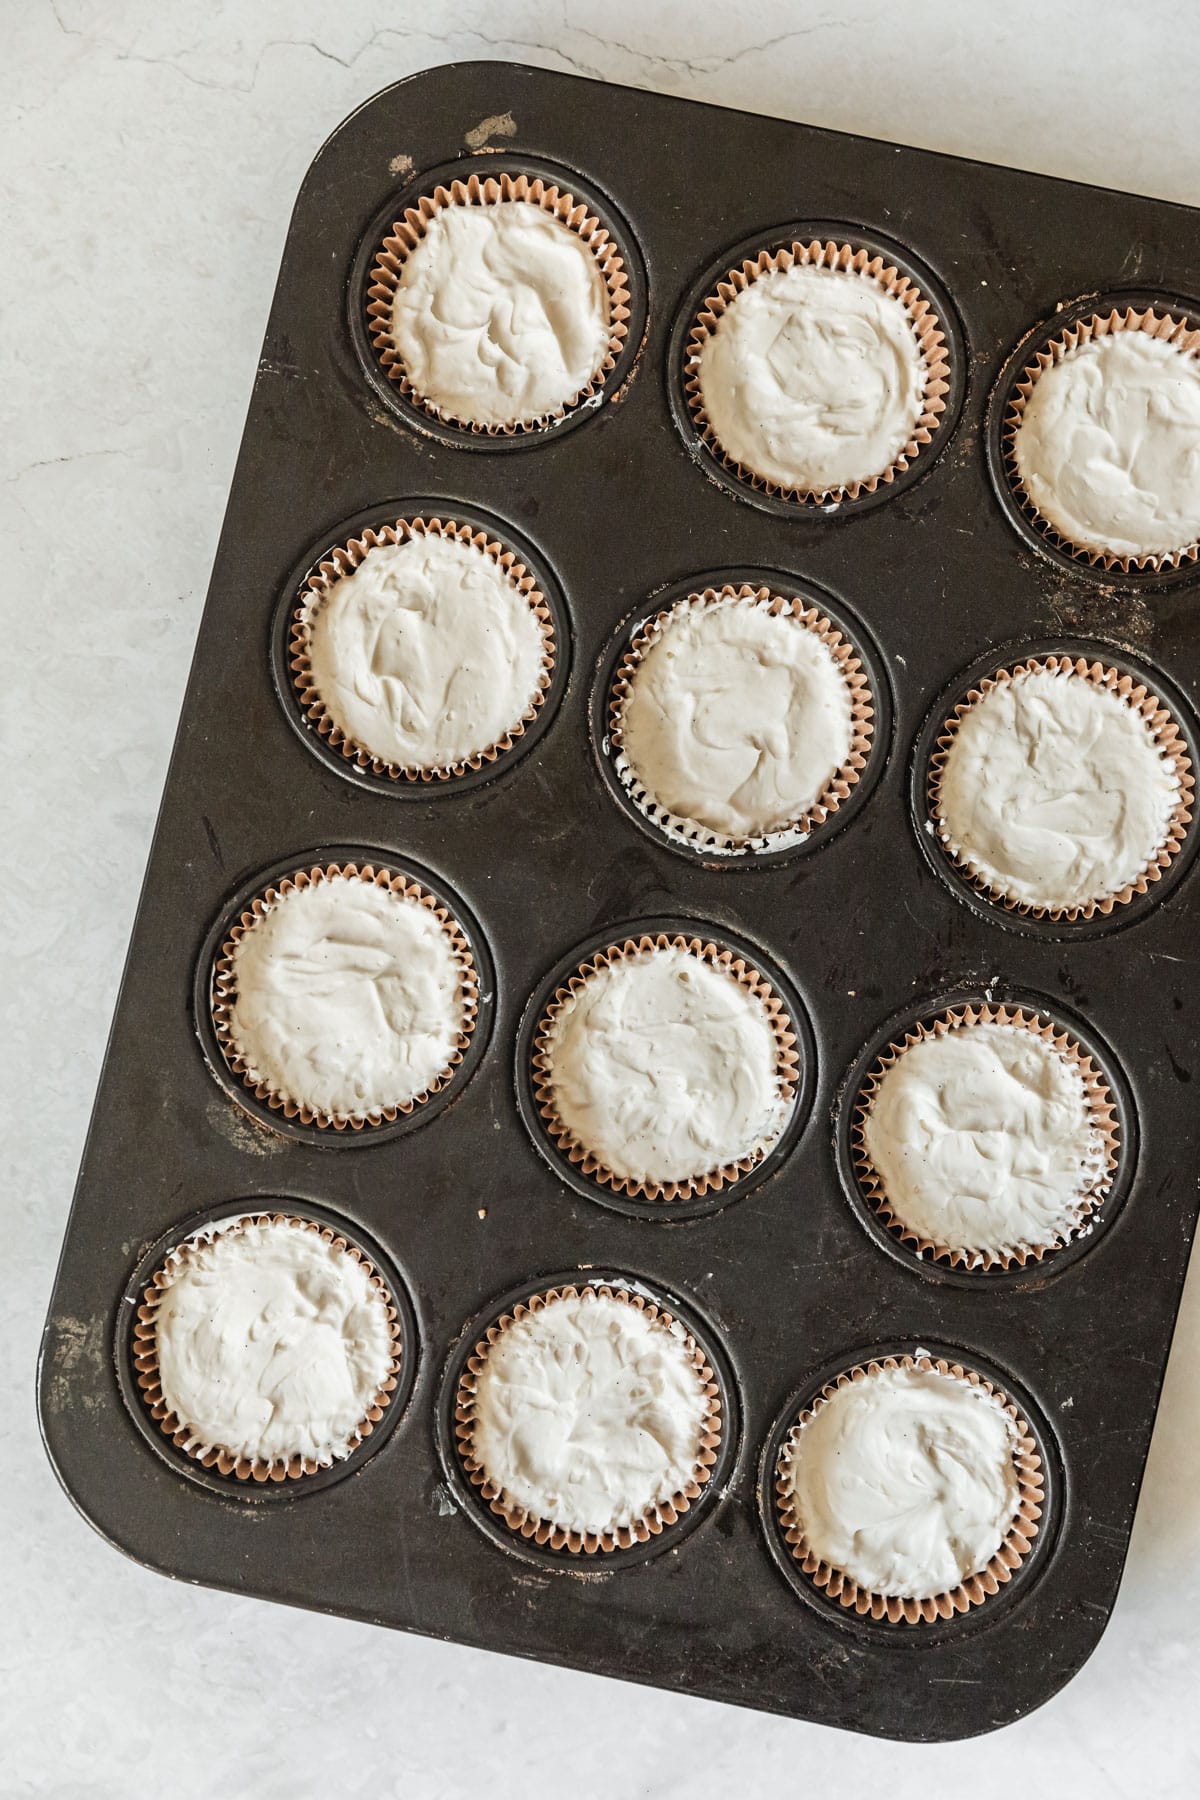
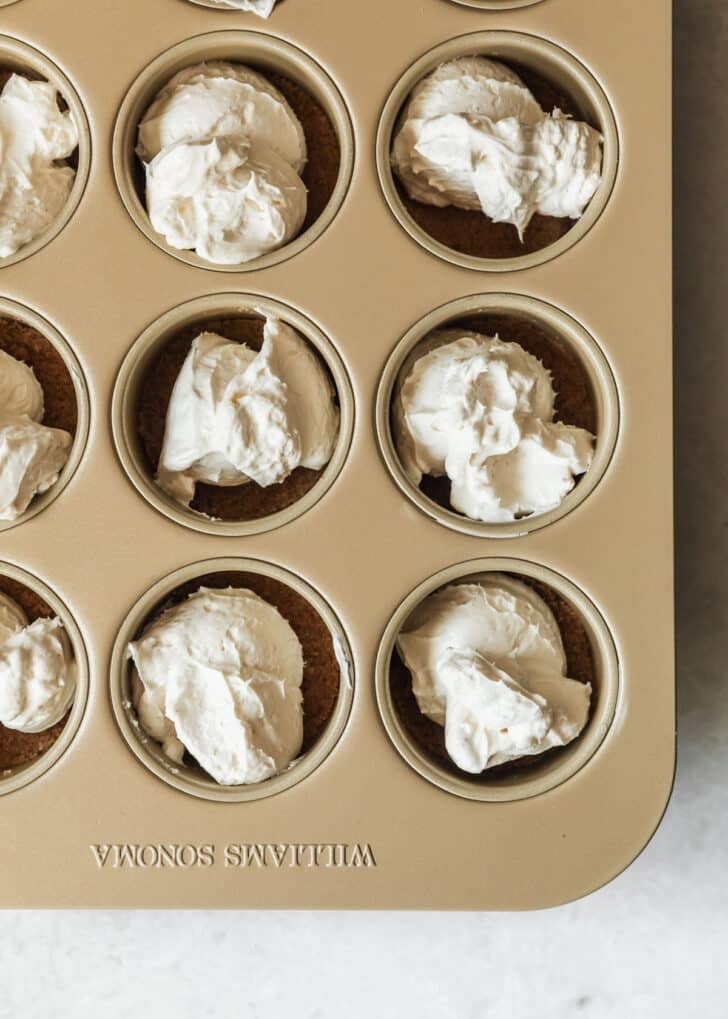
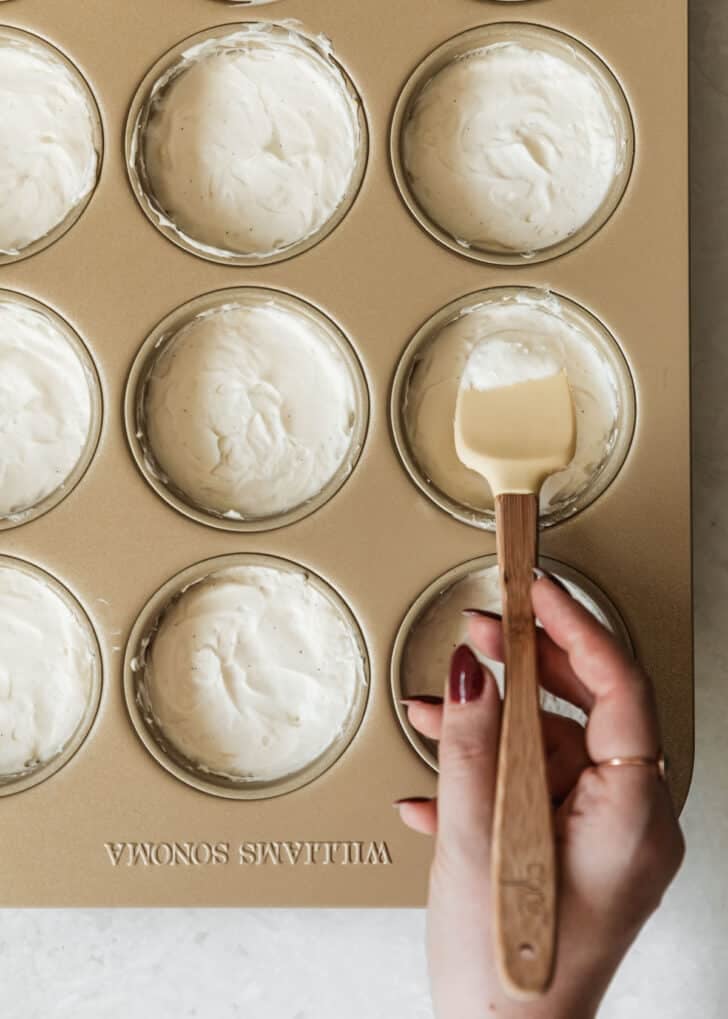
- Using a #20 cookie scoop, divide the filling between the crusts, about 3-4 Tablespoons each. Evenly smooth the tops with a rubber spatula or butter knife. It doesn't have to be perfect!
- Cover the pan and refrigerate the cheesecakes for at least 4 hours, but preferably overnight. The longer the cheesecakes chill, the better the texture will be.
- Once the filling is set, use a butter knife to gently release the cheesecakes from the pan. Add toppings if desired and enjoy!


So pretty and delicious! They were perfect for the baby shower I hosted.
Thanks so much, Robin! I’m so glad you liked the recipe. 🙂