The Best Crispy Fried Shallots
This post might have affiliate links. For full details please see my disclosure policy.
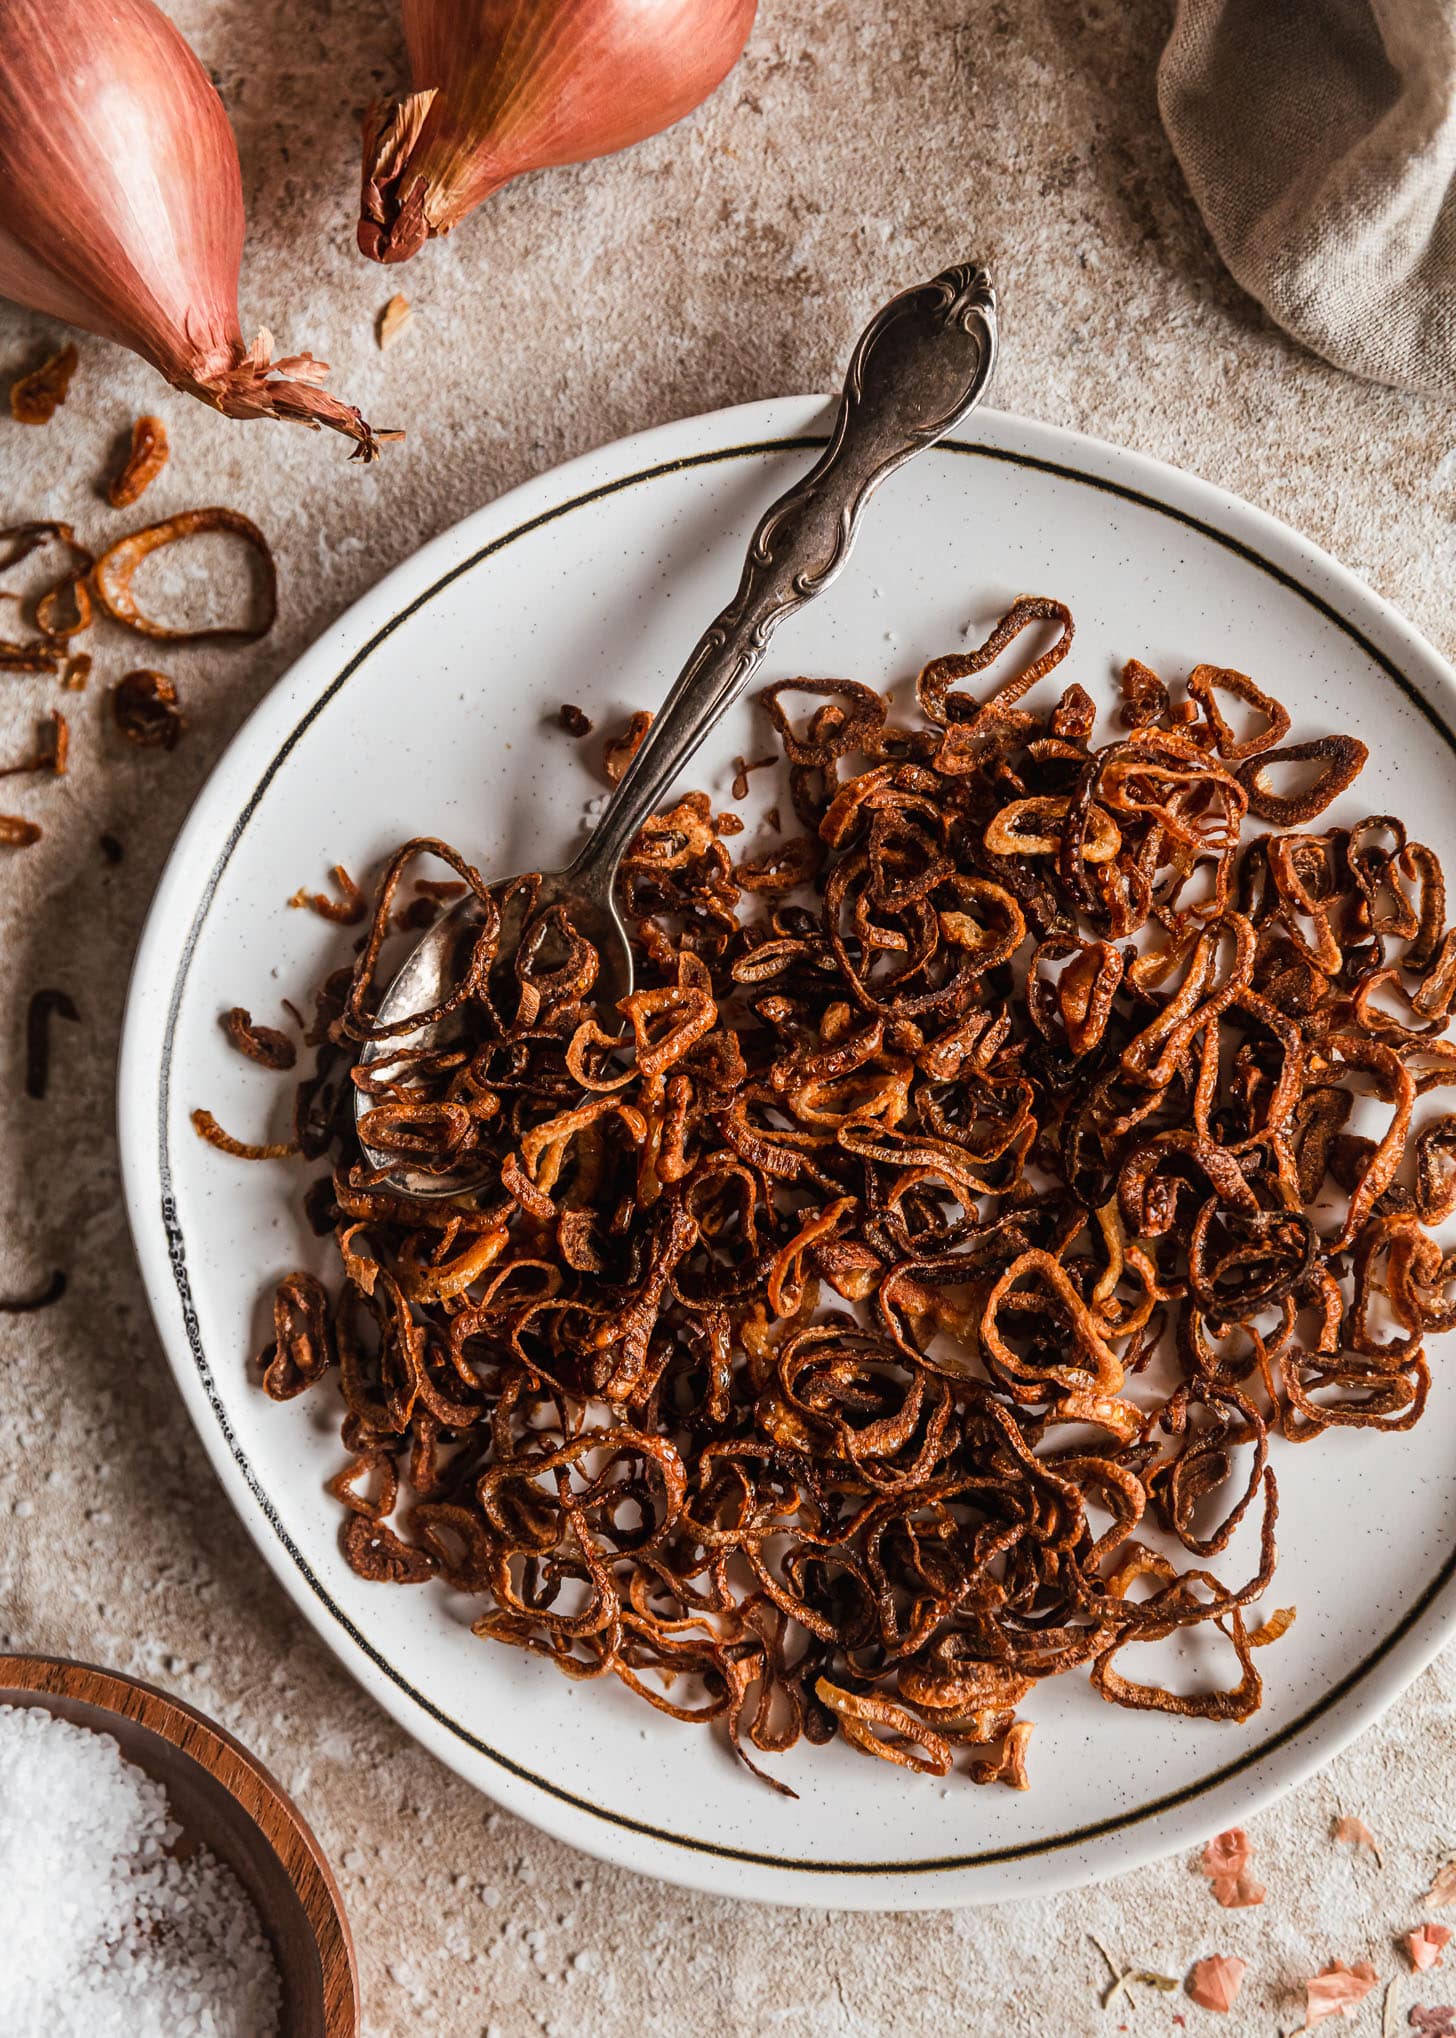
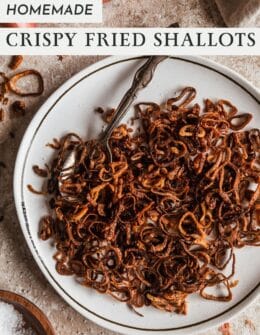
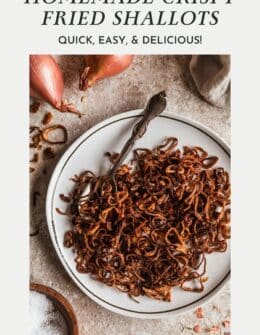
I have been sprinkling these crispy fried shallots on EVERYTHING lately. All you need is three simple ingredients to turn a basic shallot into a super addictive, crunchy, sweet and savory topping. This is my favorite way to elevate pastas, salads, and more!
My friends call me the Shallot Queen which is a badge I wear with pride. As a total onion hater until the age of like, 18, shallots were the gateway of the allium world that got me on good terms with onions. Still, shallots are my go-to, so when I tried them in place of crispy frizzled onions on homemade green bean casserole a few years ago, I became, to put it lightly, obsessed.
I now have a jar of these shallots on hand at all times, and they feel like a little treat when I sprinkle them on my morning eggs. They’re crispy, crunchy, salty, savory, and have just a touch of classic shallot-y sweetness. I highly recommend taking 30 minutes today to make them. Future you will be grateful.
I mean, yes, you can buy them at the store, but the homemade pan-fried version tastes so much better. This is how I learned how to make them when I was a student in culinary school, and it’s totally foolproof!
Pick thin shallots
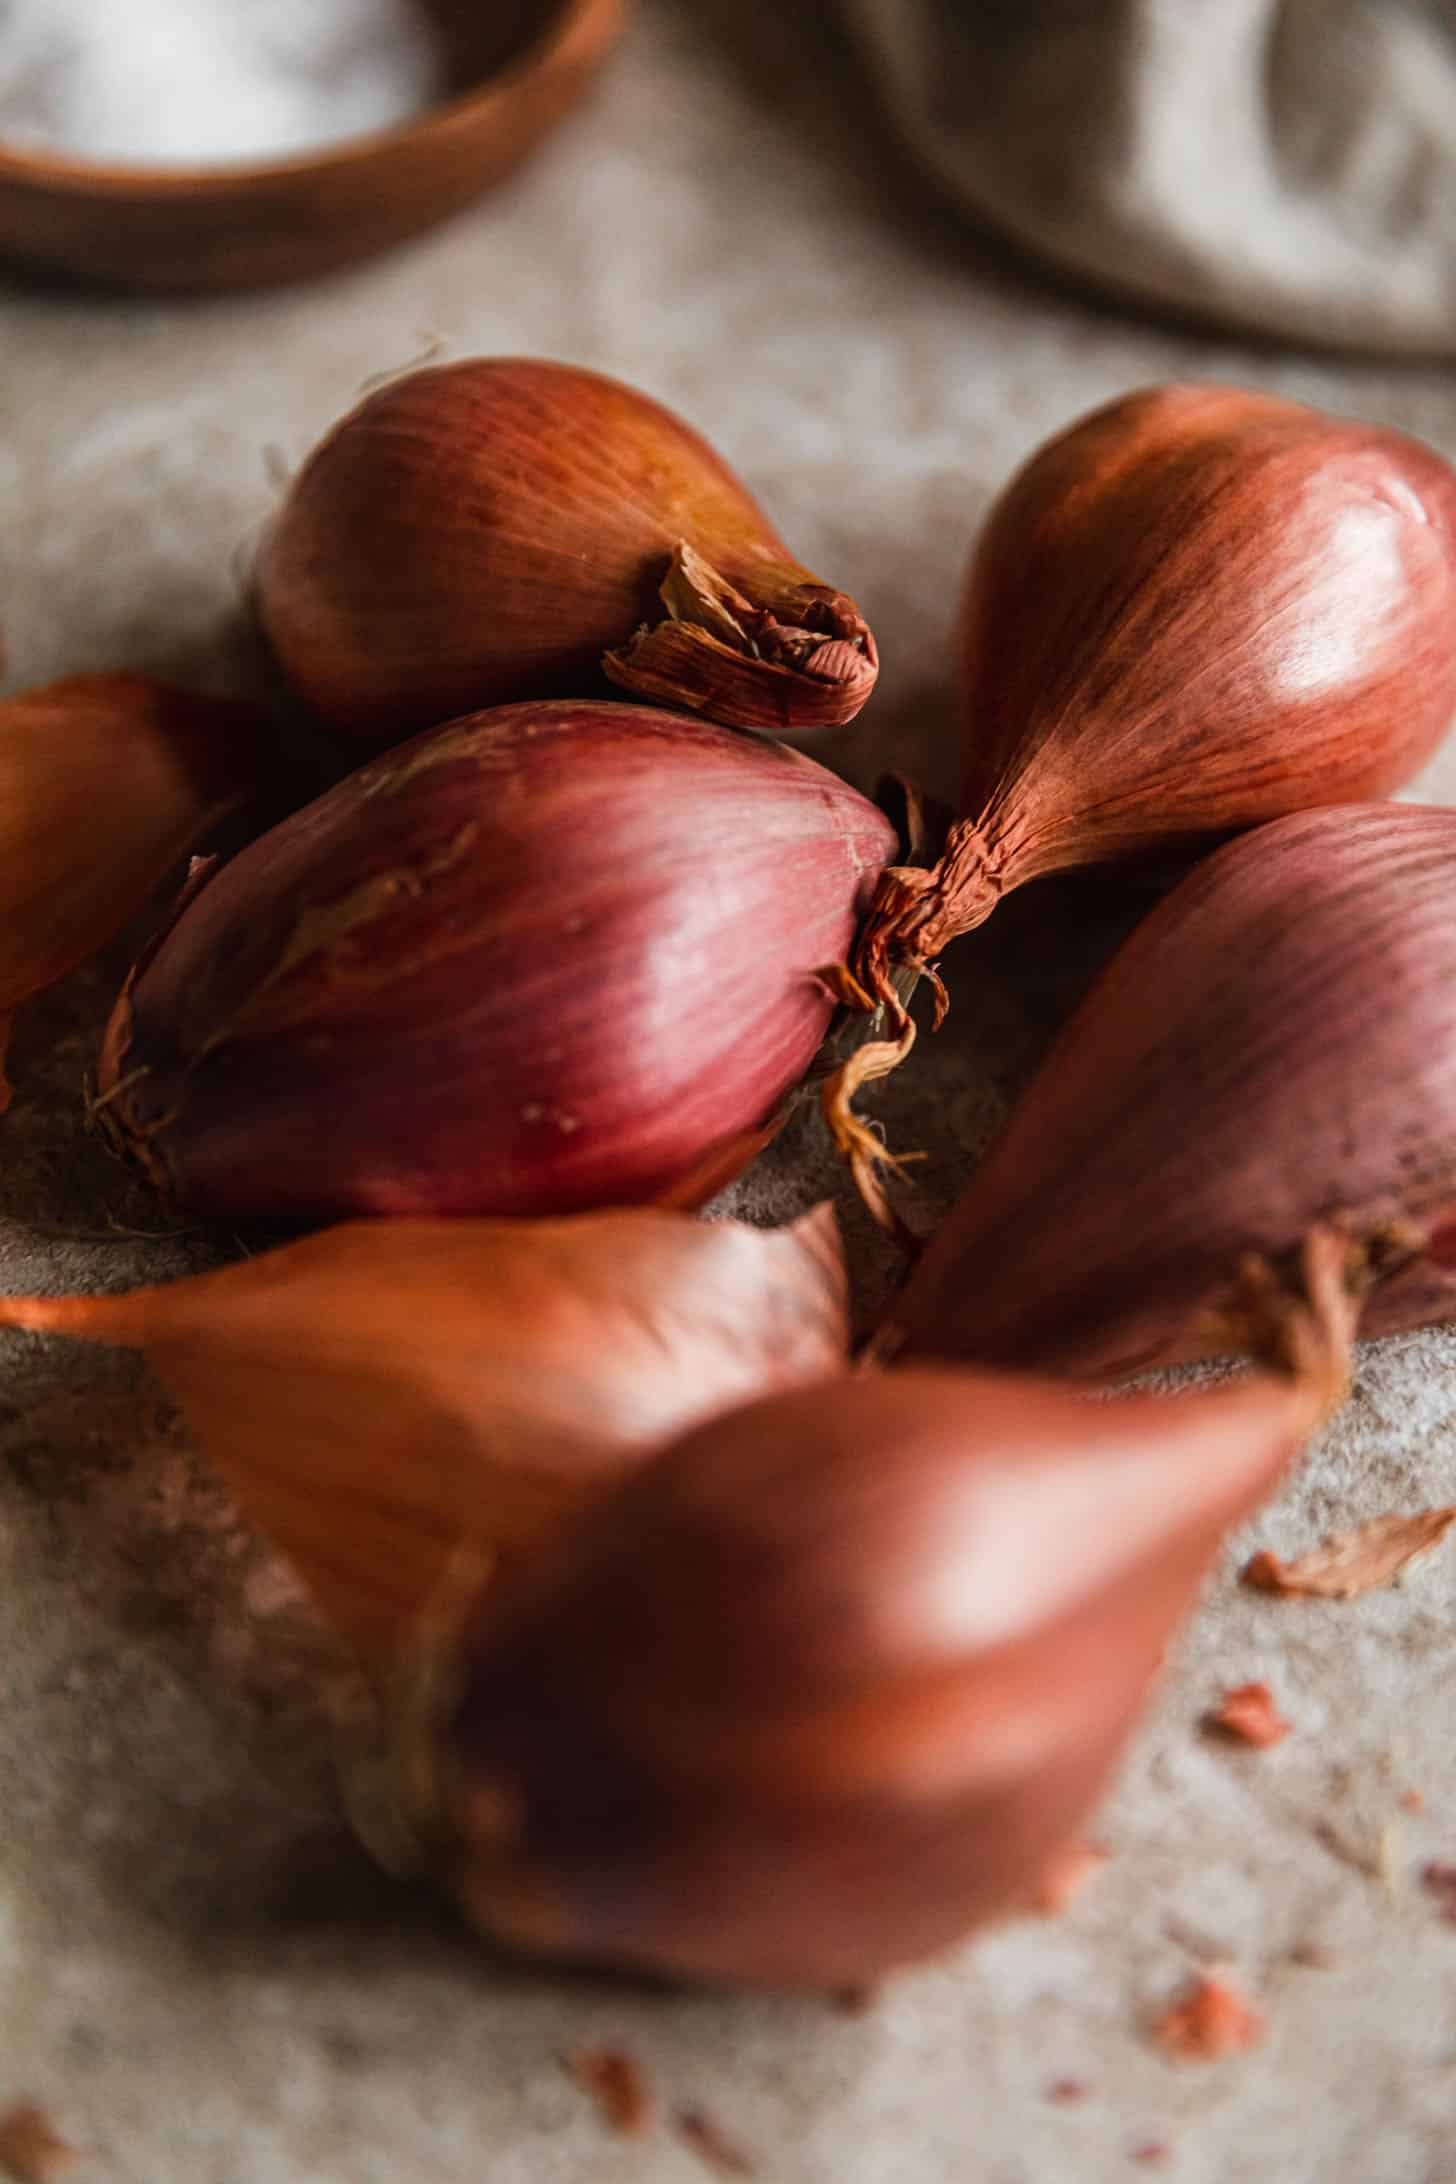
You only need three things to make these shallots – no flour or cornstarch required! Stock up on shallots, neutral oil (canola, avocado, etc.), and Morton’s Kosher salt. Also, I prefer shallots that are a bit thinner in so they fry up evenly.
Slice the shallots


Even thickness means consistent cooking! Use a mandoline if you want to make sure the shallots are the same thickness.
How to fry shallots


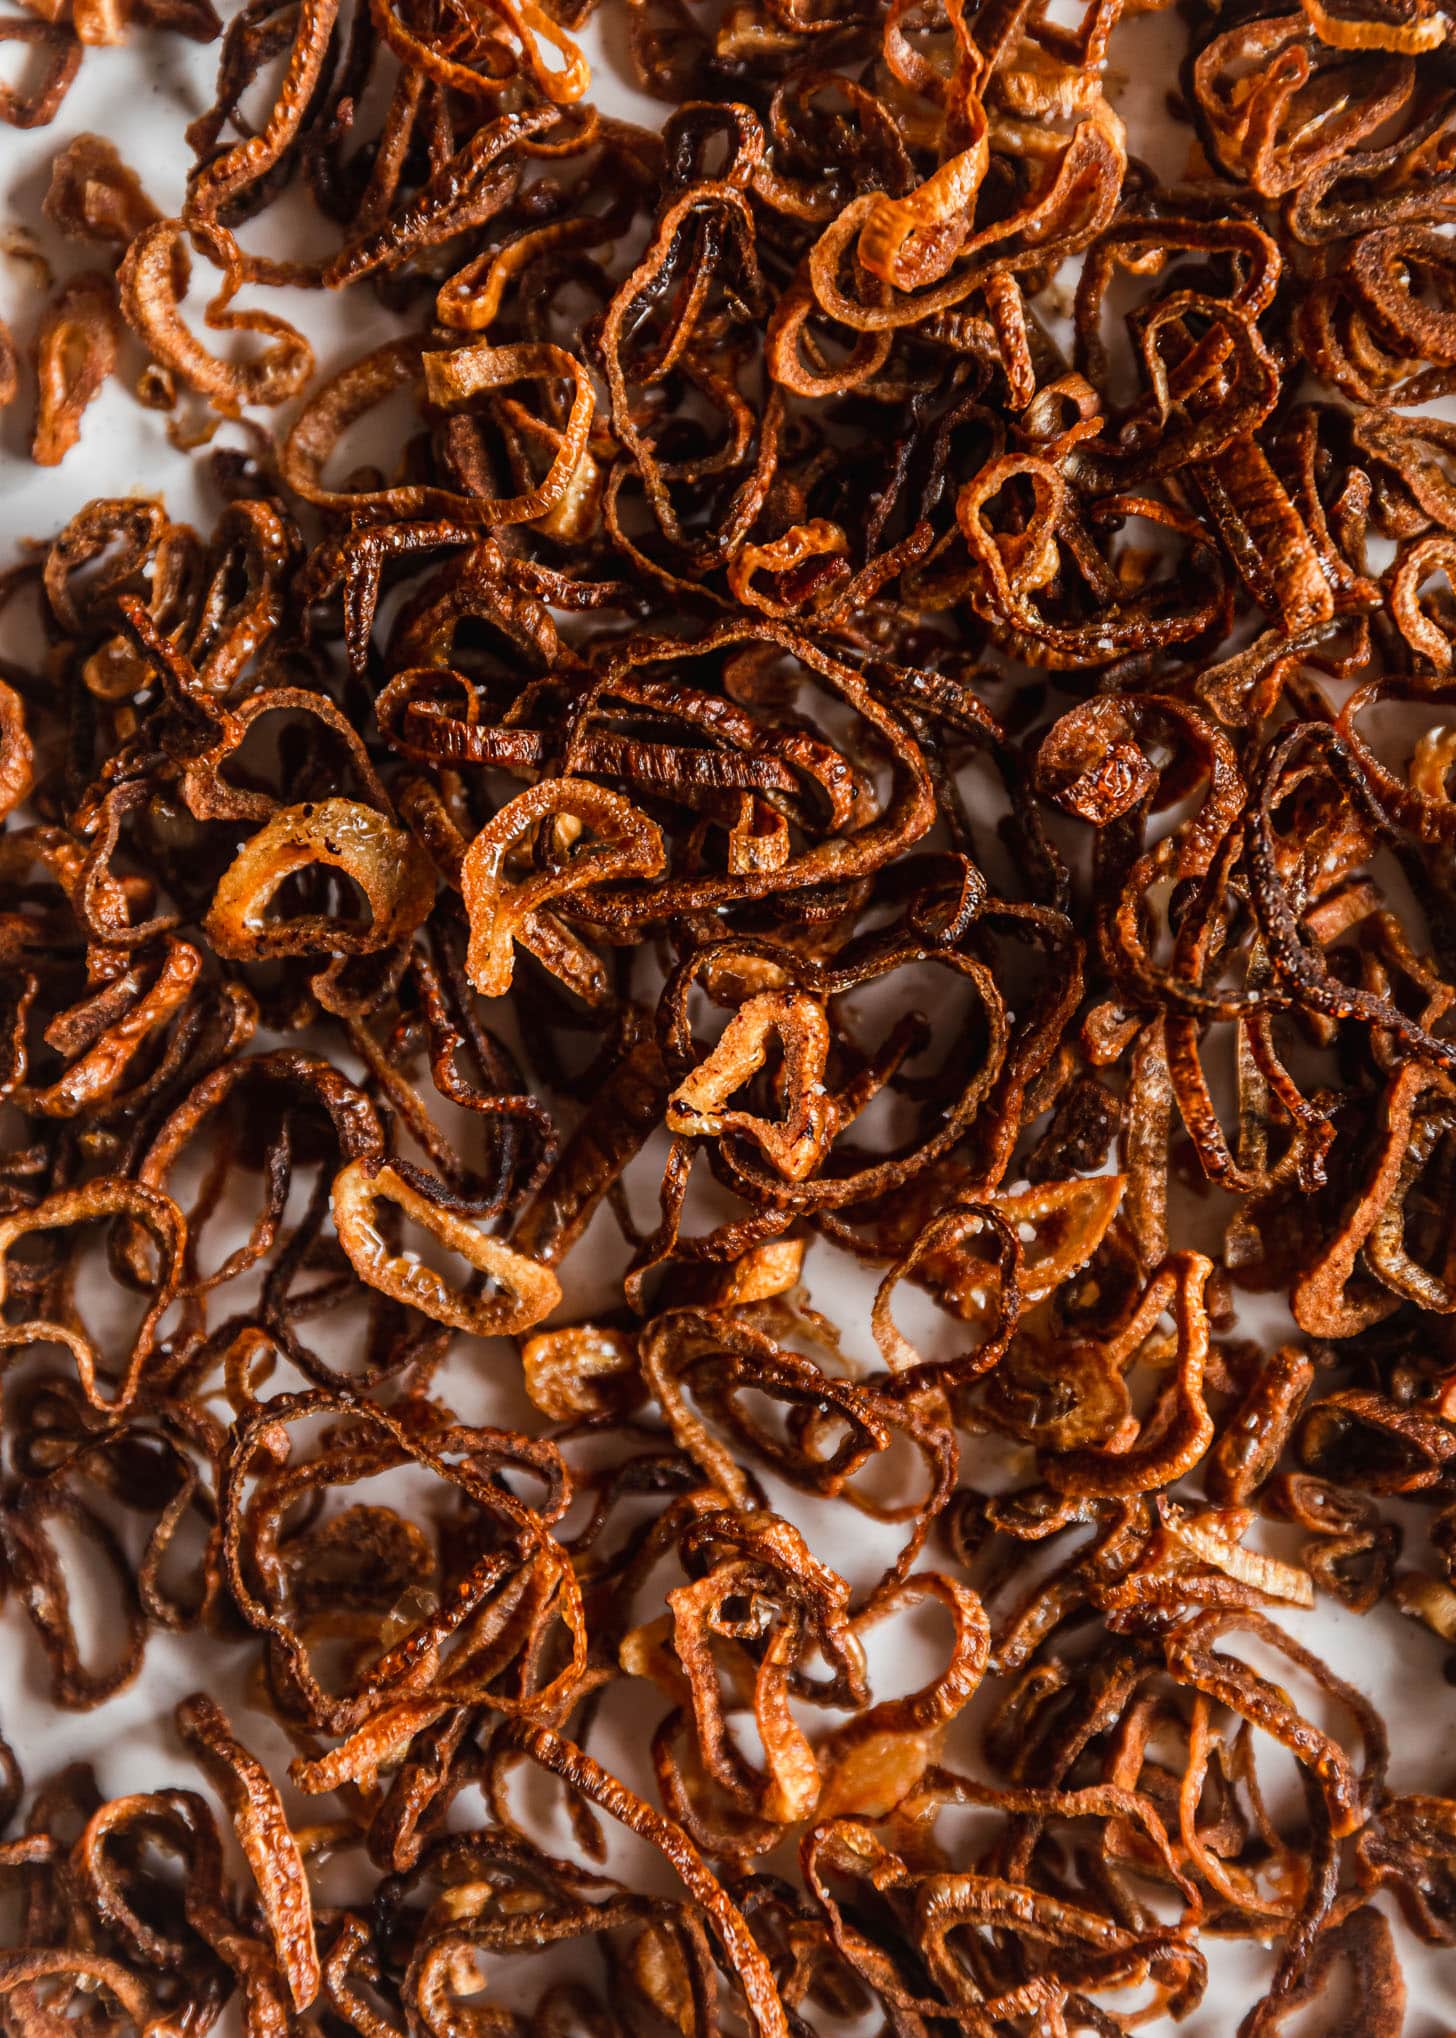
Once the shallots start to turn light beige, they’ll cook quickly! Keep a close eye so they don’t burn.


Store them in a jar
To store the shallots, place them in a jar or airtight container and store them at room temperature for about 2-3 weeks. After a few of weeks, they will start to soften and may taste a bit bitter from the oil.
Using the shallots
I honestly put these shallots on anything savory! For breakfast, sprinkle them over fried eggs or avocado toast. So good! I also love them on cacio e pepe, Brussels sprouts, deviled eggs, burgers, steaks, and pizza. Around the holidays, you can use them on top of green bean casserole instead of French-fried onions!
Save the oil
After you drain the shallots, let the oil cool completely and then store it in a jar. Not only can you use the oil for frying more shallots in the future, but it’s also great for cooking! Use it to roast veggies, make salad dressing, in stir fry, or as a finishing oil for soup, rice, pasta, or meat dishes.

If you make this recipe, I would love it if you left a star rating and review! I read every single comment and love hearing what you think about my recipes. Thank you for supporting Sunday Table!

Homemade Crispy Fried Shallots
Ingredients
- 4 large shallots, peeled
- 2/3 cup canola or avocado oil
- Kosher salt, to taste
Instructions
- Using a mandolin or sharp knife, thinly slice the peeled shallots until they are about the thickness of a dime.
- Next, place the shallots in a shallow sauté pan and fill with just enough oil to cover (about 2/3 cup). Use a little more if you have to!
- Set the heat to medium-low. Then, cook until the shallots are deep golden-brown about 20-25 minutes. Stir often with the tines of a fork to separate the shallot rings. Keep an eye on the shallots, especially towards the end. Once they start browning, they will brown quick.
- Drain the shallots through a fine-mesh strainer or remove the shallots from the oil with the tines of a fork. Place the fried shallots on a paper towel to soak up any extra oil. Season with Kosher salt and let them cool completely. Store the shallots in an airtight container for up to three weeks.

bookmarked!!, I love your blog!
Thanks so much, Nanci!